Manchu Arrow Project (part 2)
Silent Thunder Ordnance

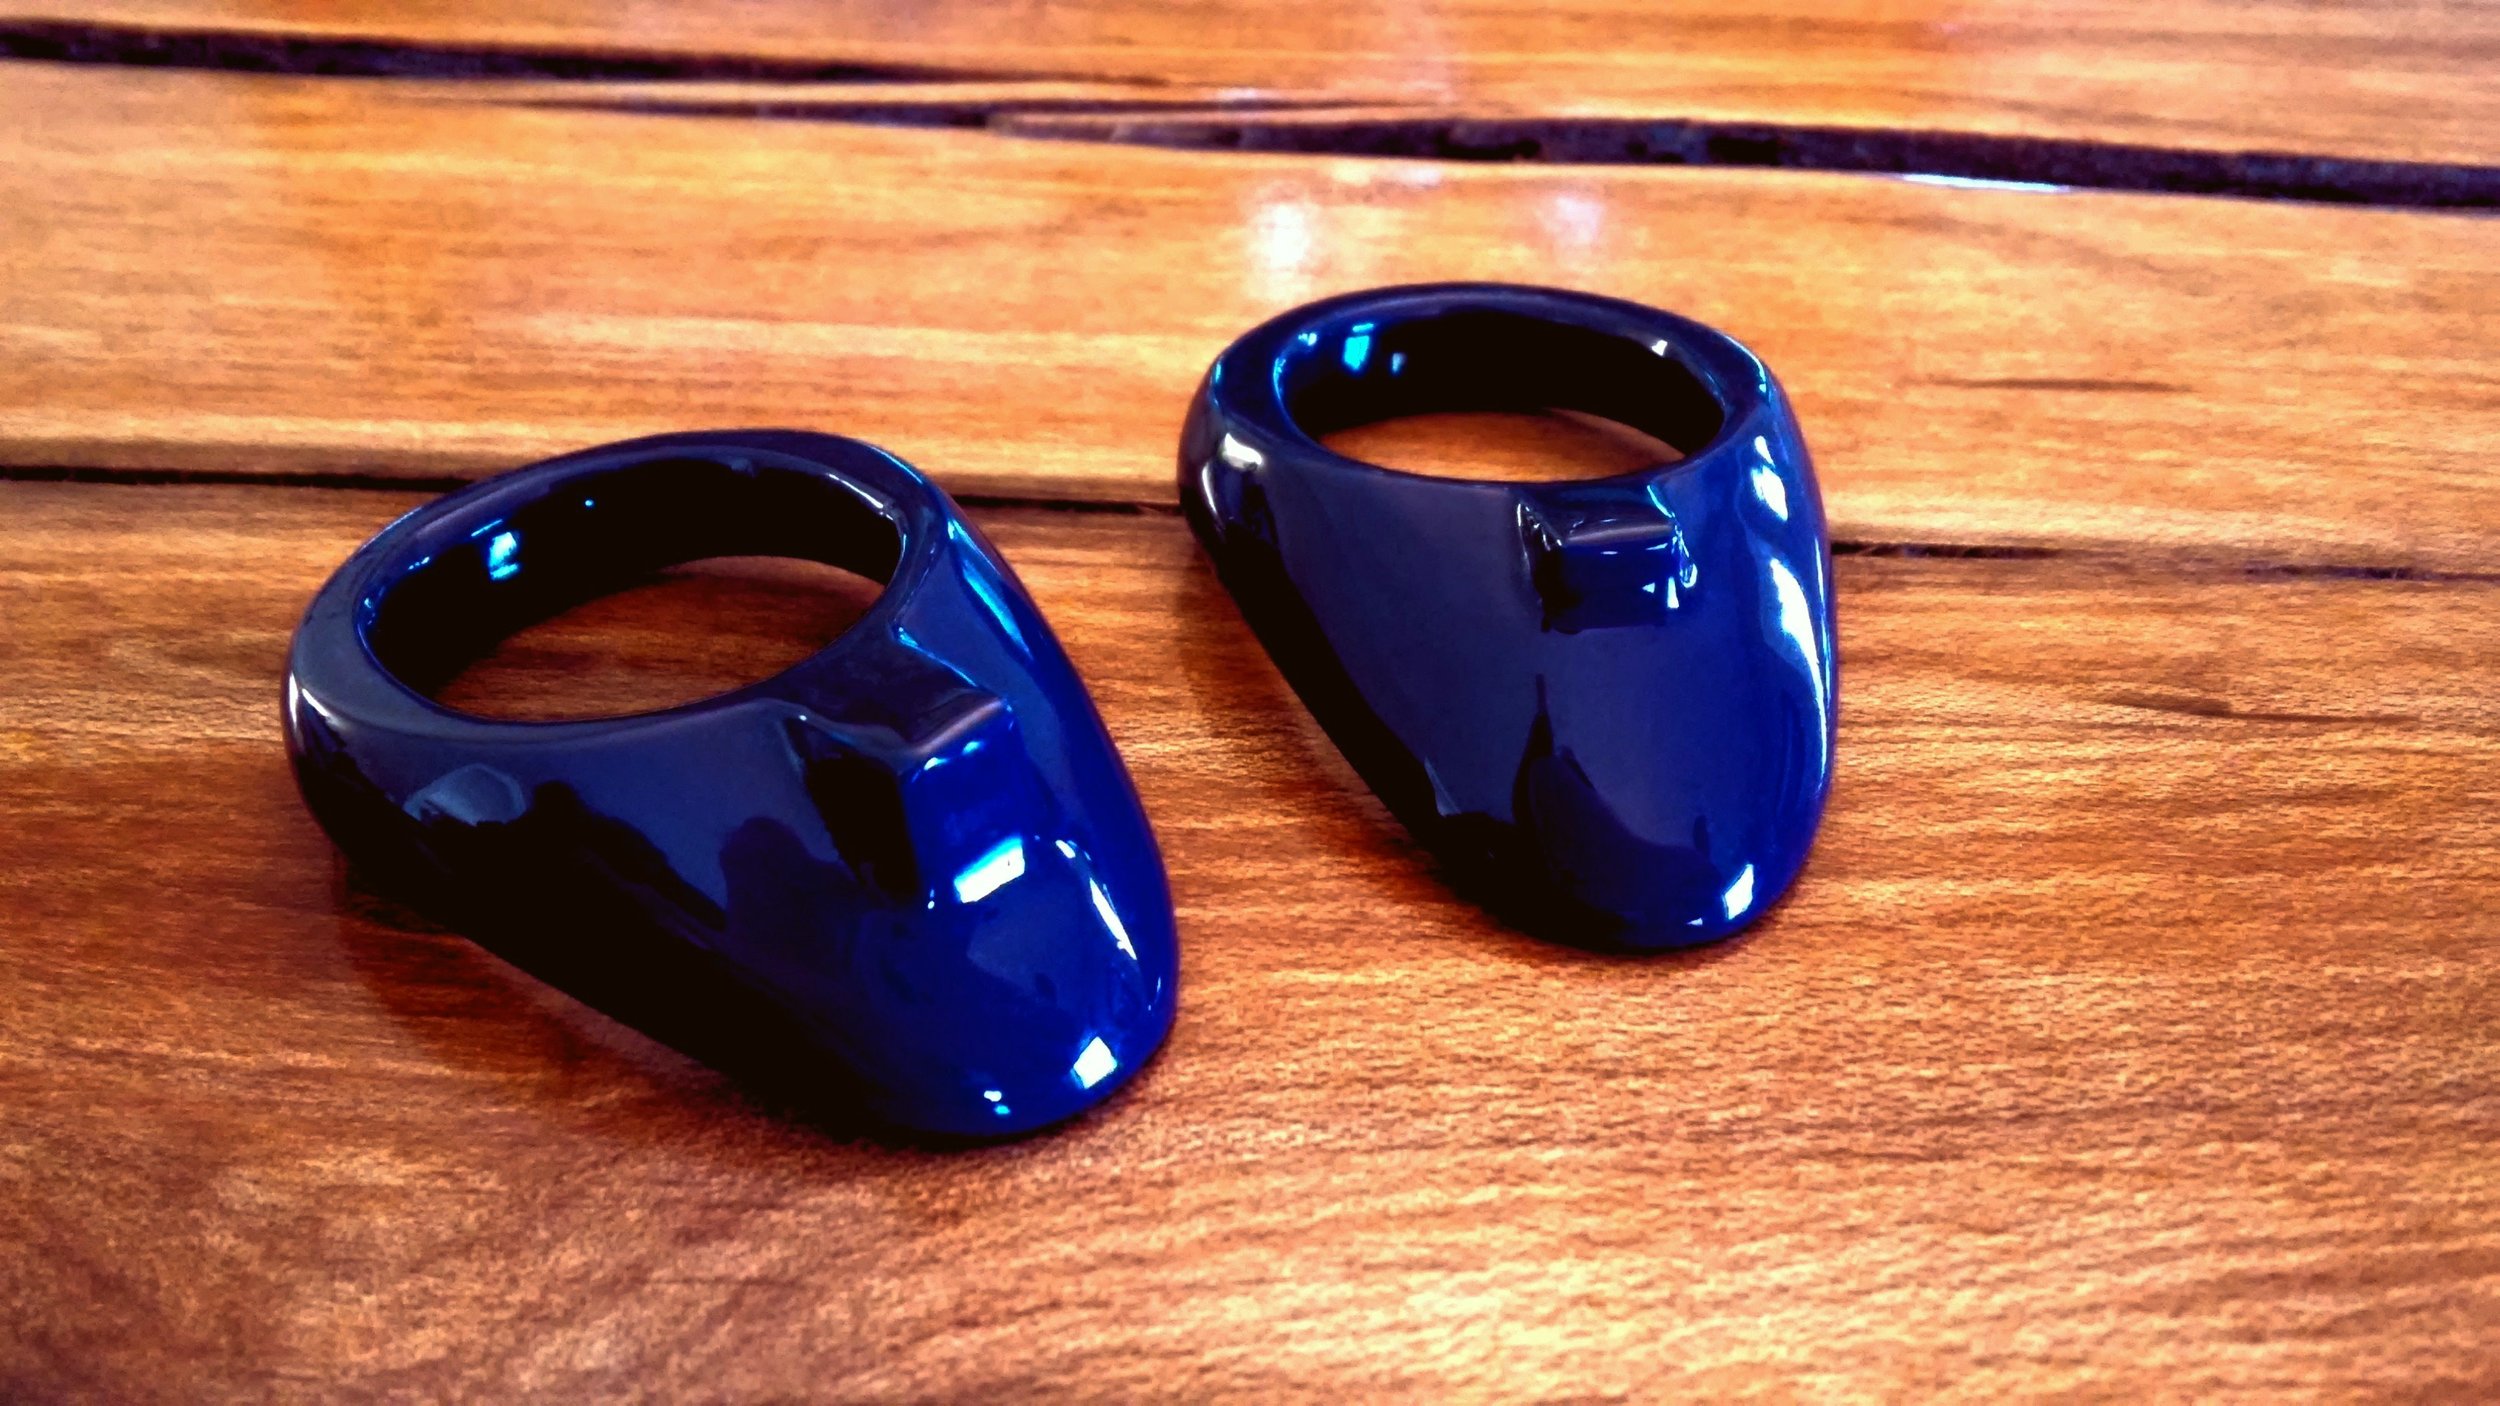
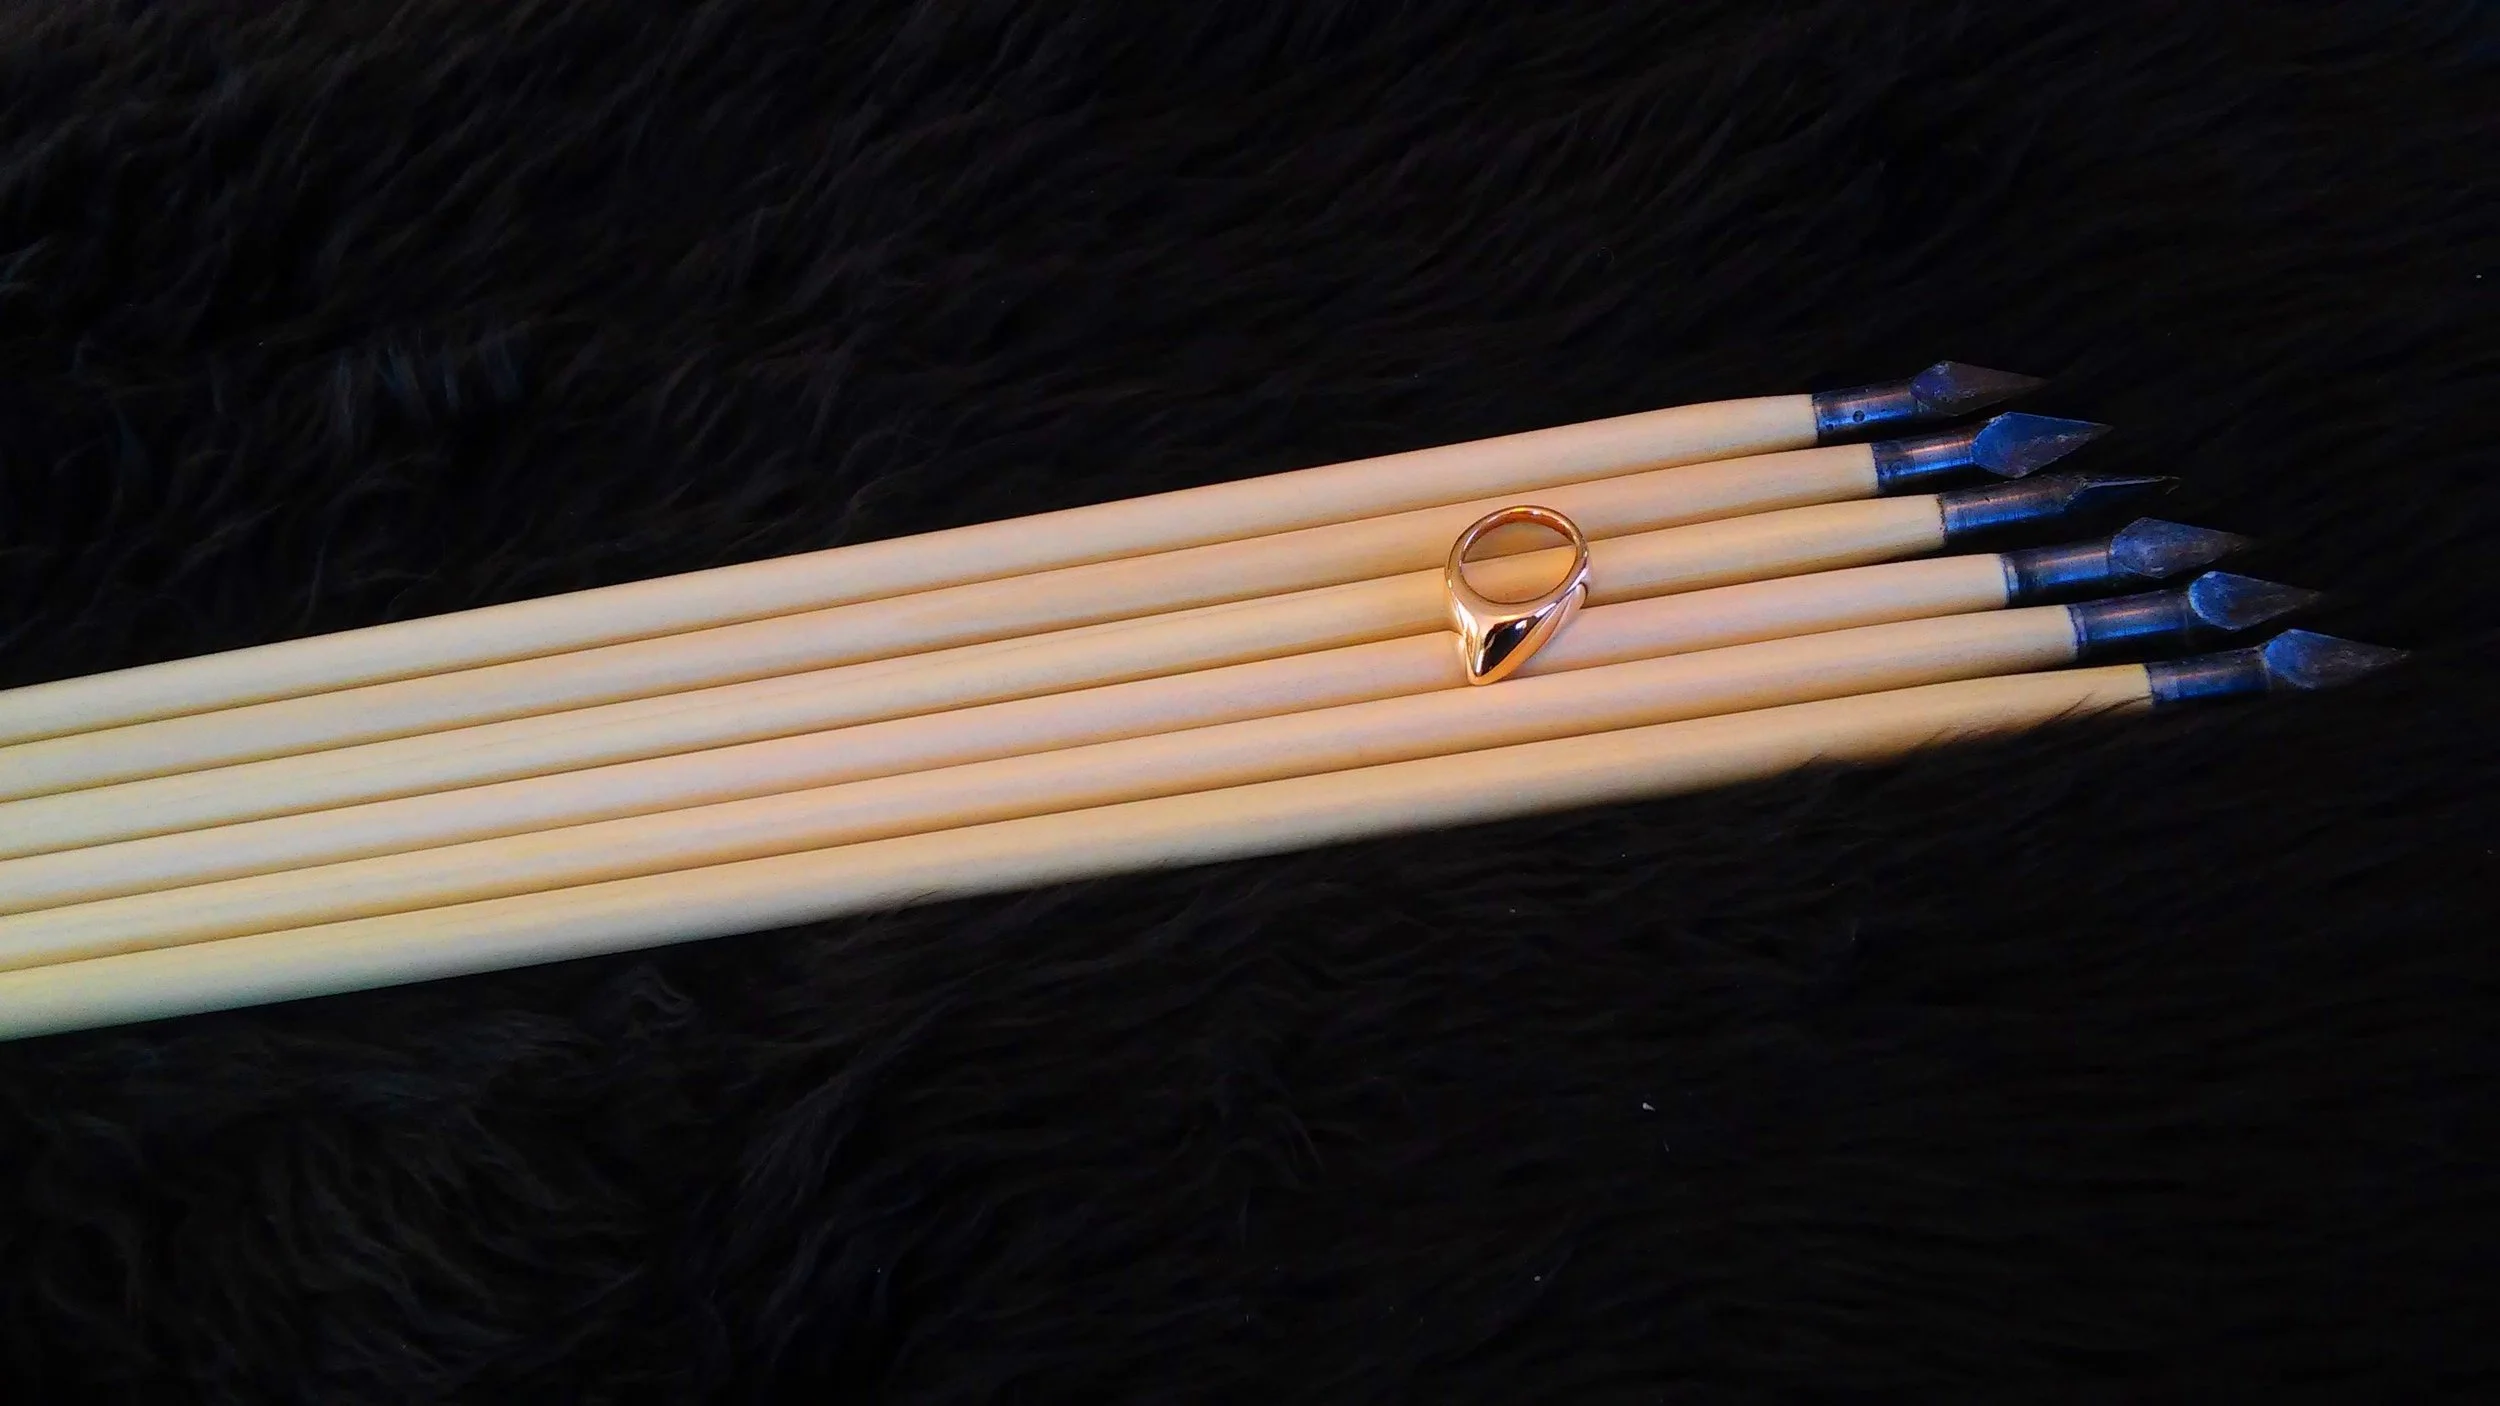
Shafting with points and a single coat of tung oil. Byzantine thumb ring, in bronze, to show the truly massive scale.
Picking up from PART ONE of the Manchu Arrow Project, I find myself on a quest for good arrow points, preferably at a modest price and available without a protracted wait. Searching online, there are a few options which stood out to me:

Nomadic Arts Archery offers some beautiful looking points, but the lead time of two months was too much for the first round of this project which I wanted to get a move on. We may revisit these at a later date if we decide to do some dressy shafts which would justify such beautiful points.

Fairbow Shop NL also offers some attractive looking points, even having Manchu target points available in the correct diameter. We did reach out to them, but they declined the request for a sample for publication in this blog. We may yet acquire a few of them, because they look like the exact item we've been searching for, but with an unspecified long lead time (presumably hand-crafted to order), you won't find them in this post.

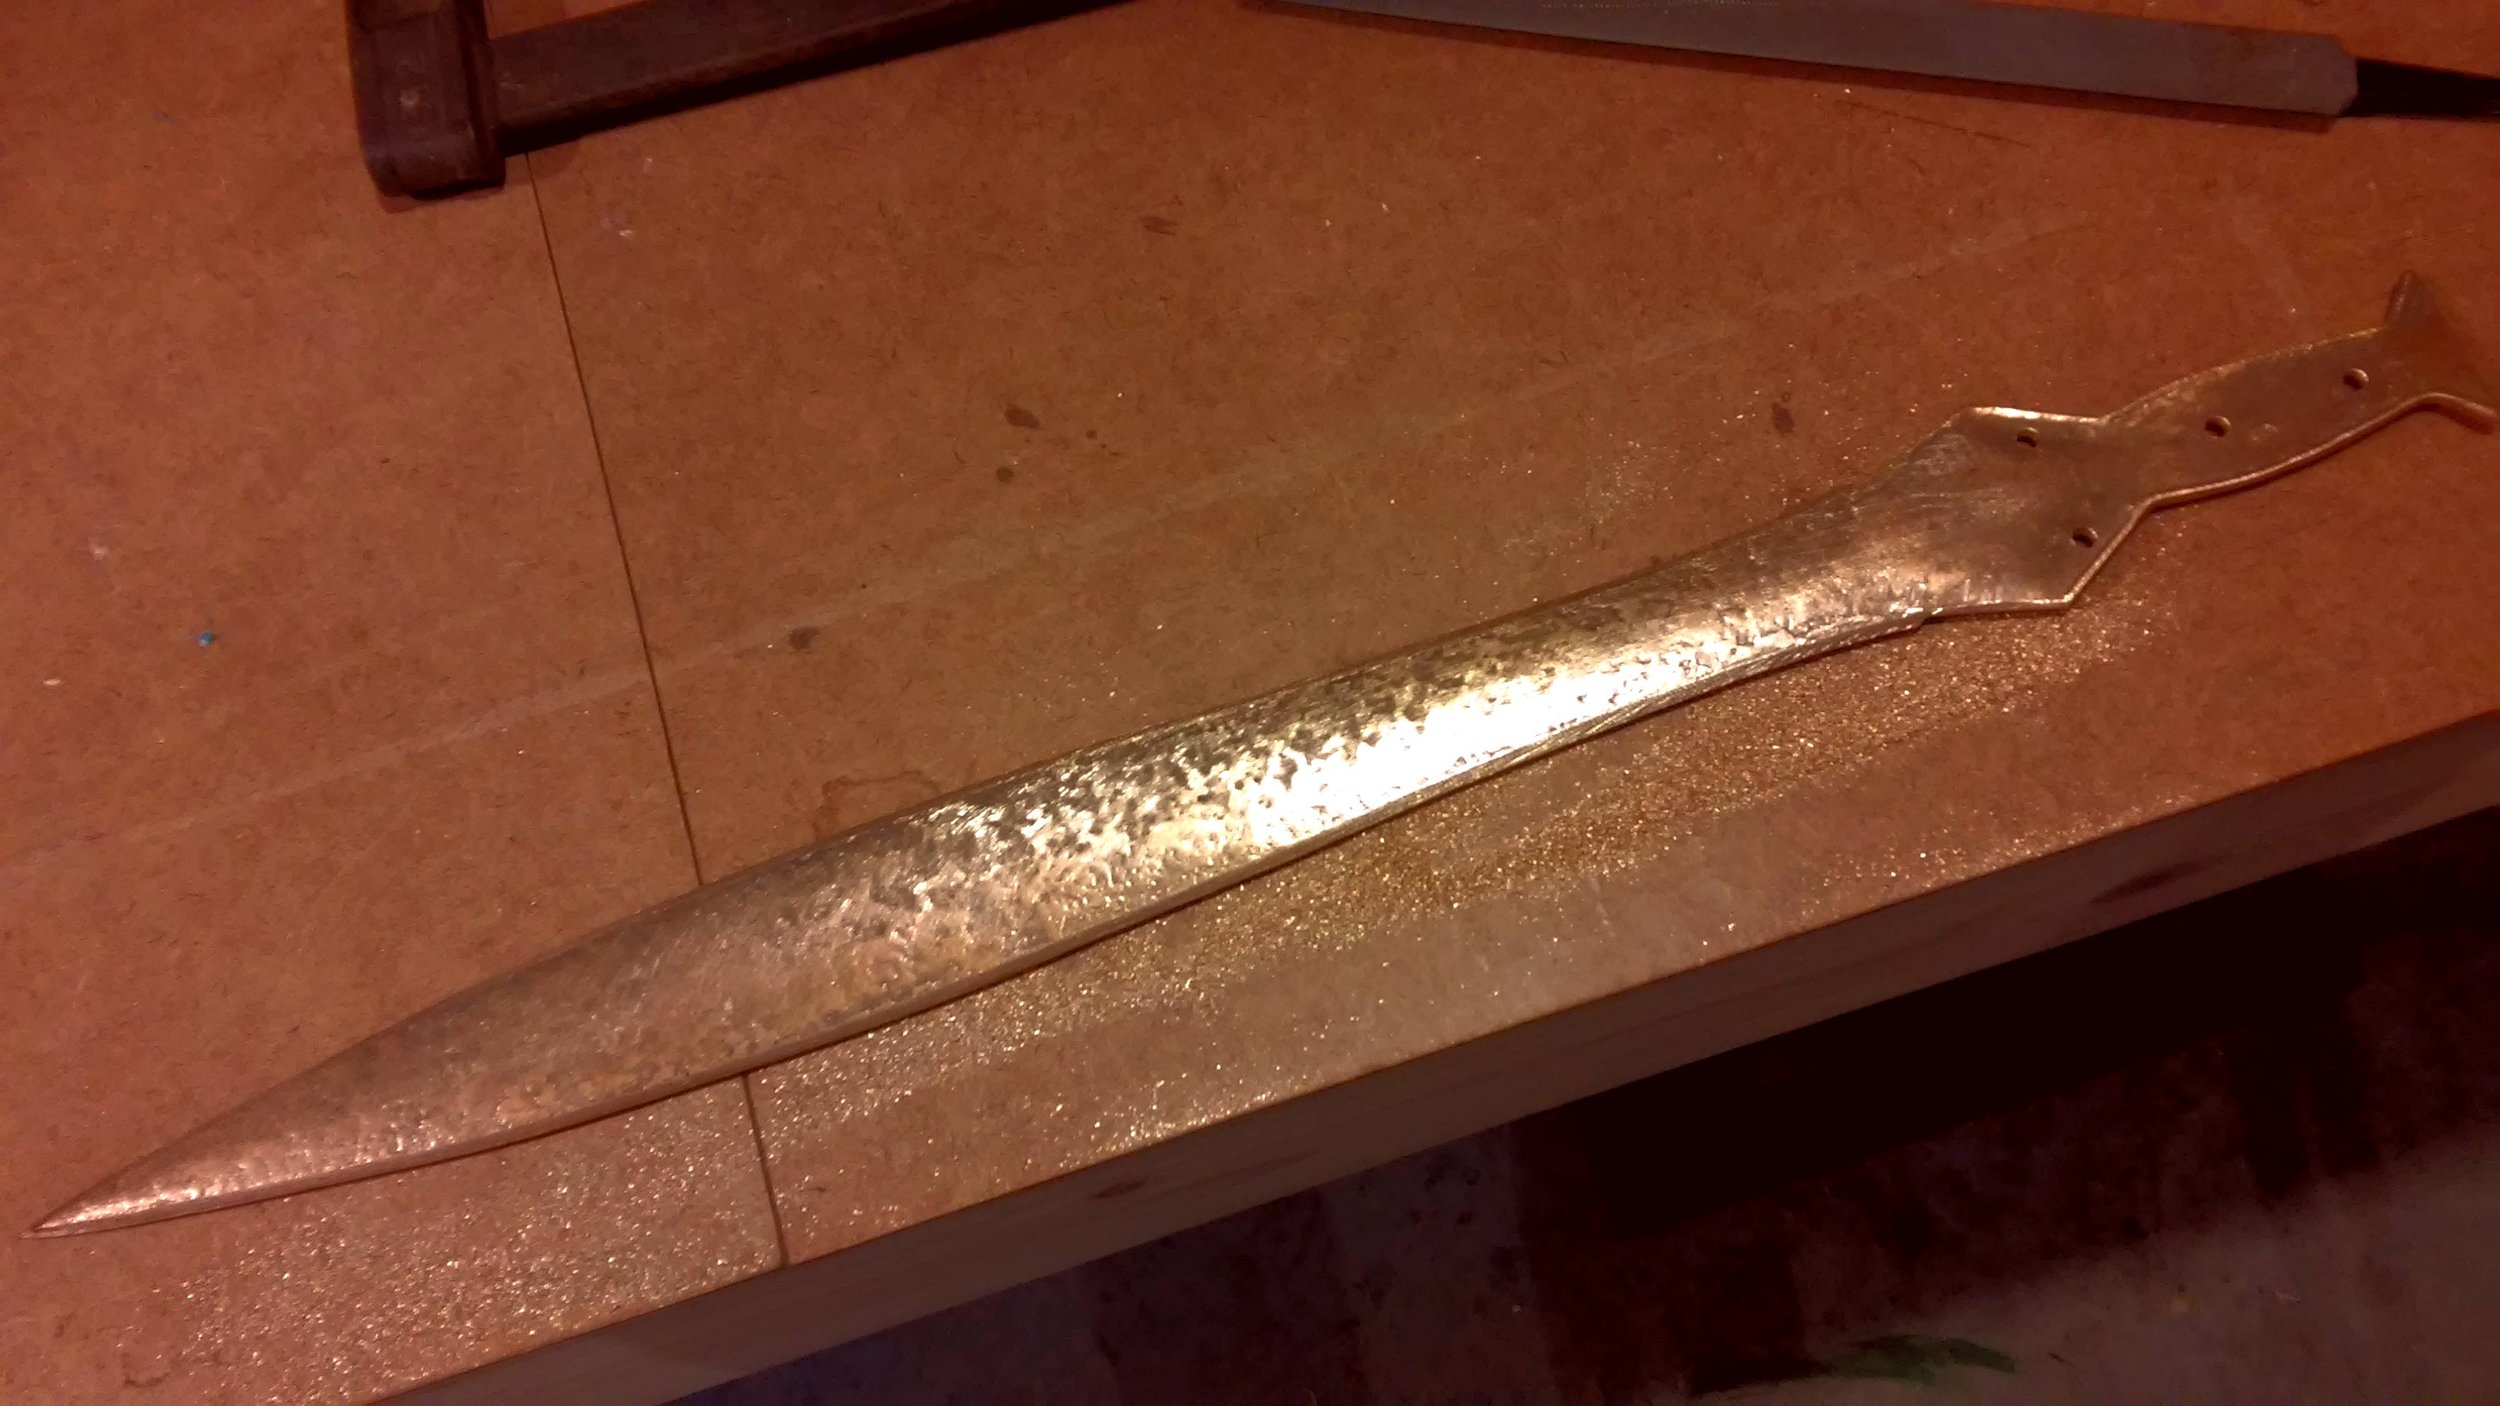
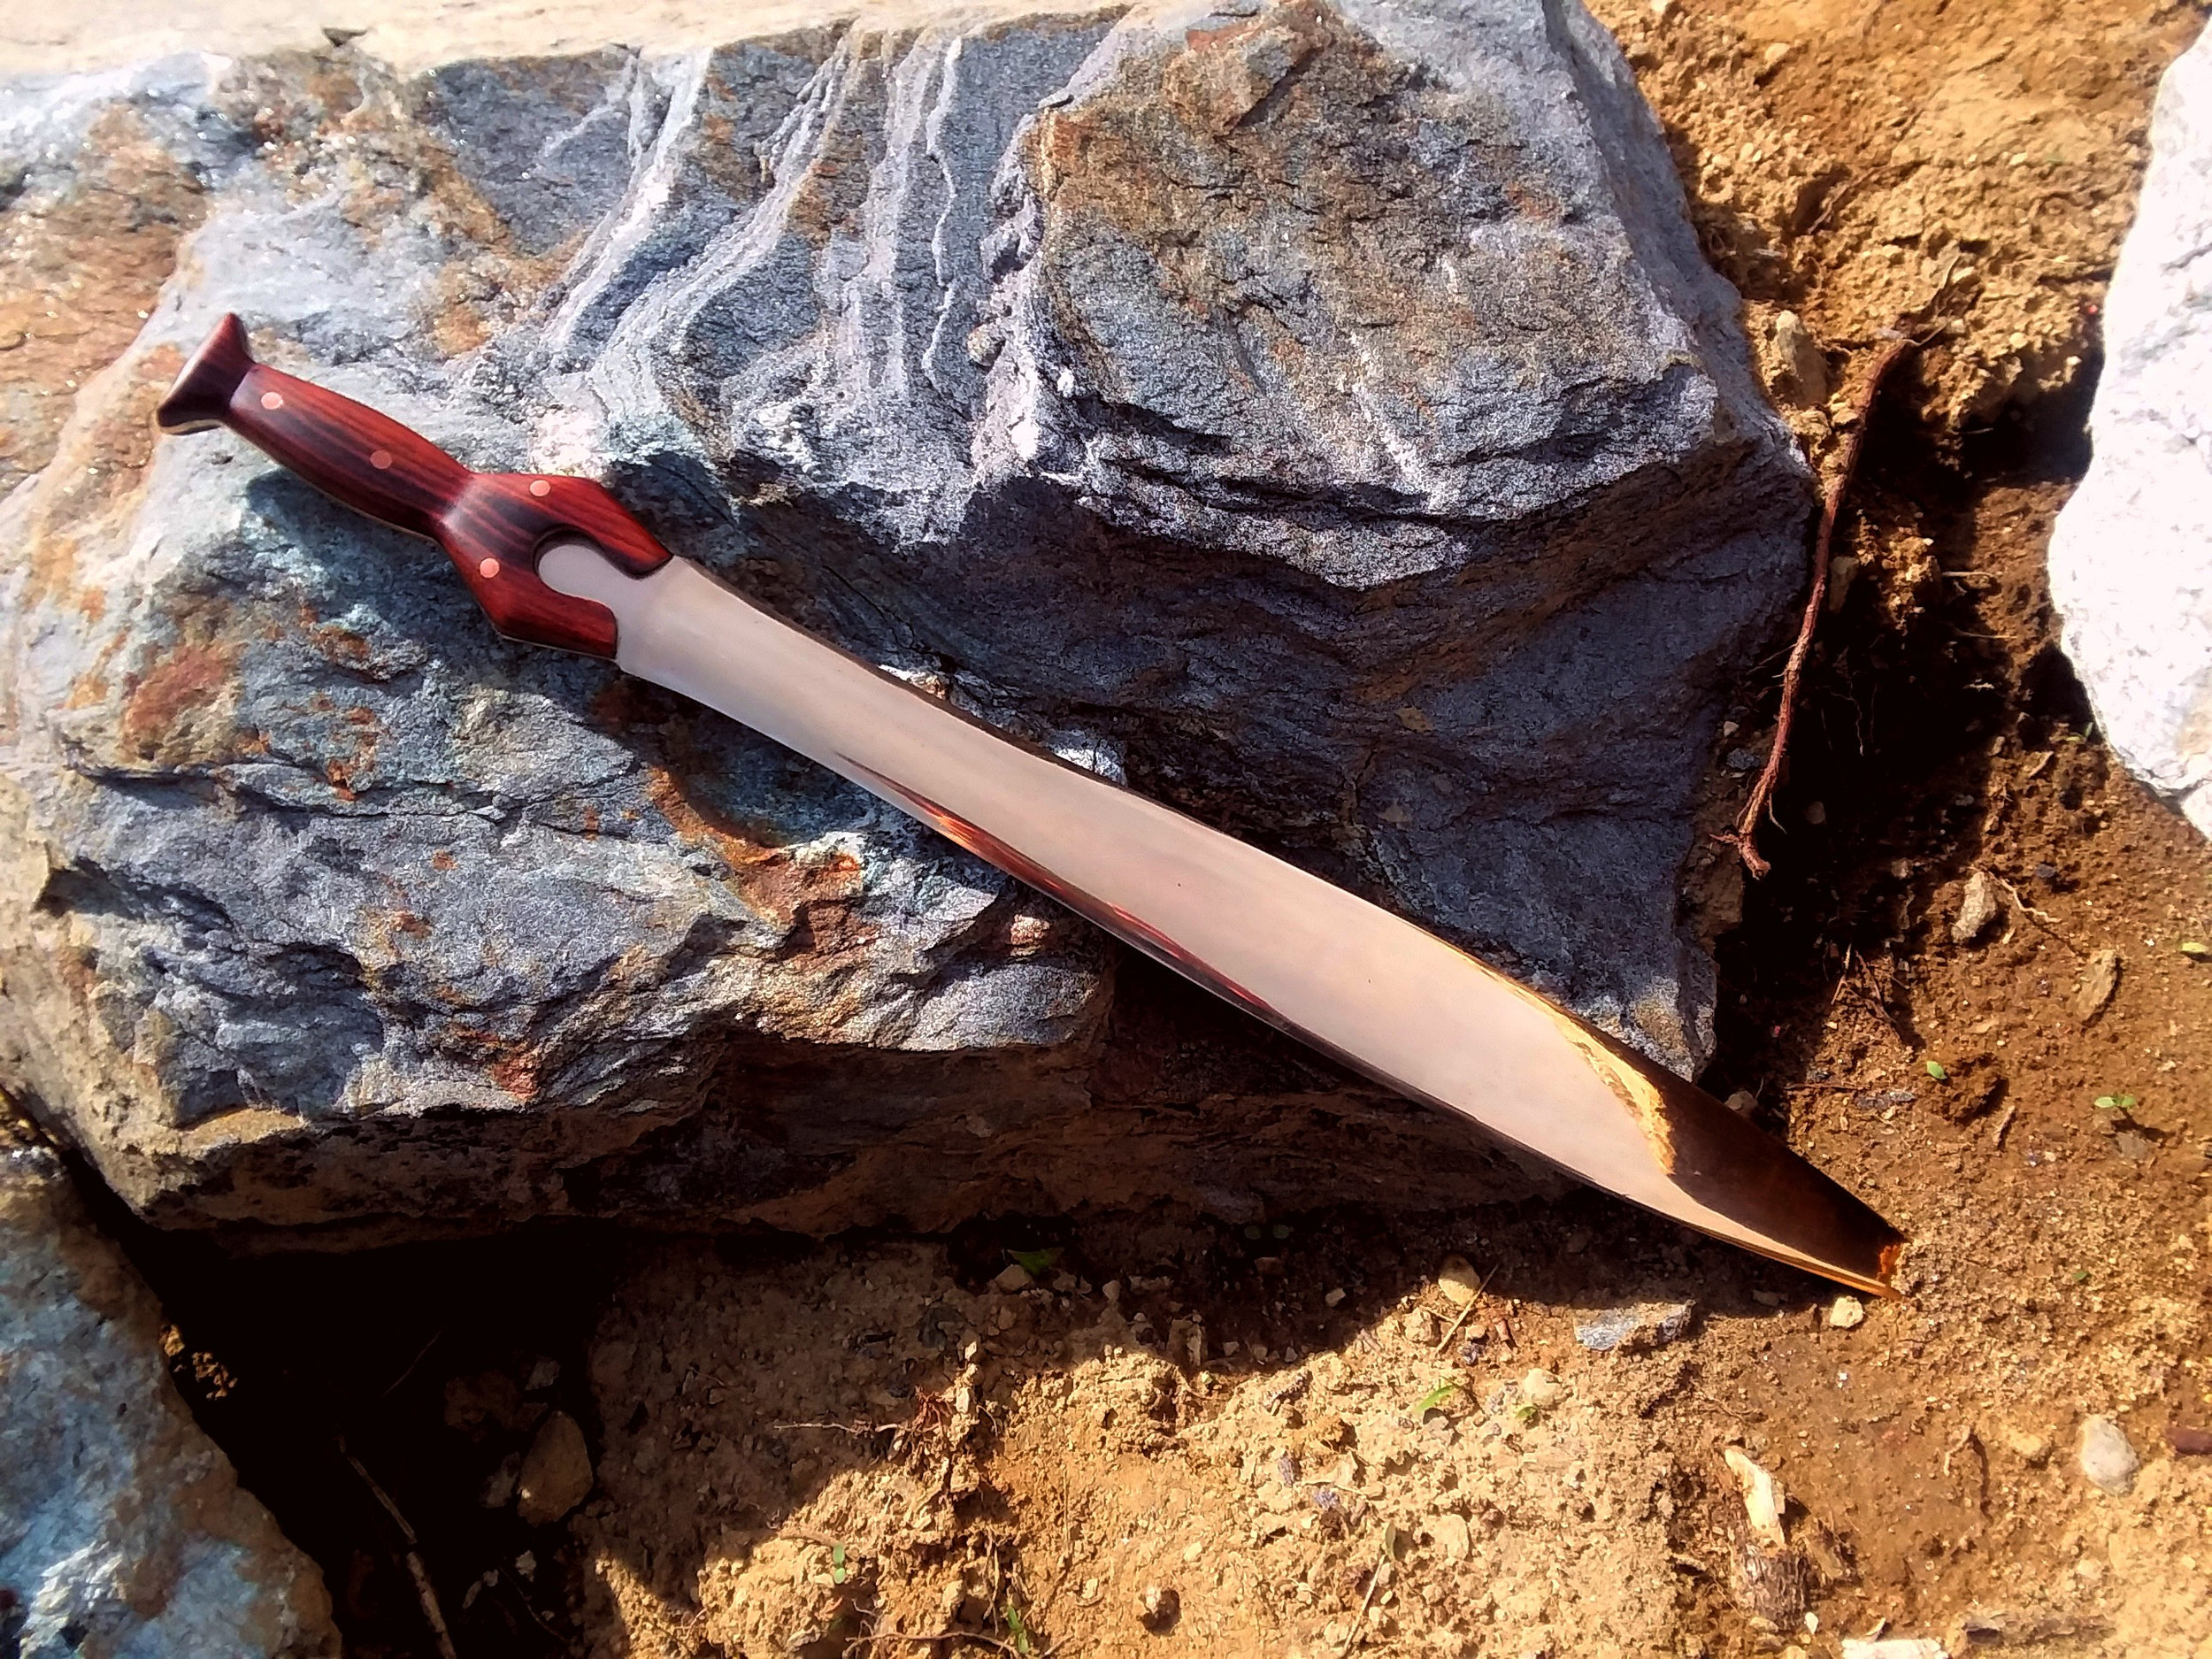
While not necessarily optimal for this project, I did also stumble across a gentleman named Neil Burridge. Aside from some mouthwatering bronze swords and spears, he has another item I've quested after for quite a long time: bronze arrow heads. At five pounds a pop, and the pound not being what it used to be, that is a screaming good deal. I reached out to him requesting a socket diameter, trying to determine their suitability for this or any project. I did make contact, but unfortunately at the time of writing he has not provided the necessary dimension. I may well revisit this though. For the beauty, and at such a good price, I may well just take the gamble and build arrows special just for them.
You may notice I'm waffling a bit here. Not finding exactly what I'm looking for, at least not at the price I want to pay and speed to satisfy my impatience, I decided the best gamble would be a cheap gamble. I grabbed half a dozen points of dubious asian origin off Amazon.

Arrow in the lathe along with intended point
Regret might be the best word to describe the purchase. They're showing rust spots, are crudely made, and are too small. They're 8.25mm ID, and 9.7mm OD. That is .382 inches, and I would like .500 inches in a perfect world. Of course this isn't a perfect world, historical Manchu arrows were tapered, etc. Oh speaking of tapers, these have a straight walled socket, they're not tapered....... but you've got to piss with the cock you've got, so to speak, so we'll do half a dozen shafts with them.

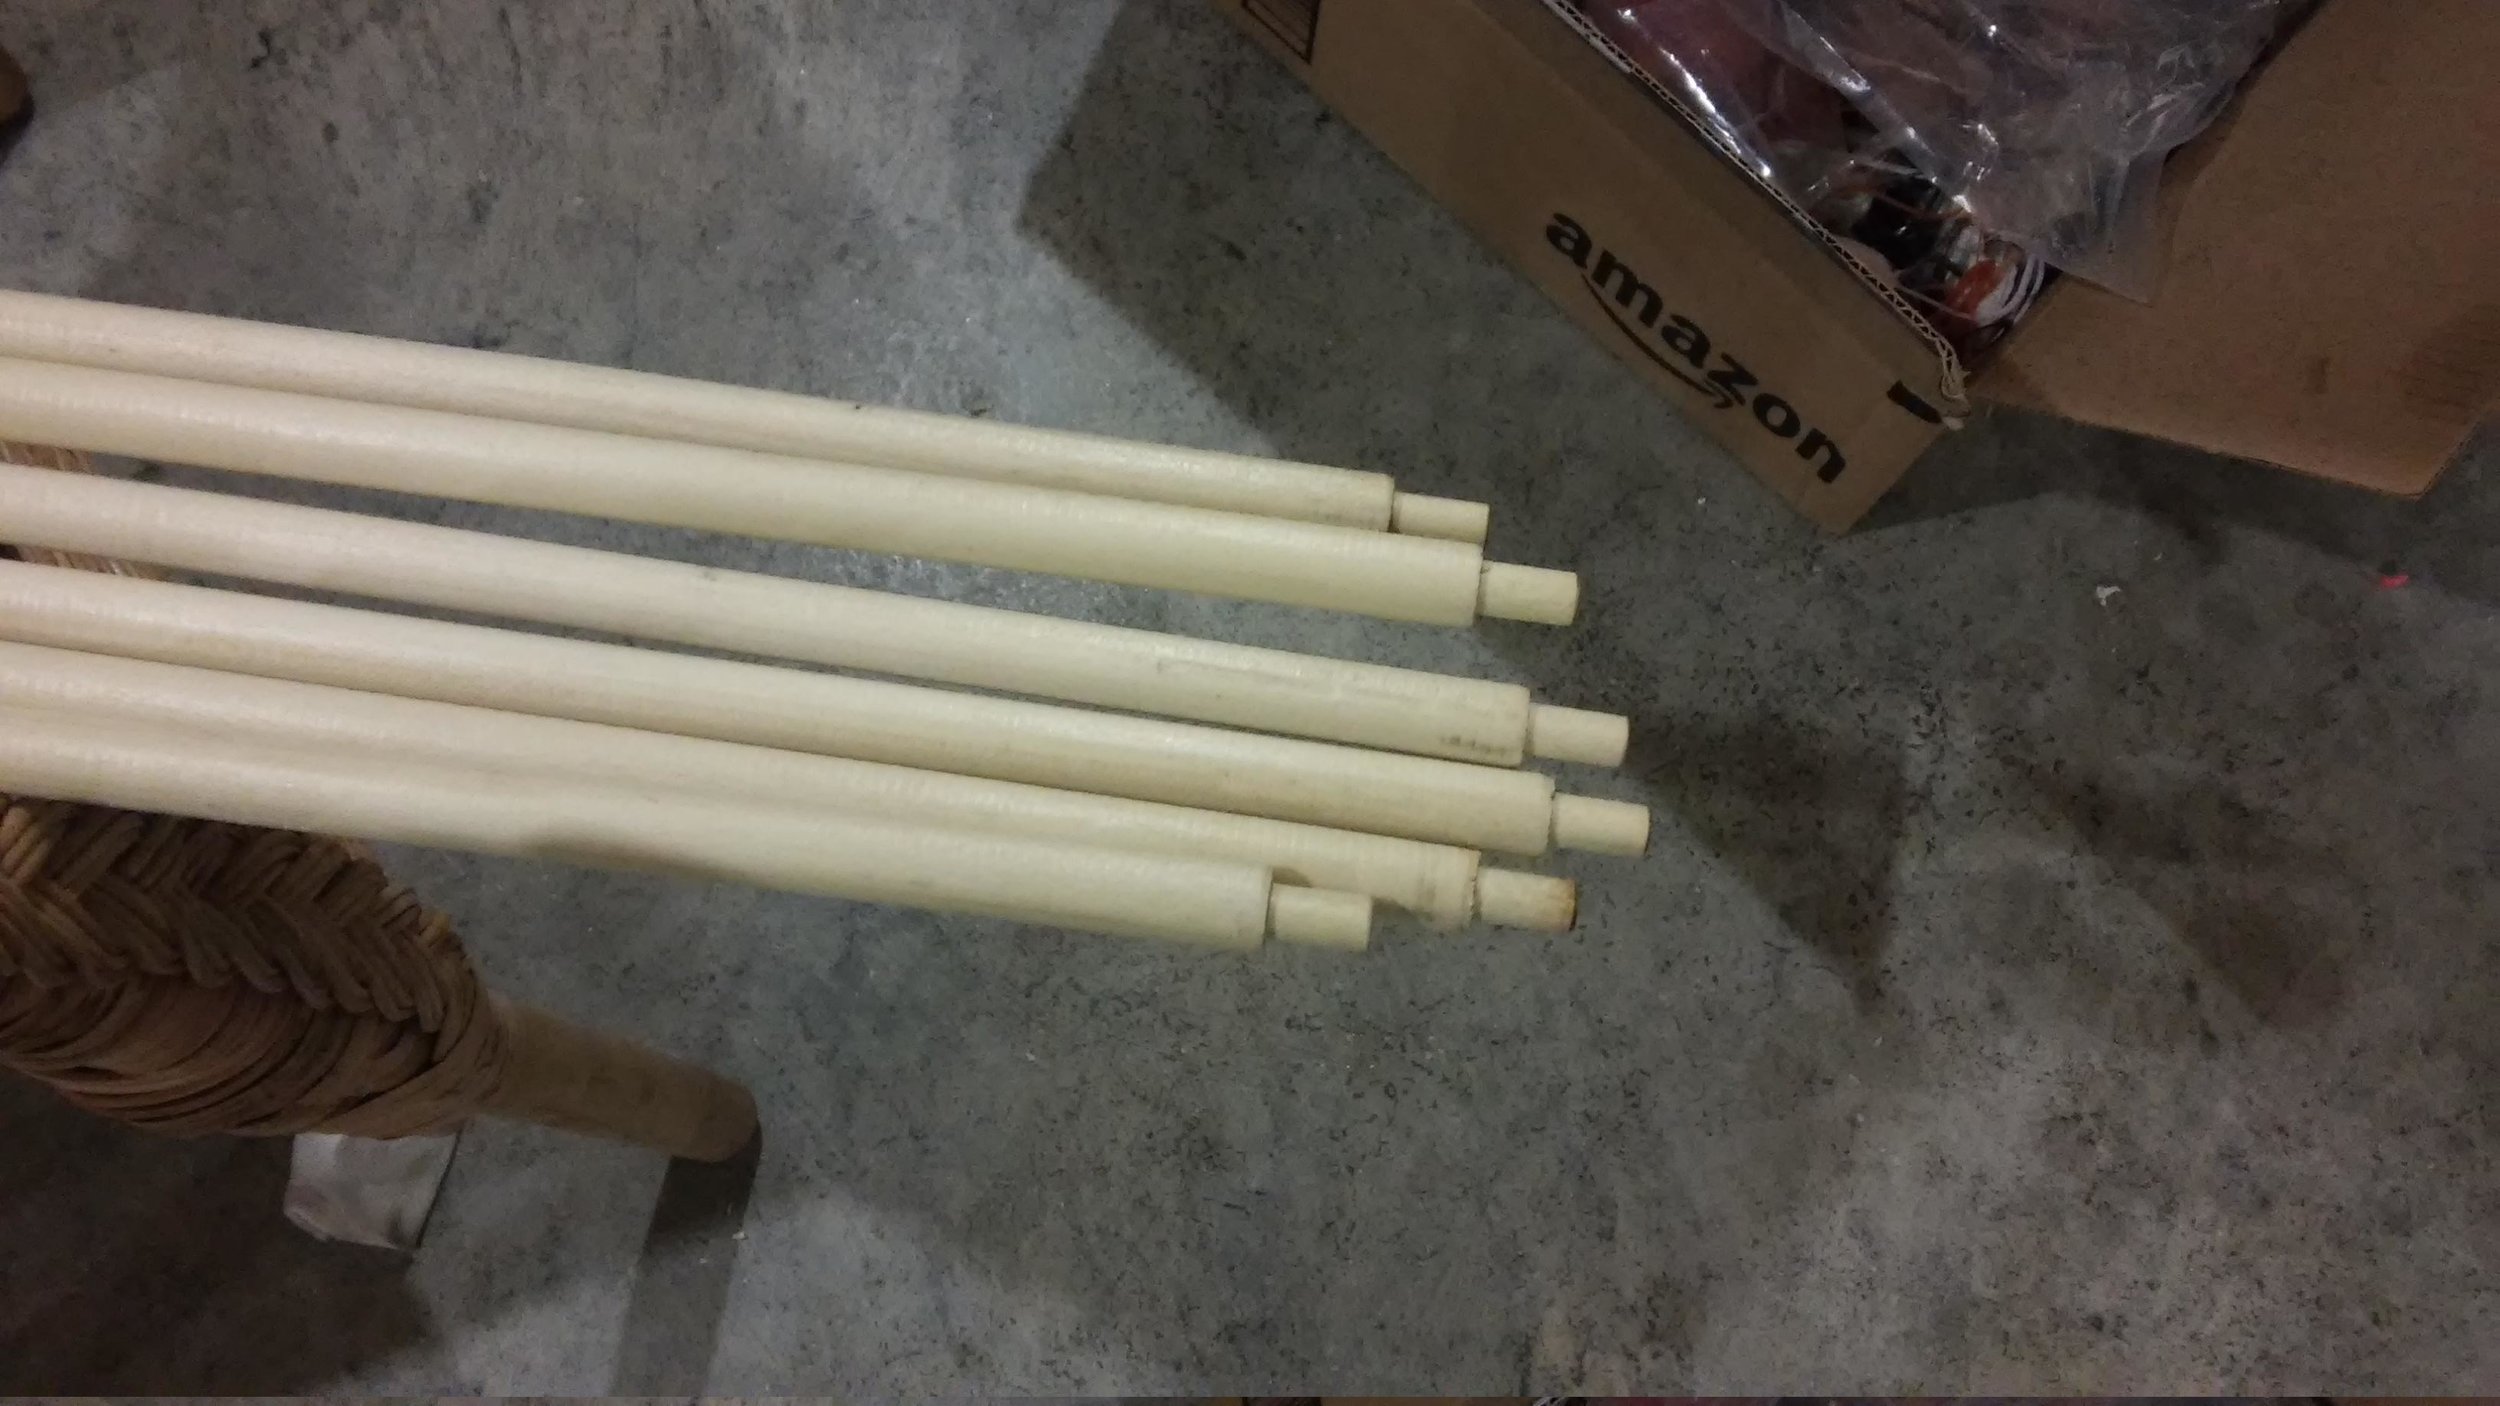
The straight shank for the arrow heads cut on the lathe, over-length, ready to be cleaned up and individually fitted.
First step is to chuck them in the lathe. The straight walled socket sounds like a good idea, but really is actually quite dim. It means, if you don't have a machine lathe or arrows with a perfect 8.25mm OD, free hand turning will be a slow and fraught process of guess and check. It also means the depth must be PERFECT. The point can only distribute the load effectively at the tip of the socket and at the rim. The straight walls will basically be along for the ride. Chuck it up on the lathe to start then, and guess-and-check your way to the correct depth on each one to fit.
Fitted shafts ready for points to be bonded on.
It was a little bit painstaking, but I used the belt grinder to fit the shanks to each point, clean everything up, and add a smidge of a chamfer to make my life easier.

Points bonded on using bohning ferr-l-tite
I bonded the points on with a Bohning product called Ferr-L-Tite. It'd always served me well in the past, so here I am hoping it'll fill any gaps and do me right with these ridiculous straight shank points.
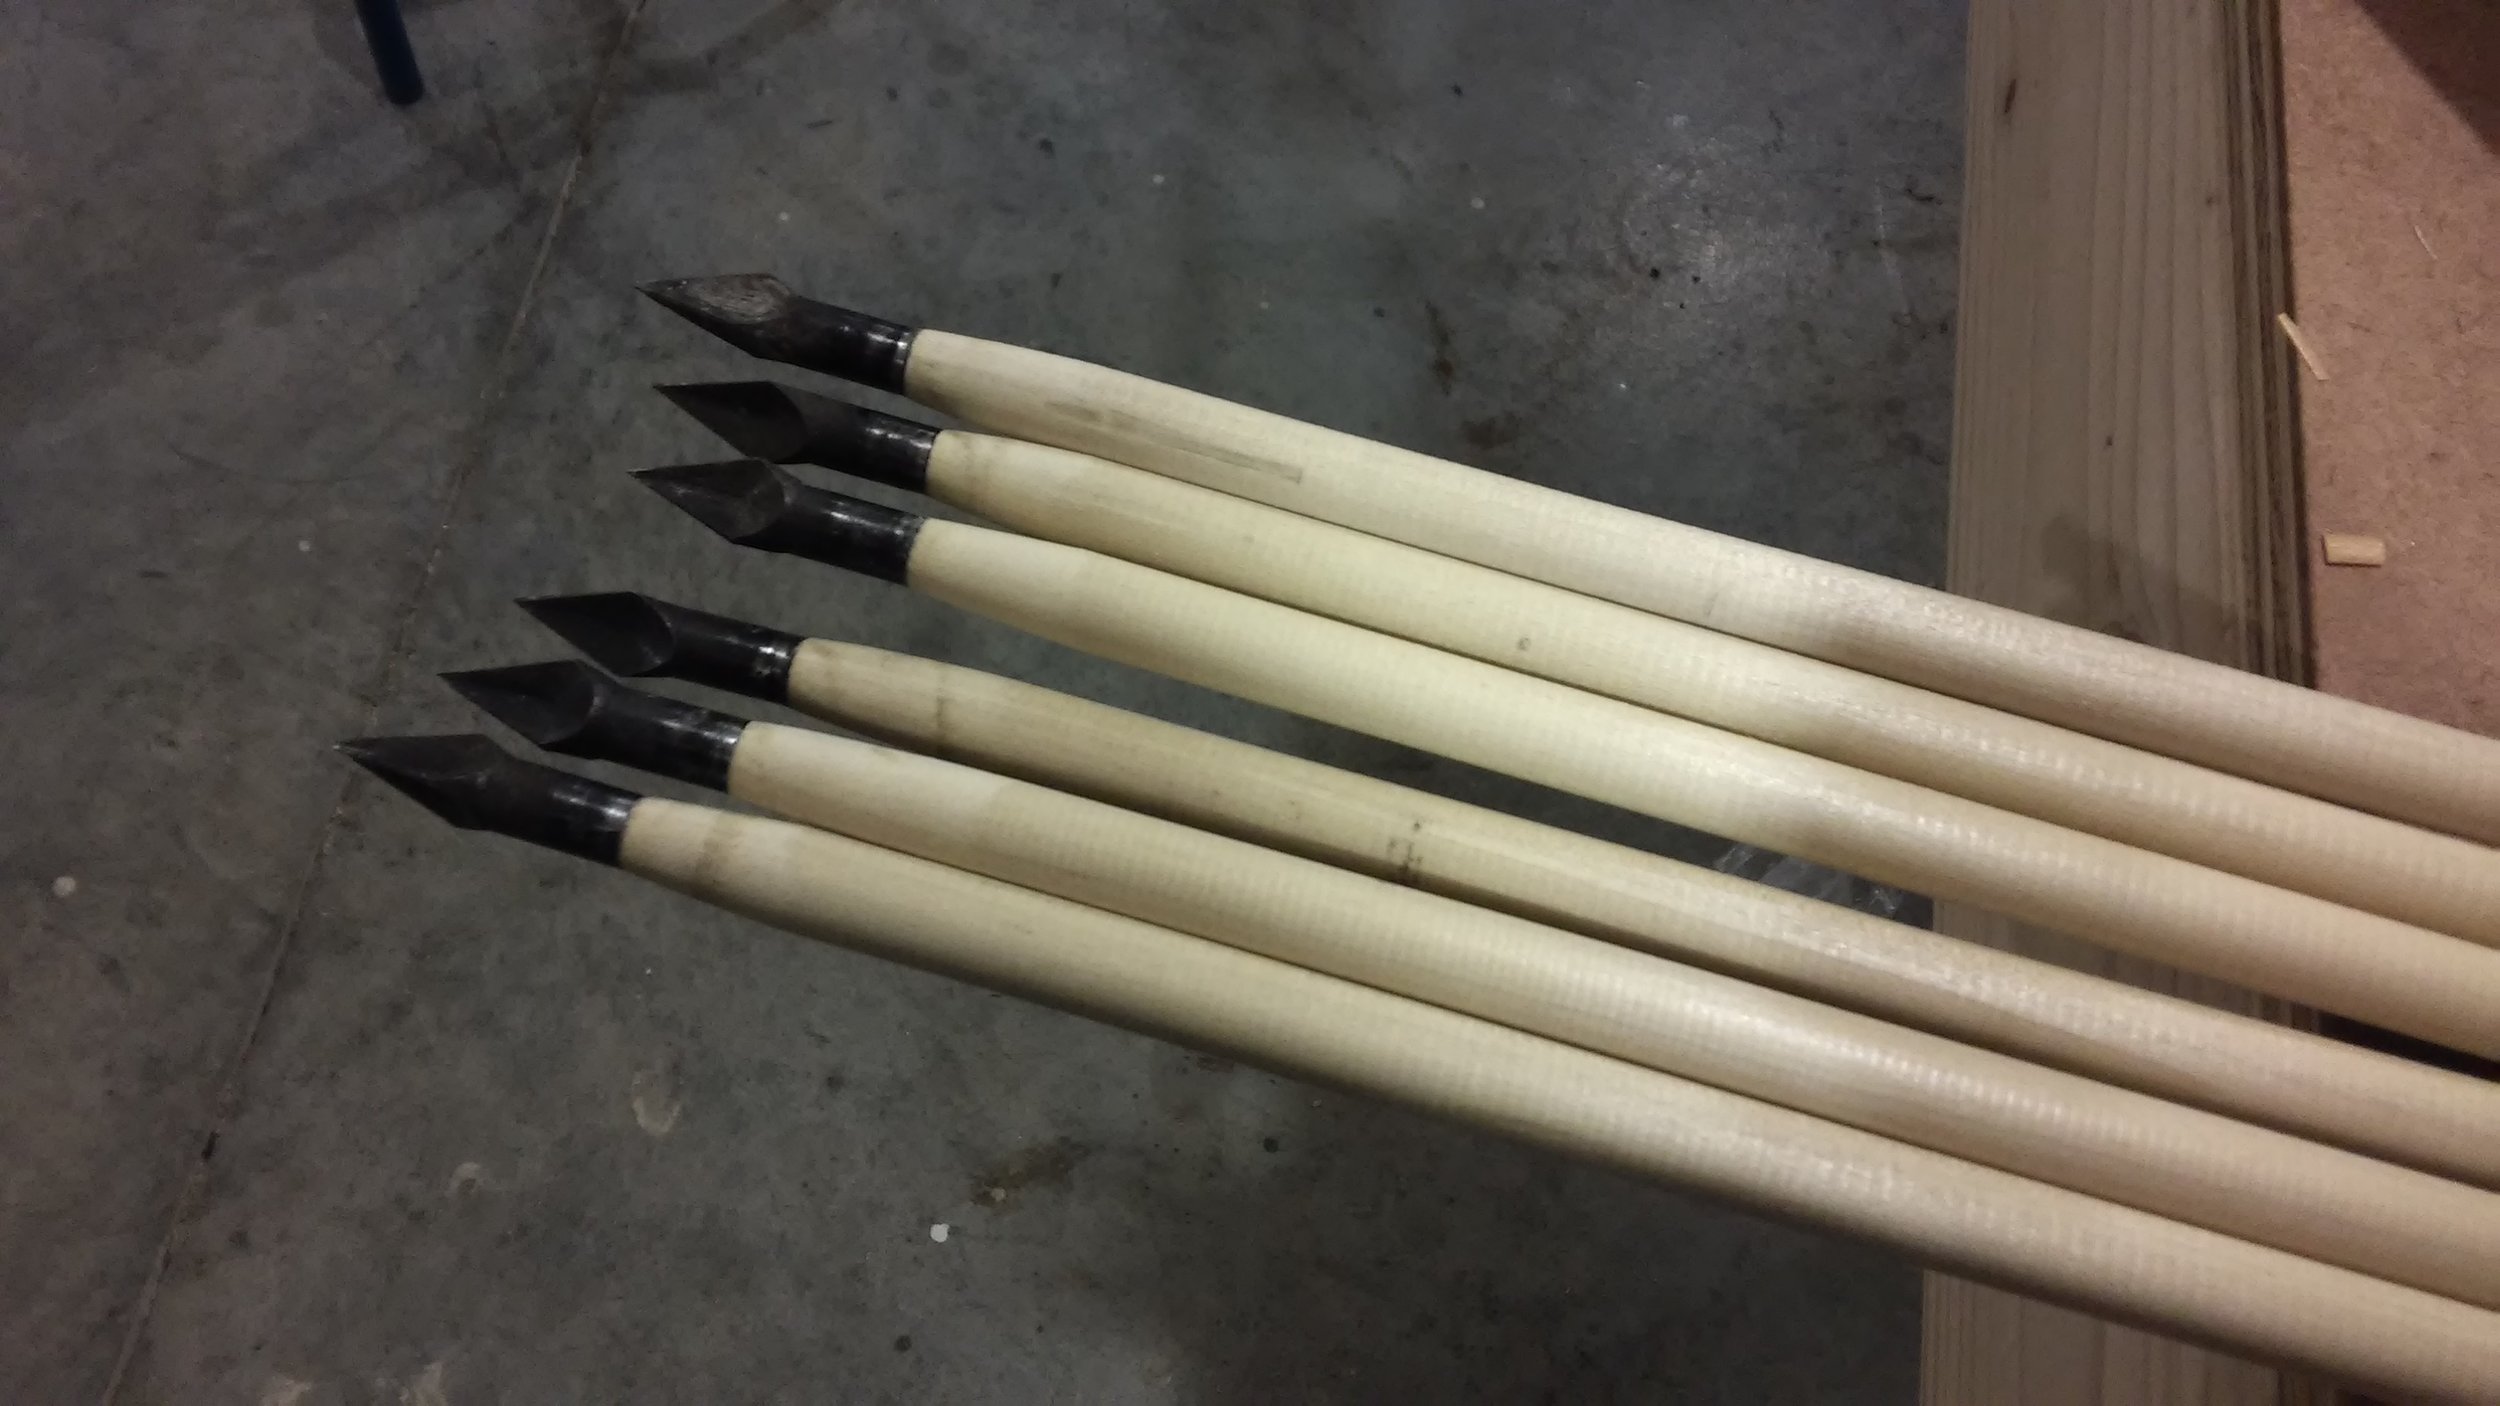
All finished! points cleaned up, and tapers put on to remove that ugly shoulder.
Back at the belt grinder I used a block to lift the shaft above the protruding corners of the points and put a nice taper on each to get rid of that excess shoulder. The result doesn't look nearly as ridiculous as I had anticipated. The irony, I actually rather like how this came out. Heres to hoping that they stay on and don't shear or get pounded further onto the shaft splitting it.

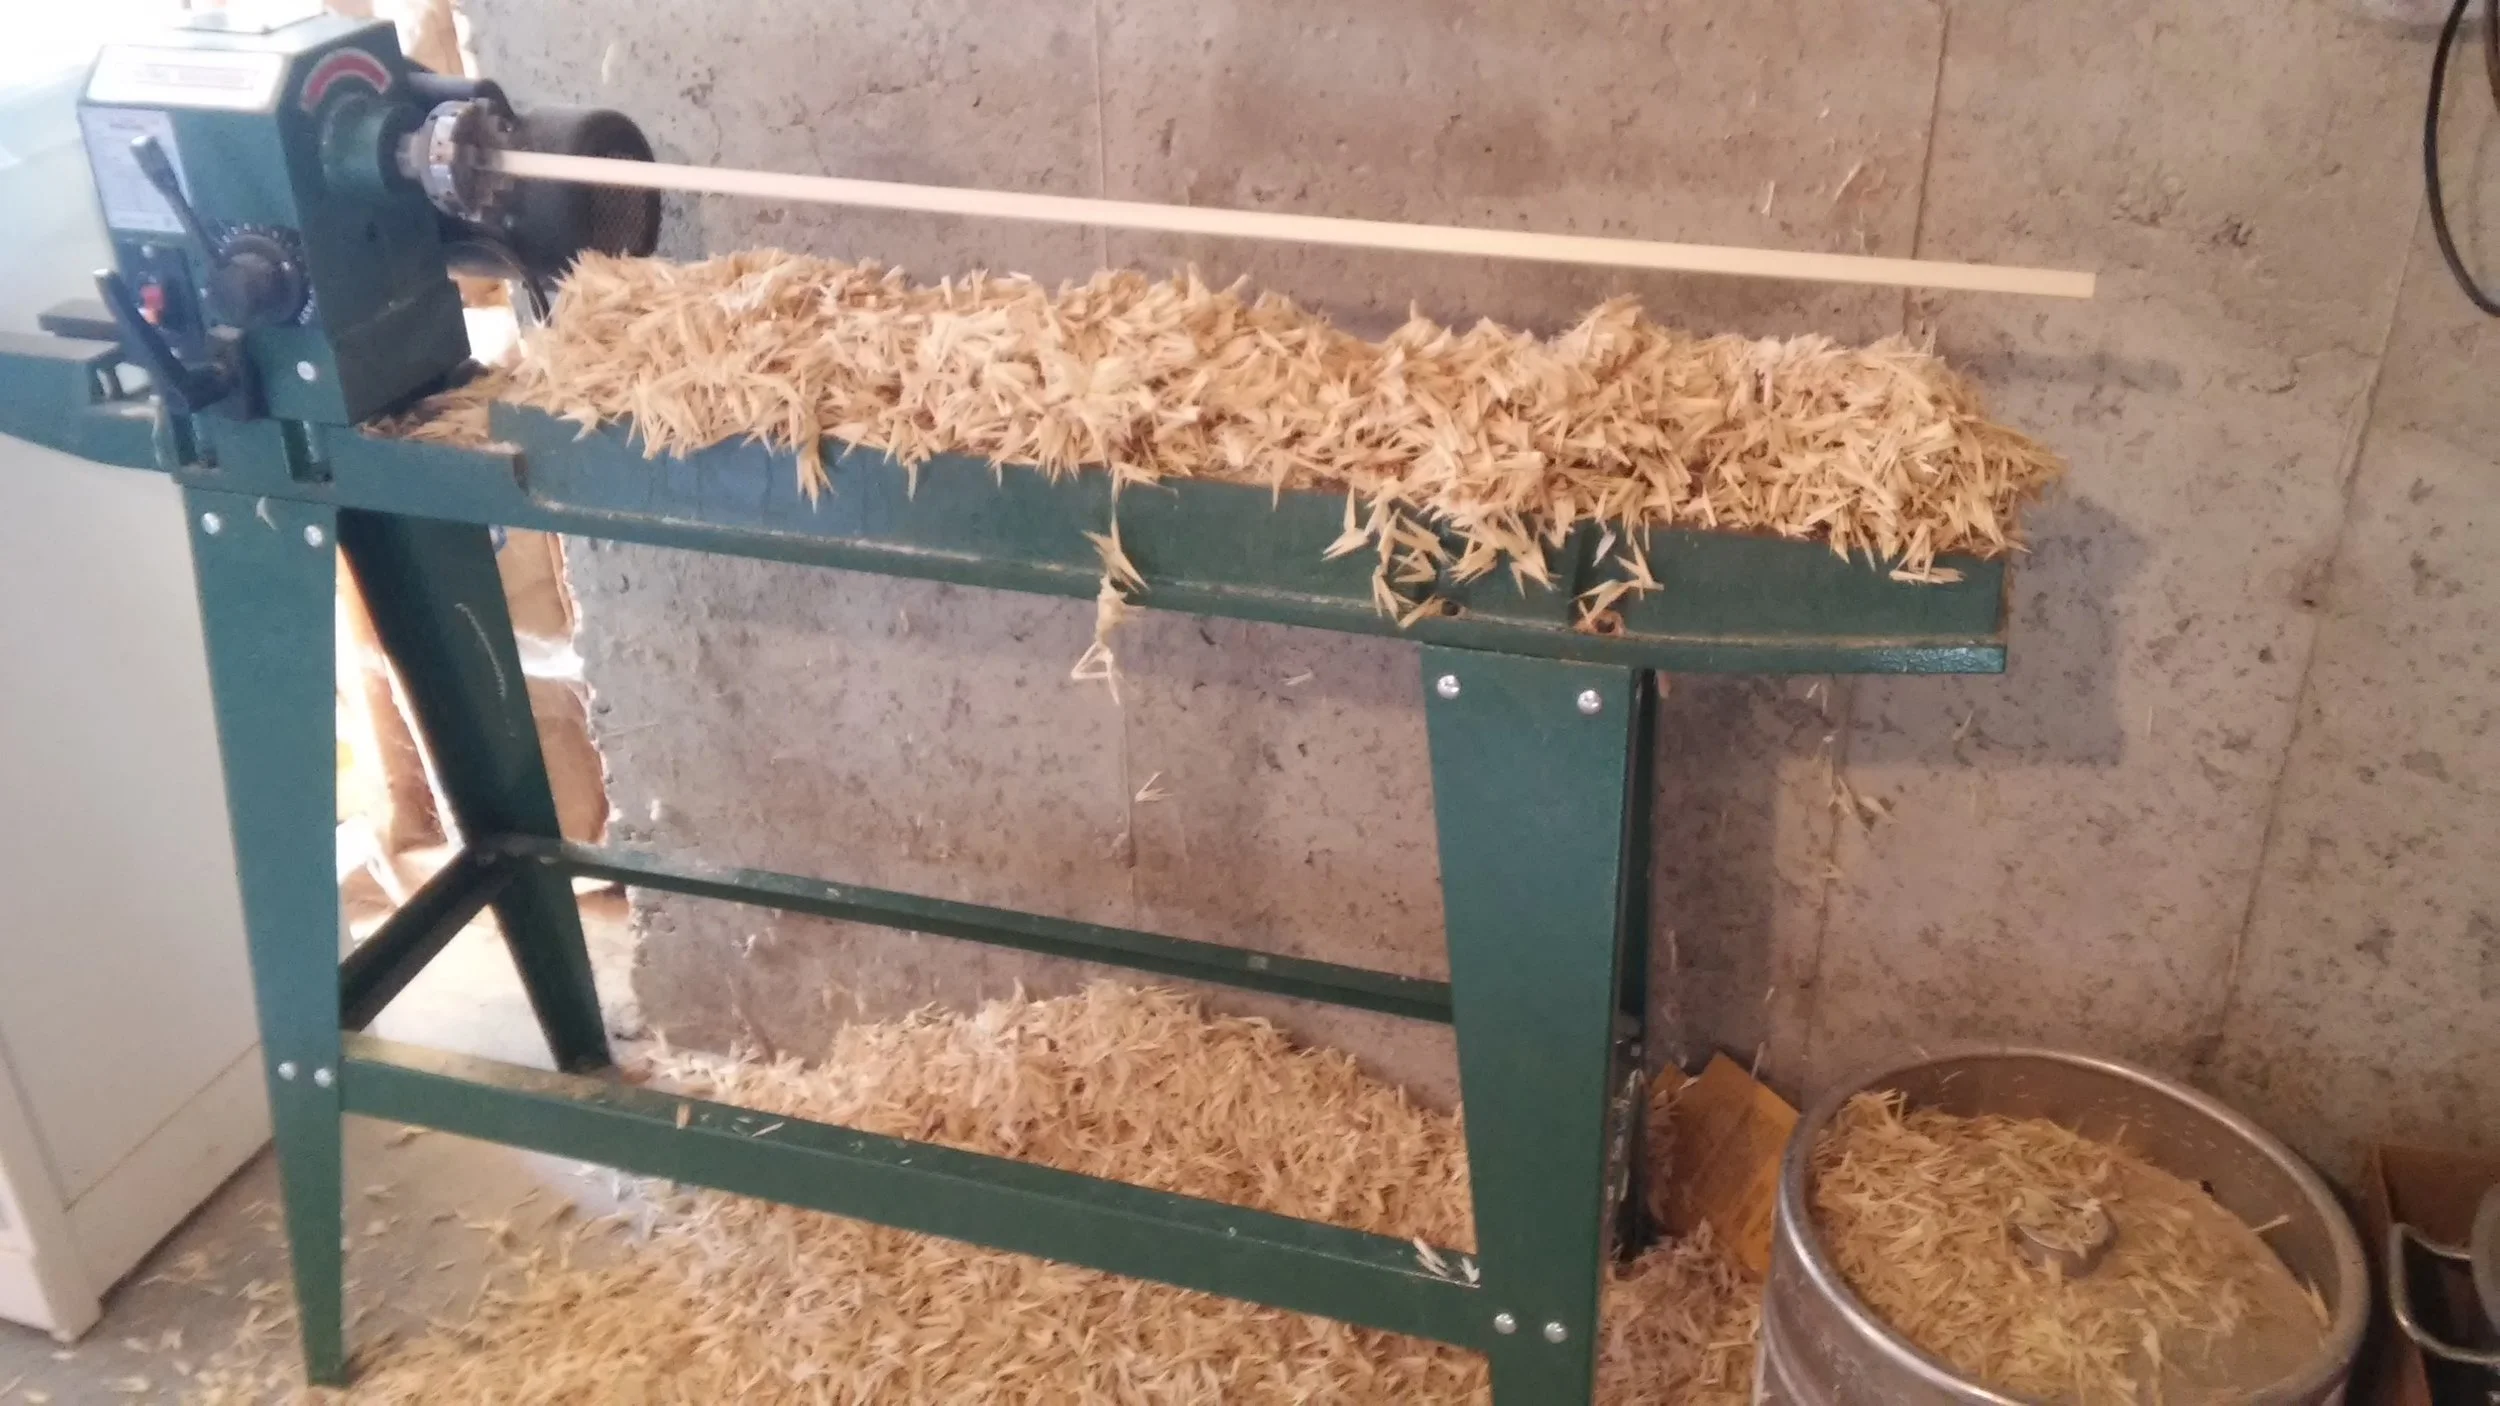
Finish sanding shafting on the lathe
Next up on the menu is sanding, straightening, and finishing. These shafts start fairly straight, as they were sawn from straight blanks, however have a few minor undulations from how they were spun round.
Fixing this is part of the sanding process. This is better done longitudinally, but I'm lazy and have a lathe, so we'll use that. An electric drill can be used, however this can be done manually as well and the tools and processes are the same. These arrow shafts are half an inch in diameter, and sandpaper has thickness, so I did some napkin math combining the two and drilled a long deep hole in scrap piece of wood. This is then sawn in half leaving a trough. I then held the sandpaper in said trough, and applied it to the lathe-spinning shaft. The result? High points and minor inconsistencies in straightness are removed making smooth and beautiful shafting. Once completed it is a simple matter to run up the grits to achieve final finish. Before applying finish, a little reverse bending was applied for the "final" straightening.

Arrows with a single coat of Formby's Tung Oil
Turns out these shafts are too long for my dip tube. No matter, it is too cold out to hang lacquered arrows as well. So I reached for my old standby of Formby's Tung Oil, which is mostly varnish anyway, and wiped a coat on. Given that these are an experiment, that'll probably be sufficient.
Shafts pointed, tapered, sanded, and finished. Ready for nocks and fletching.
Final step was to cut the shafts all to length. Went with 39" on the nose, end to tip. And they clock in at ~1100 grains or 71 grams. I just can't seem to get used to these spears masquerading as arrows.
Next up: nocks, fletching, and shooting..... probably in that order.