New Colors, New Carvings, and a Chameleon Finish
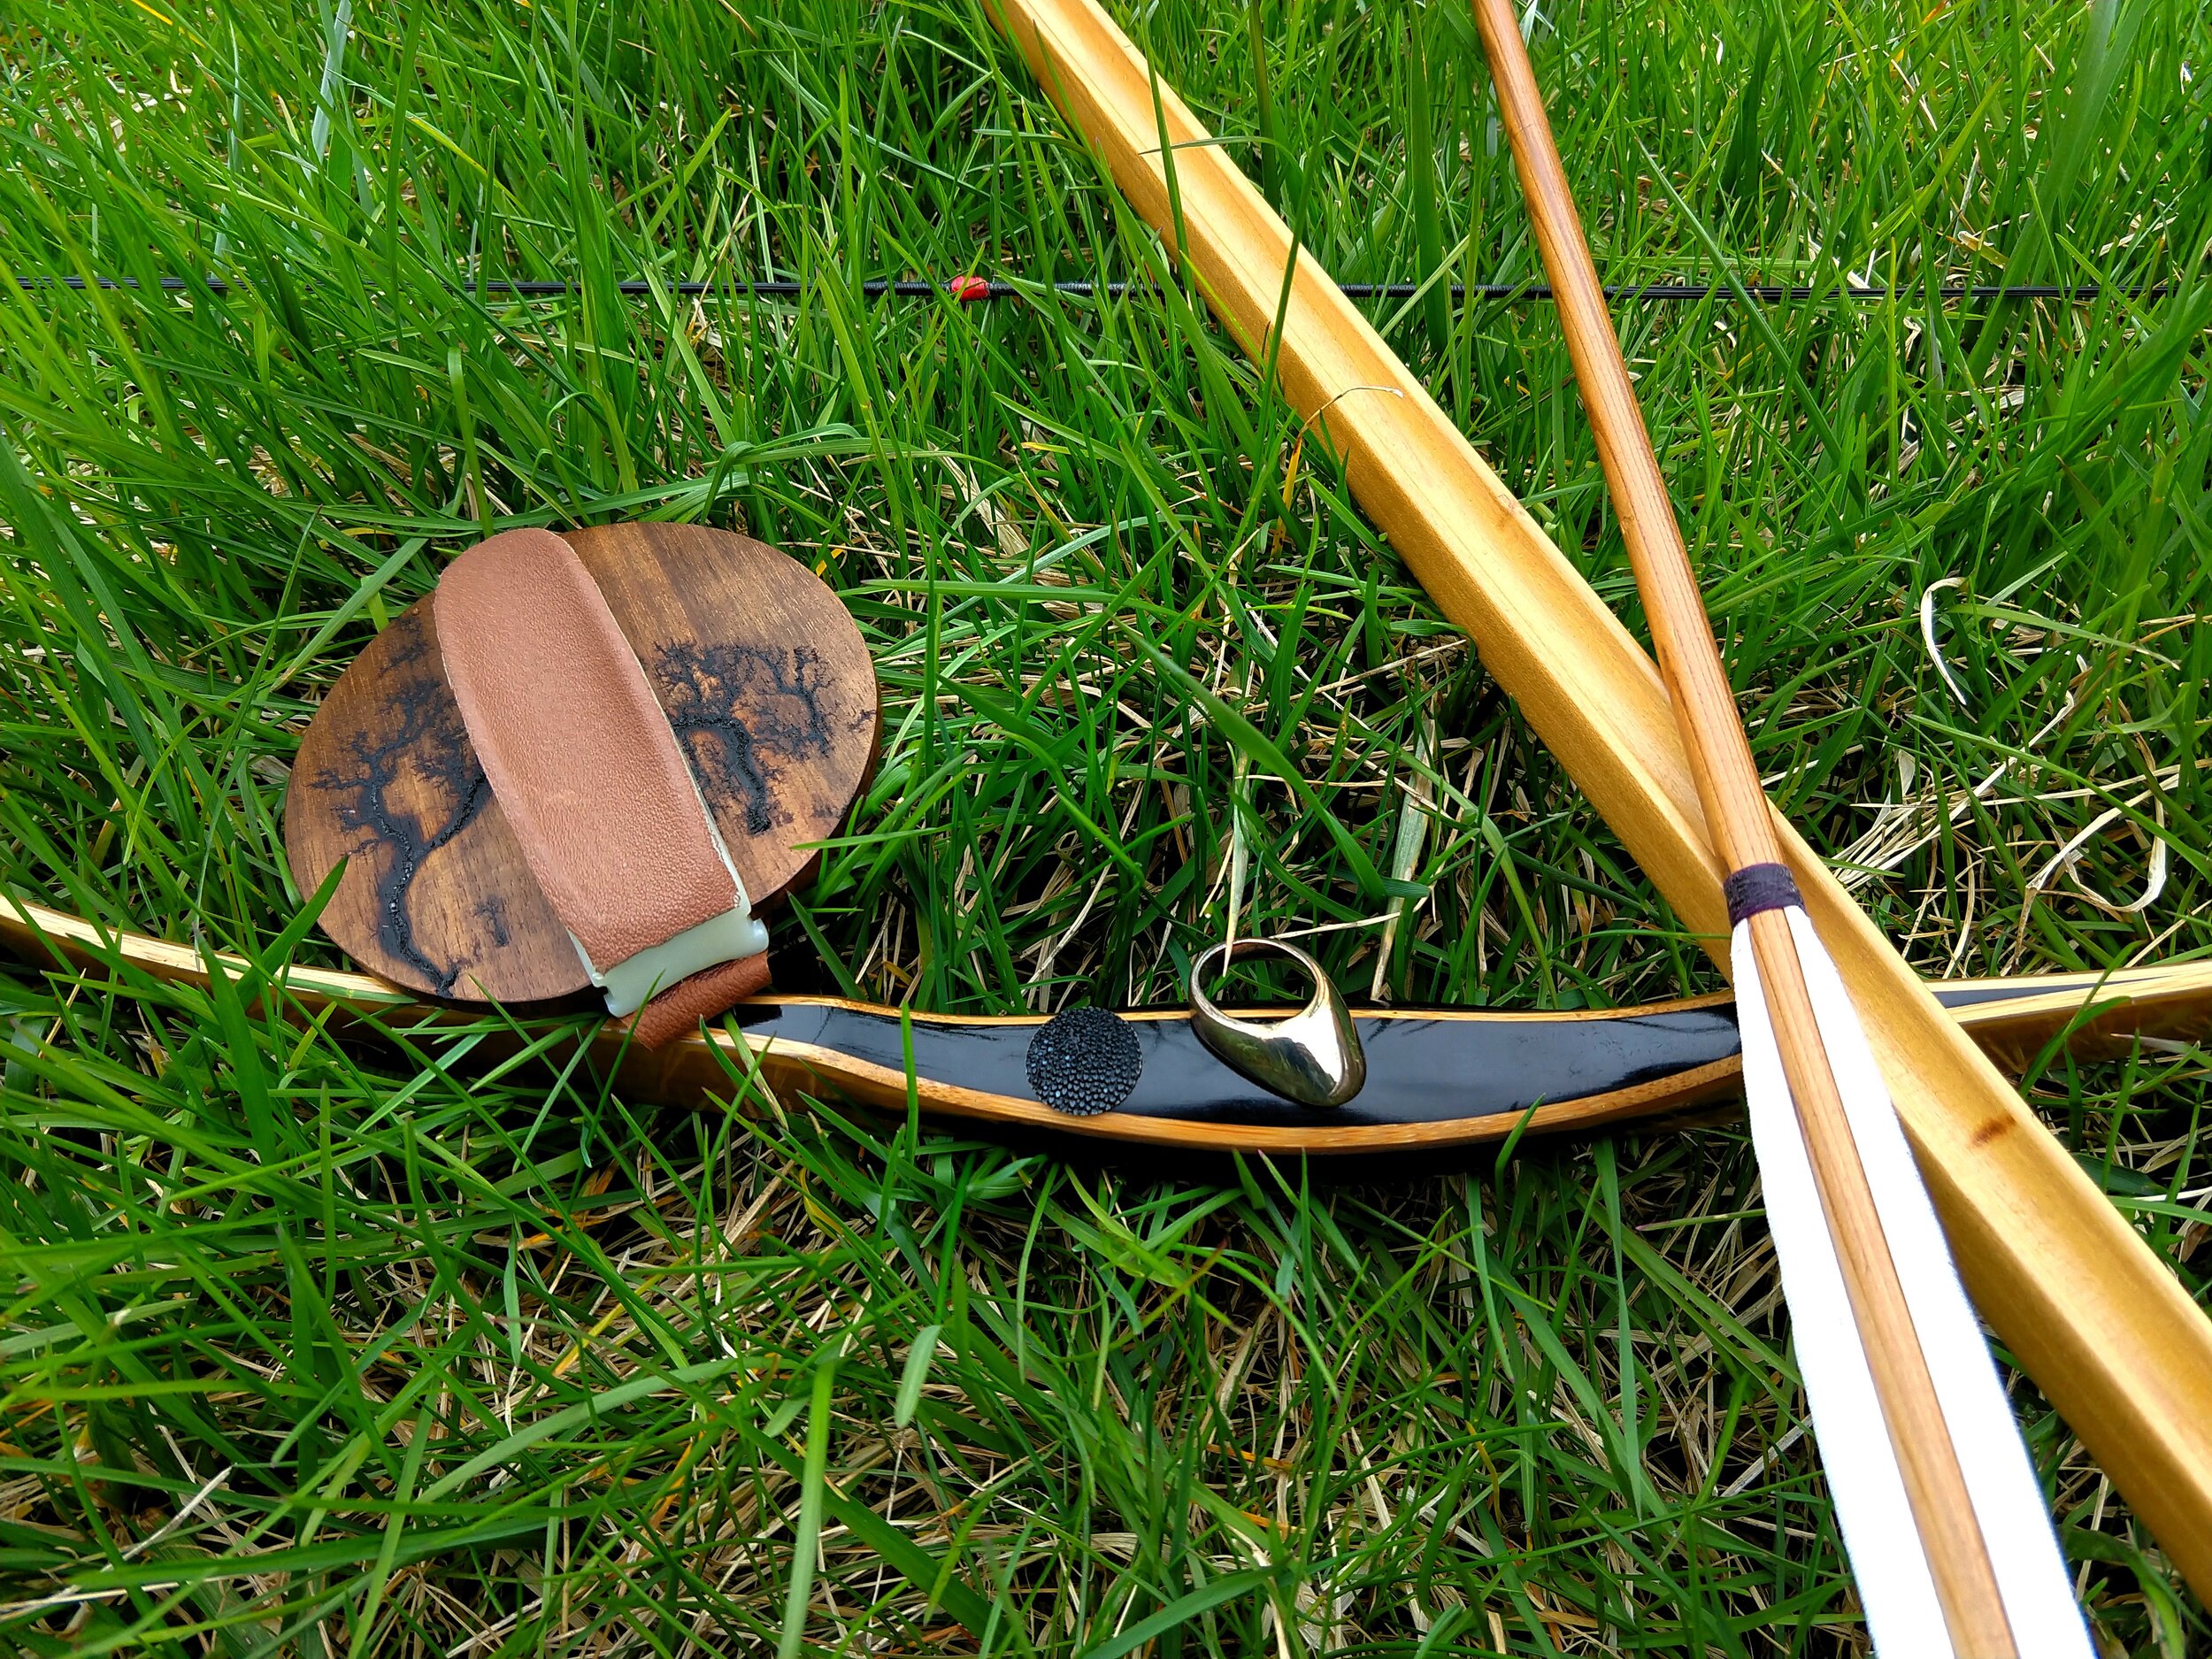
Silent Thunder Ordnance
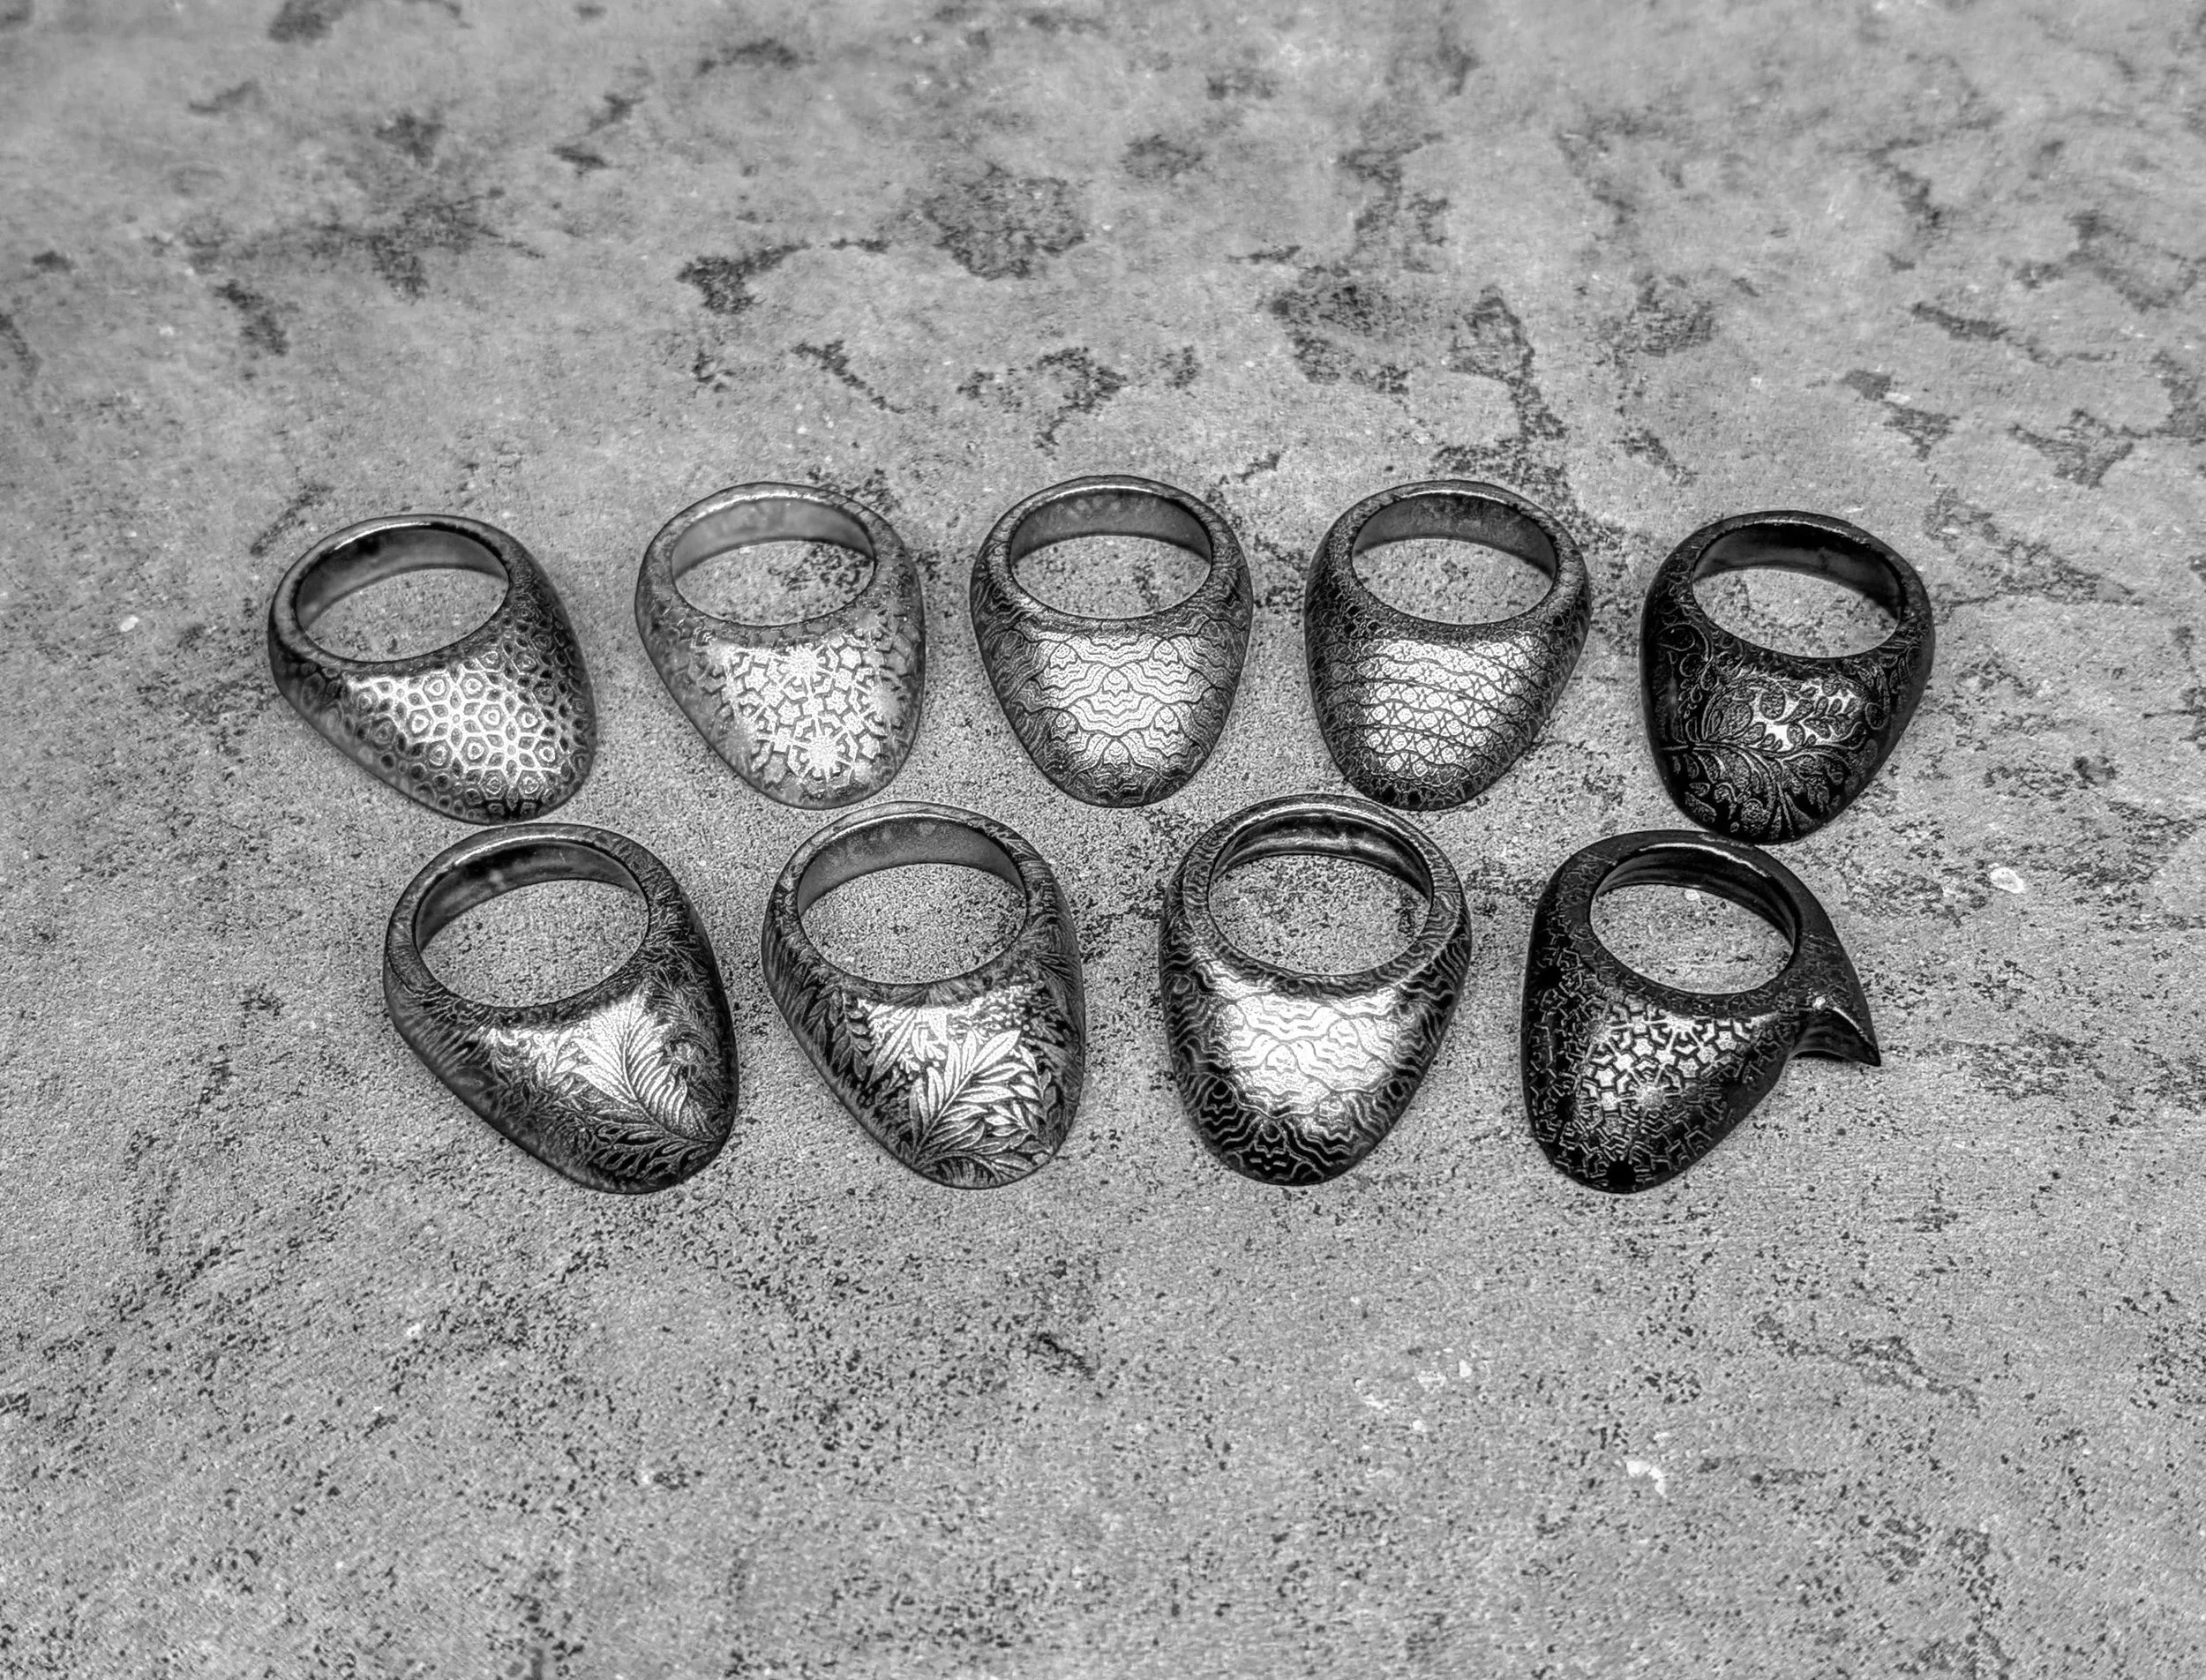
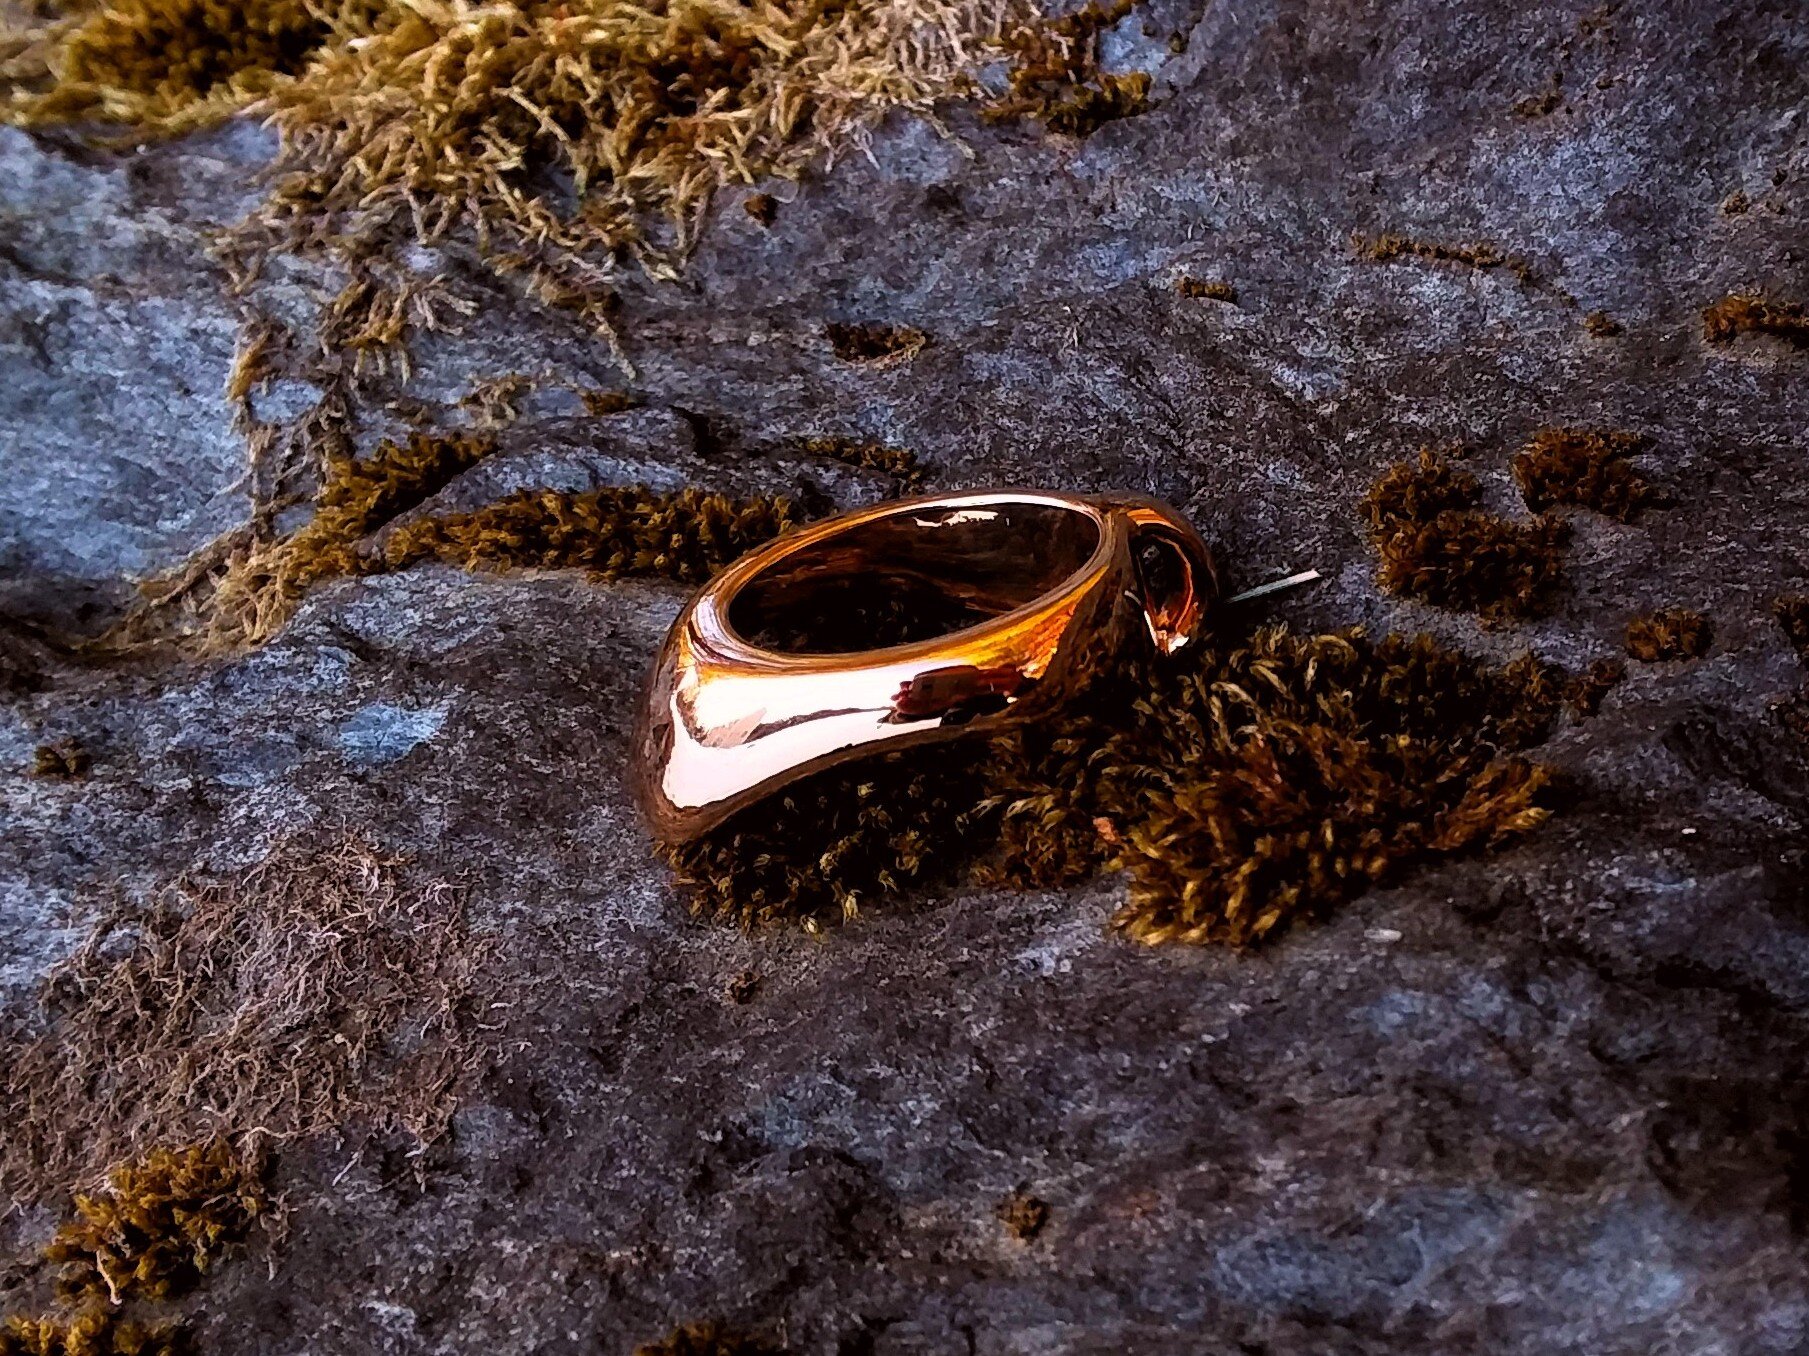
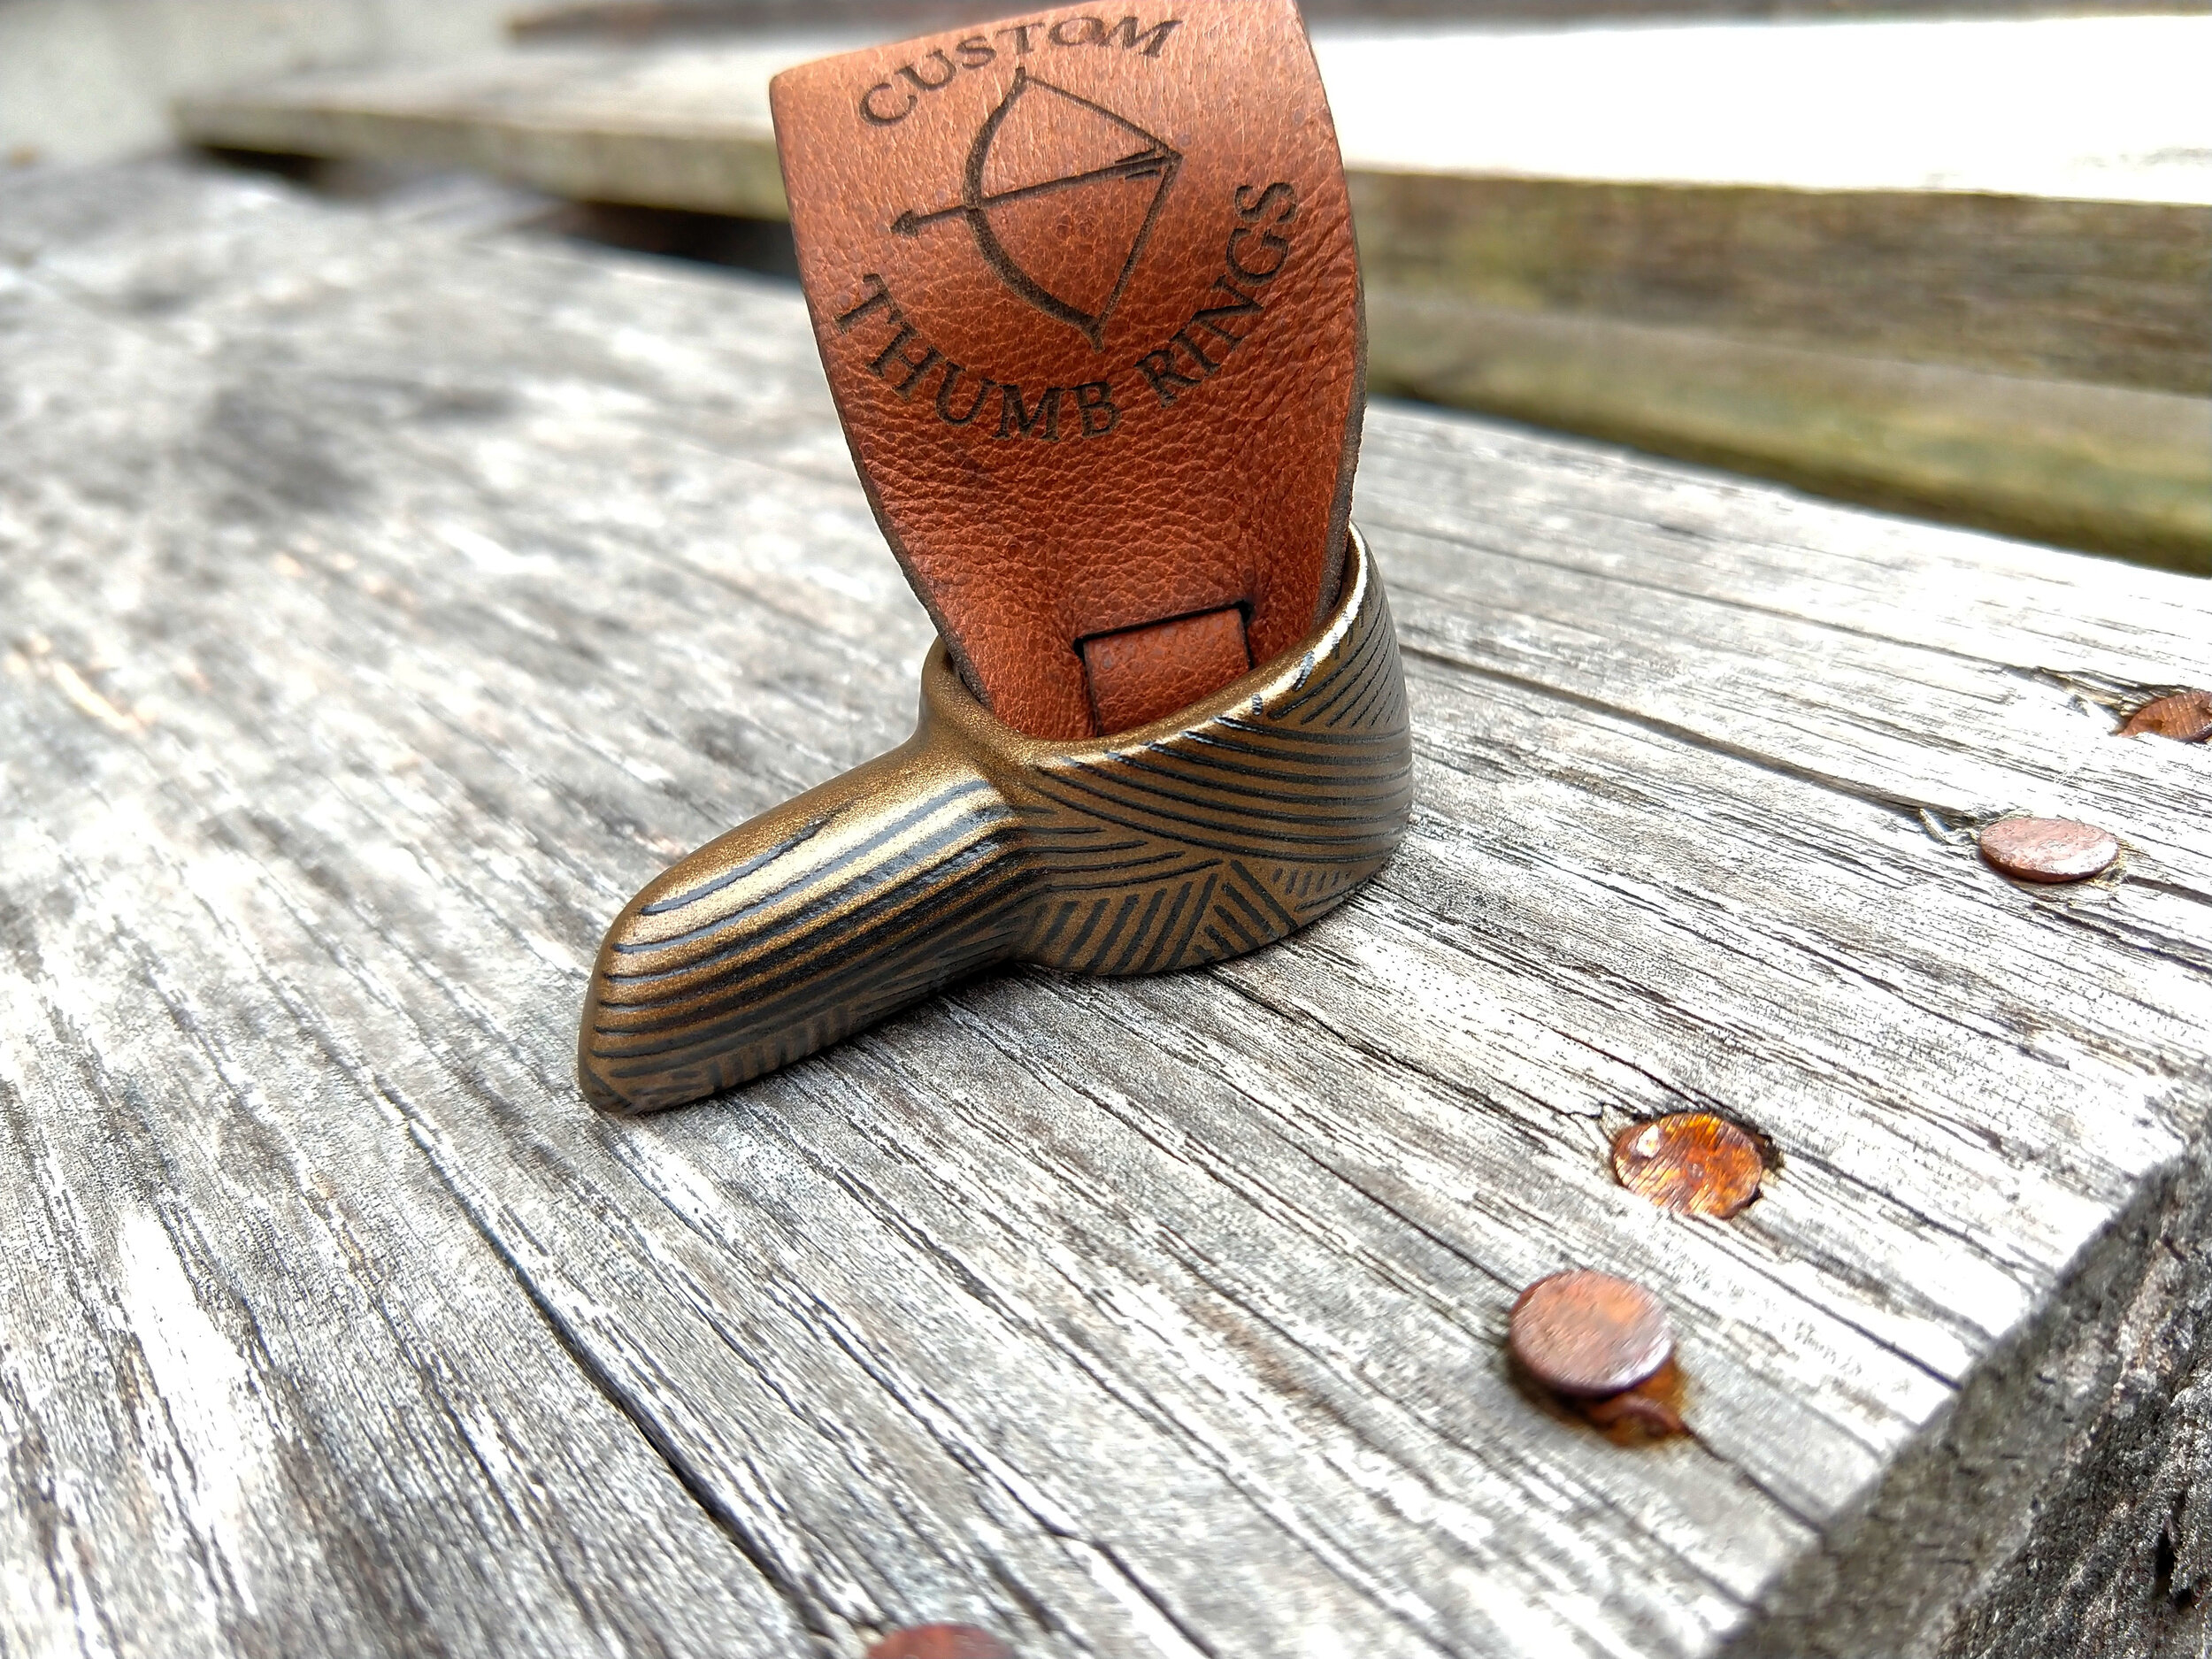
Your Votes Shaped Our New Ring Decoration Lineup
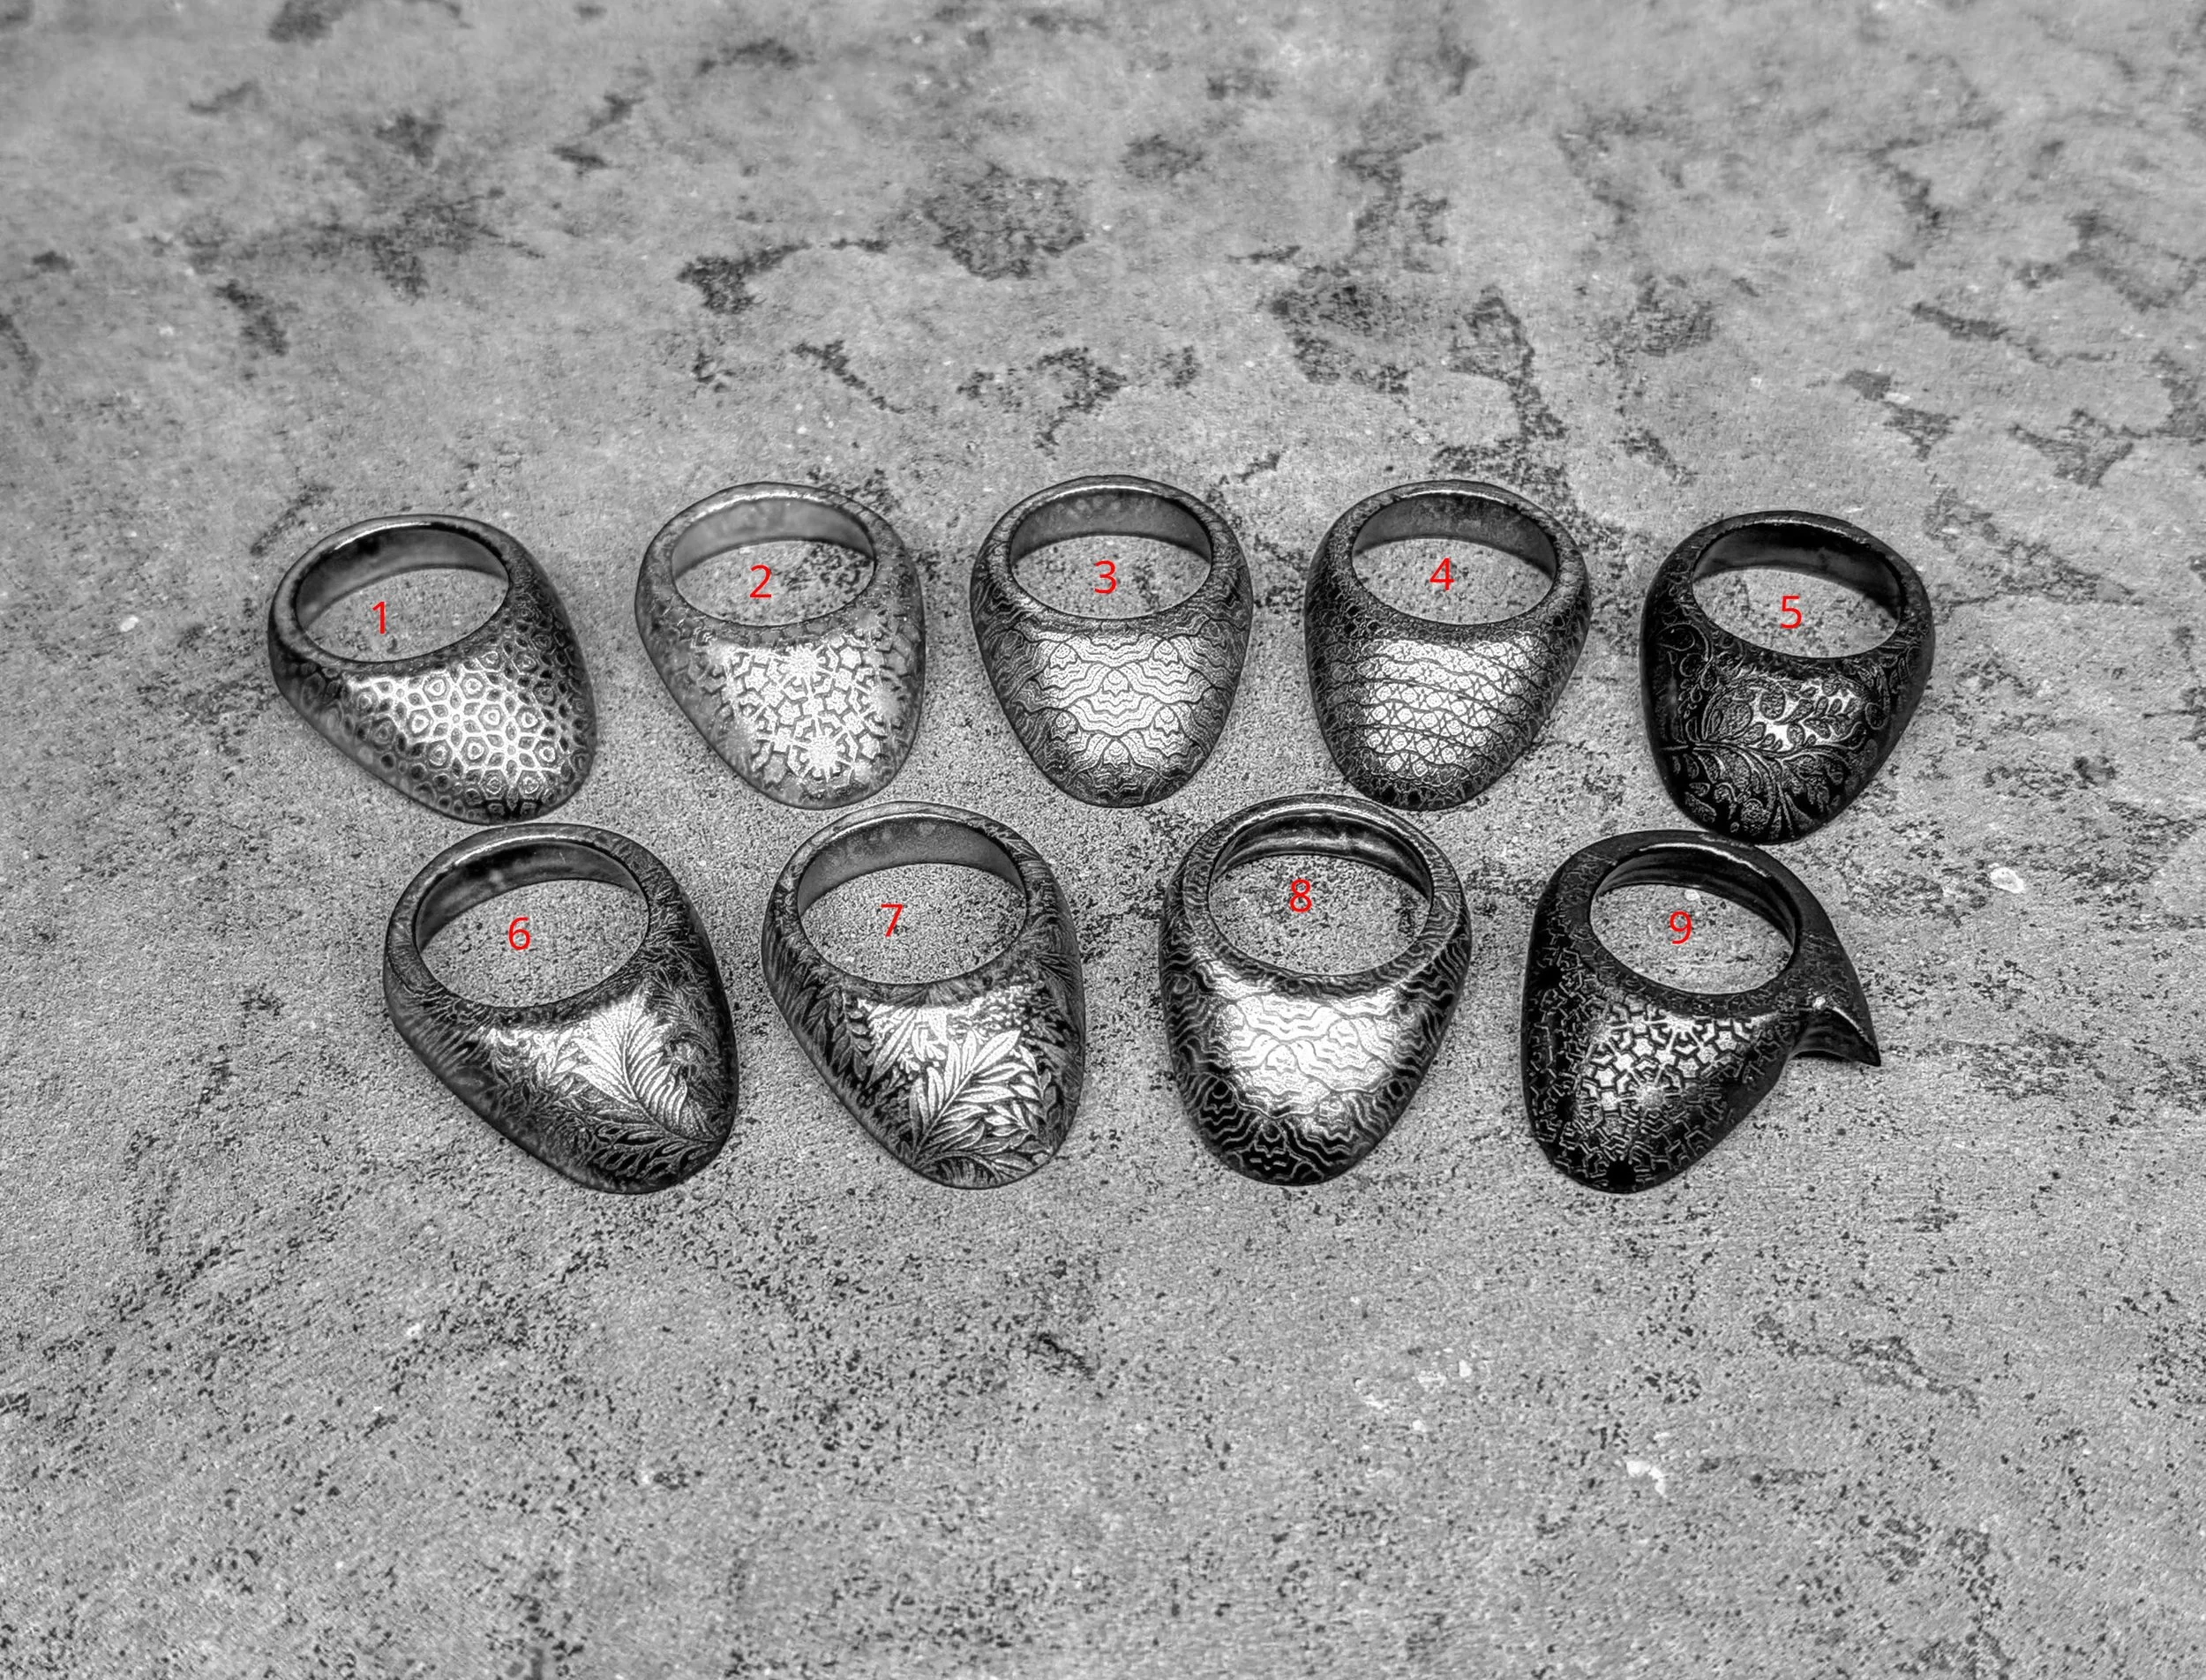
Earlier this year we asked our community to weigh in on ring embellishment patterns, and the results were clear: design #9 was the favorite by a comfortable margin, with #1 and #2 close behind. Equally useful were the patterns that landed at the bottom of the stack, #4 and #5, which told us just as much about what our customers don't want as the winners did about what they do.
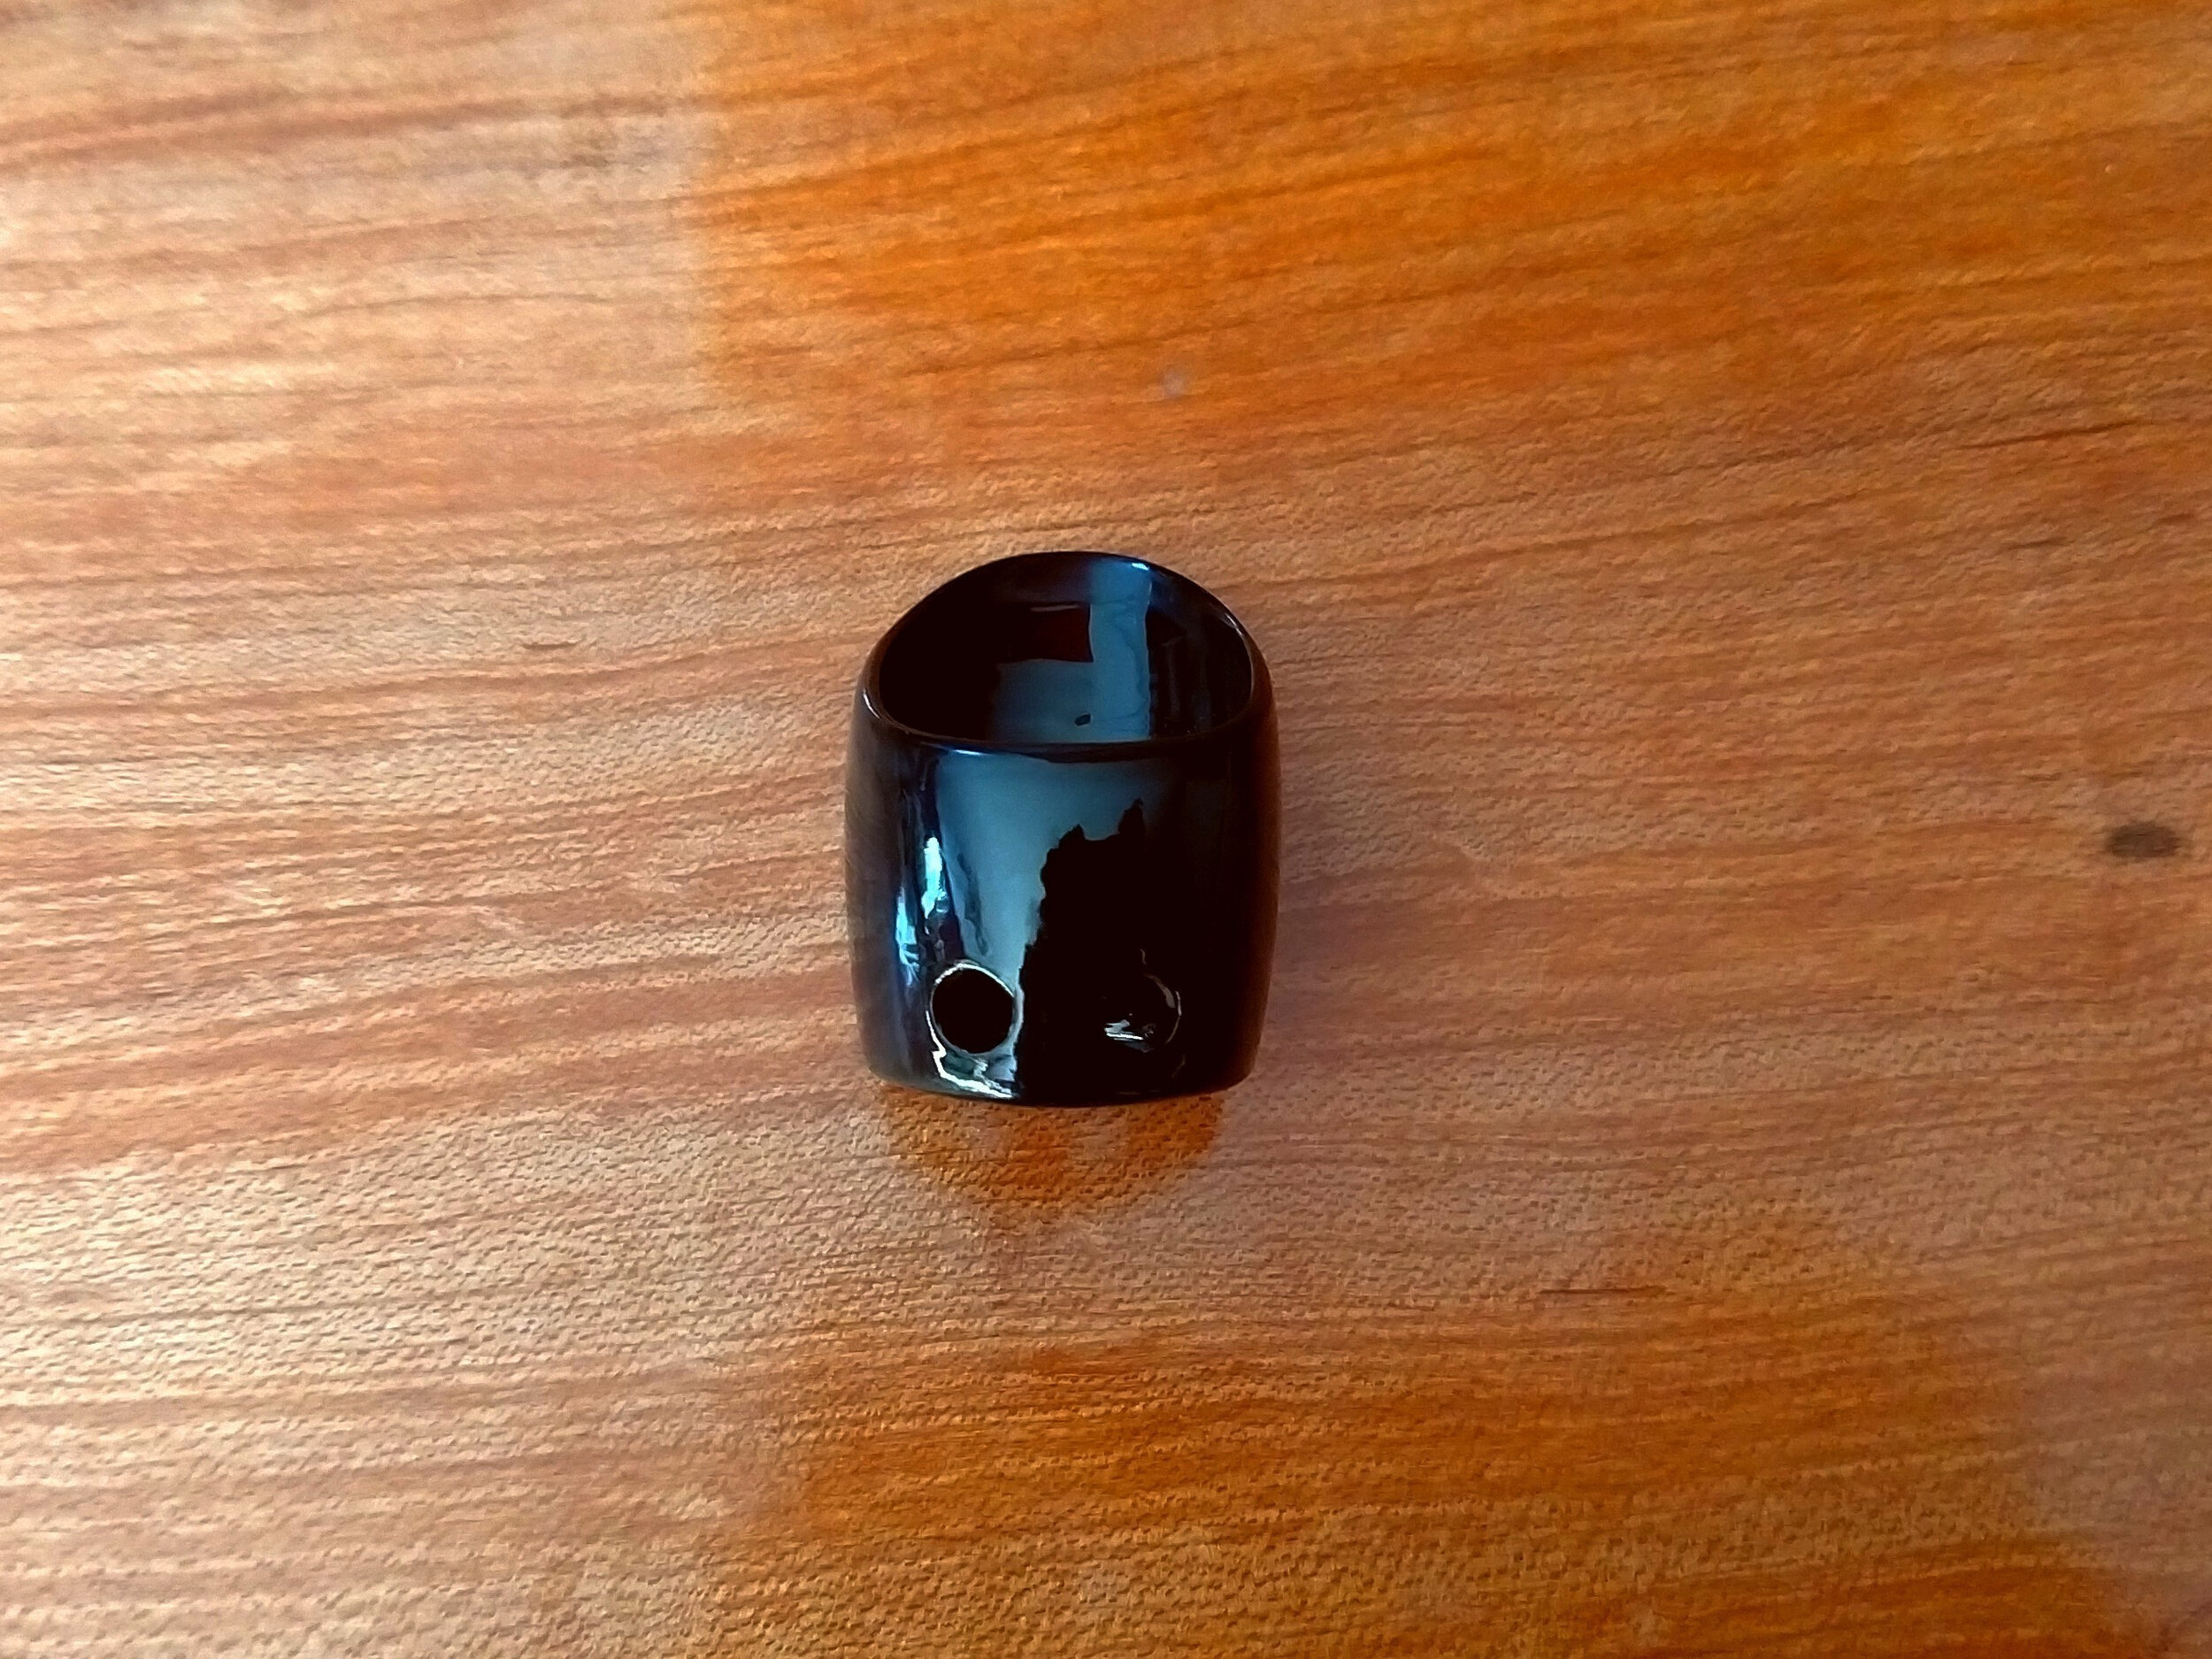
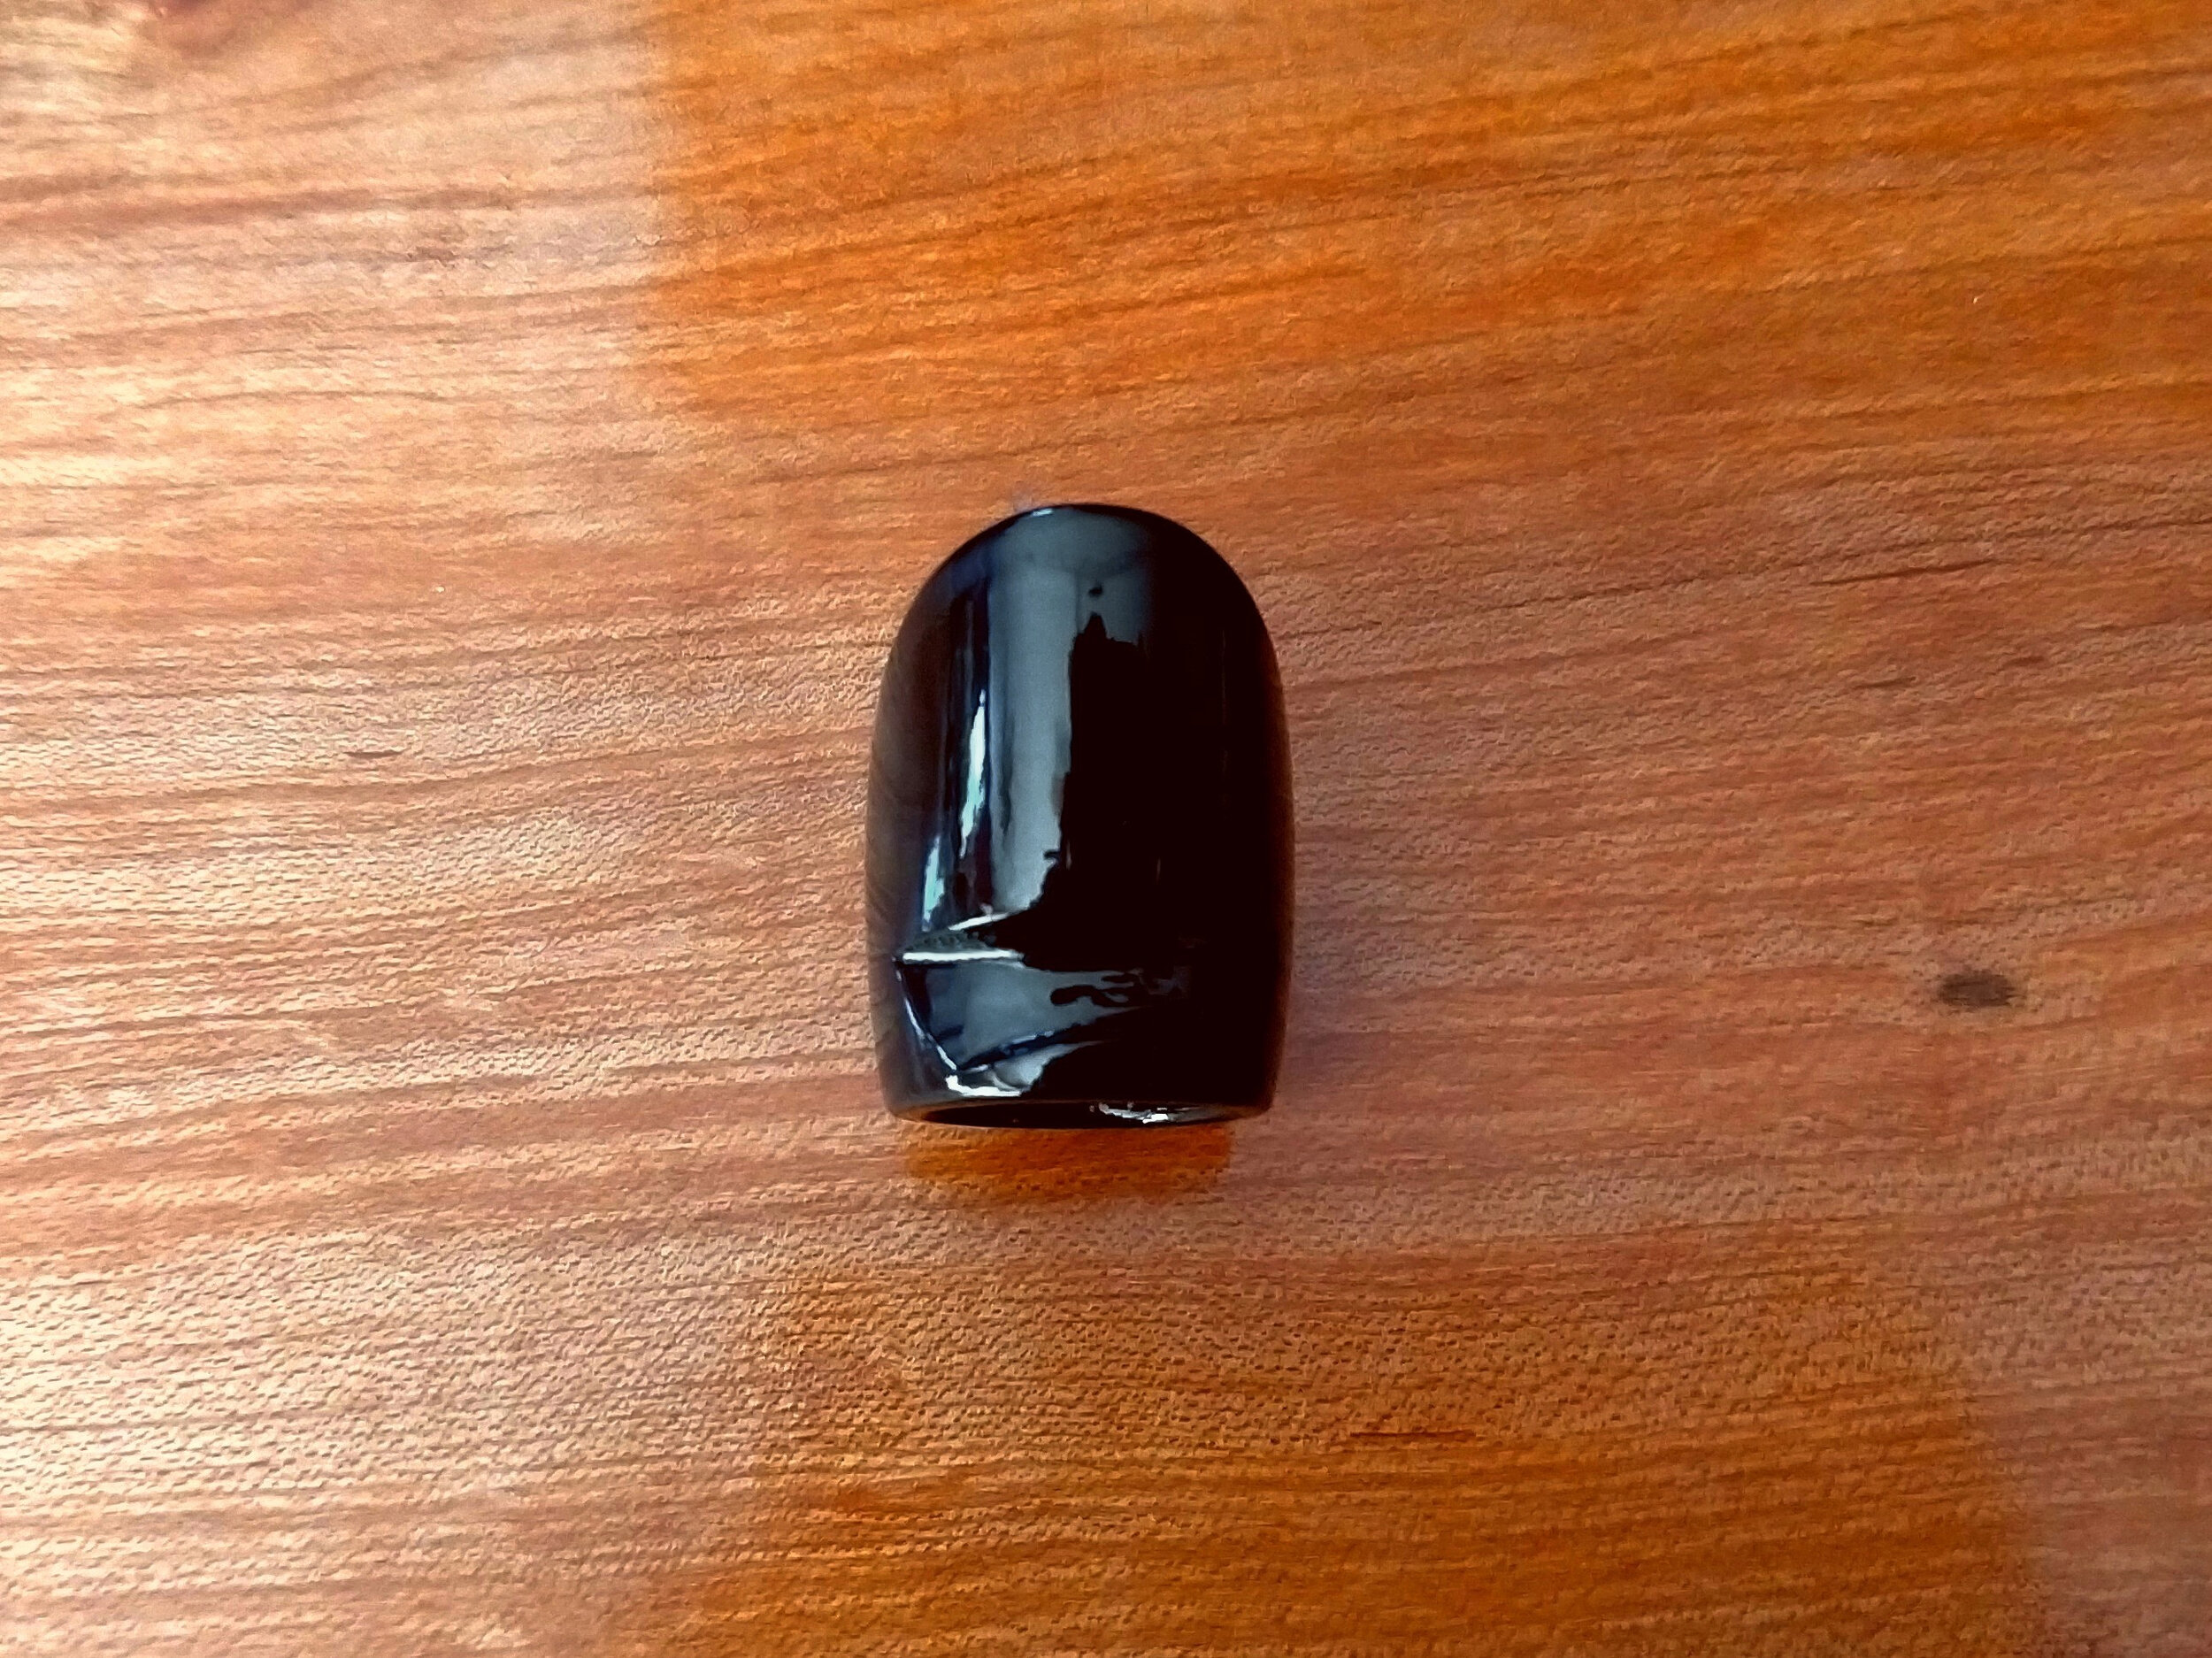
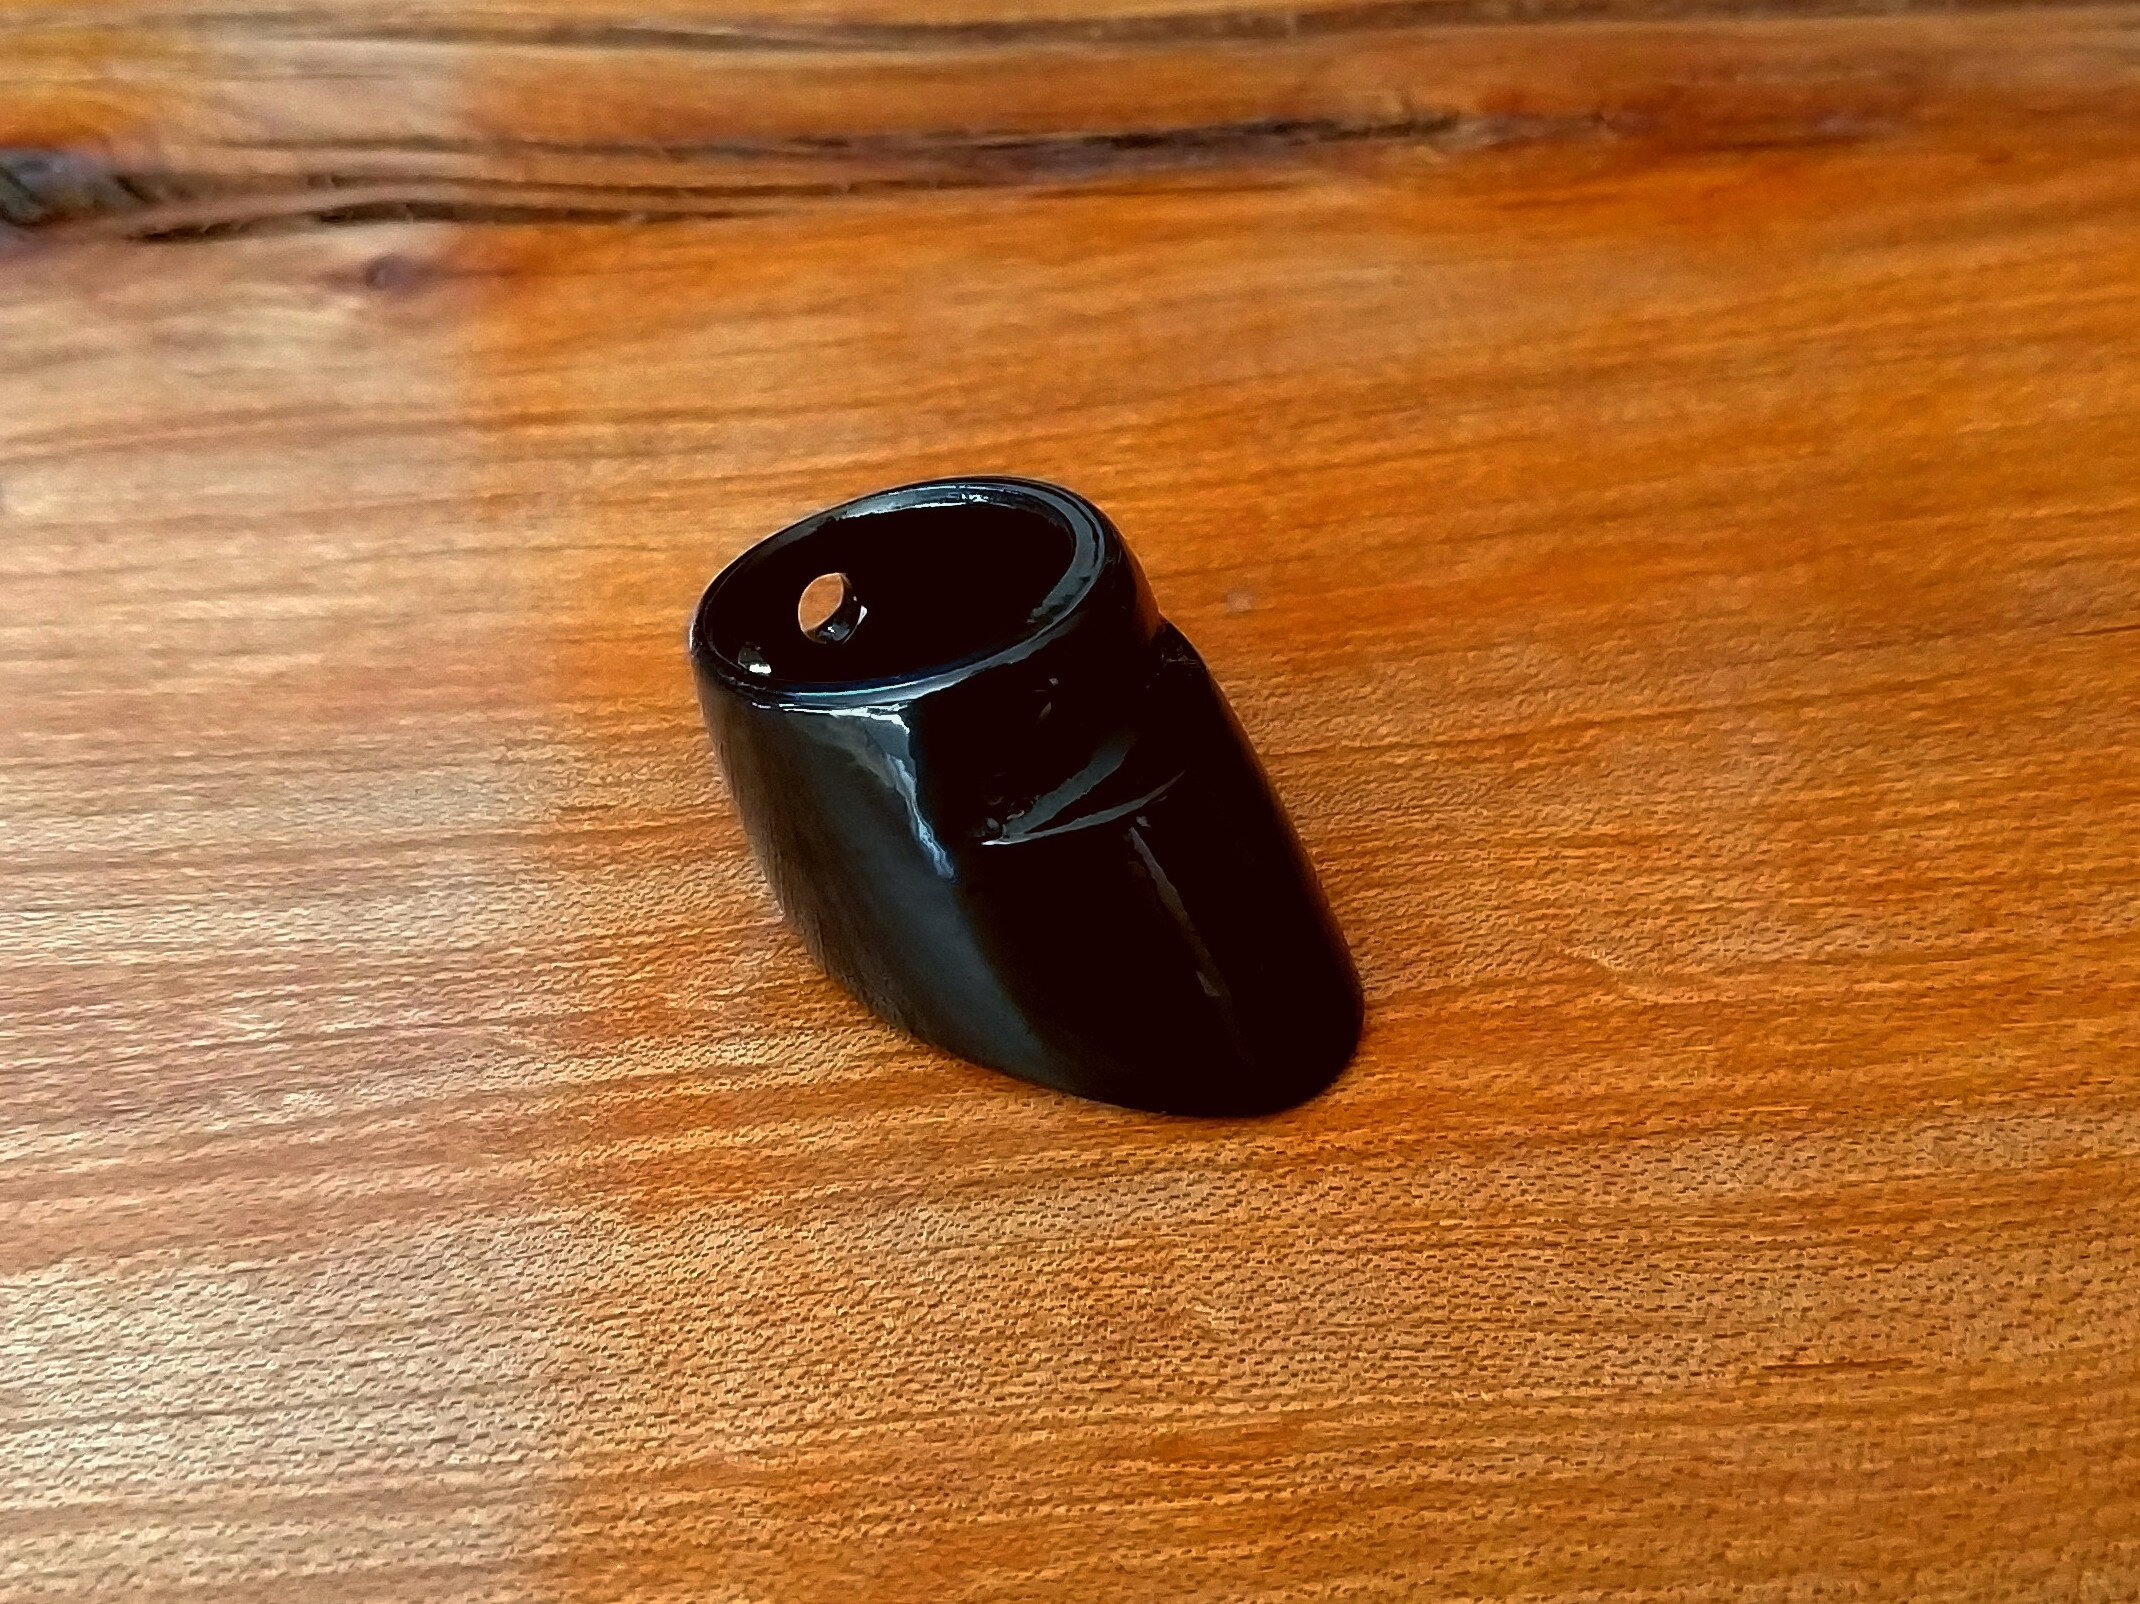
All of the winning carving patterns are now available across our standard polymer, rugged polymer, and metal rings, paired with a new expanded range of coating colors. One note on how the product page works: selecting a color in the dropdown without a carving chosen will update the product image to show that color alone. Add a carving to the selection, and the image updates to a black-and-white rendering of the pattern, since the carving detail reads more clearly that way.
The color options have also grown more interesting. In addition to the standard coating palette, we've introduced what we're calling chameleon finishes: coatings that shift color depending on the angle of light and the viewer's position. The effect is genuinely difficult to capture in a still photograph, but translates well to video. We've posted examples on our Instagram for anyone who wants to see the full range of color shift before ordering.
For complete details on available carvings and coatings, see our Ring Decoration page.
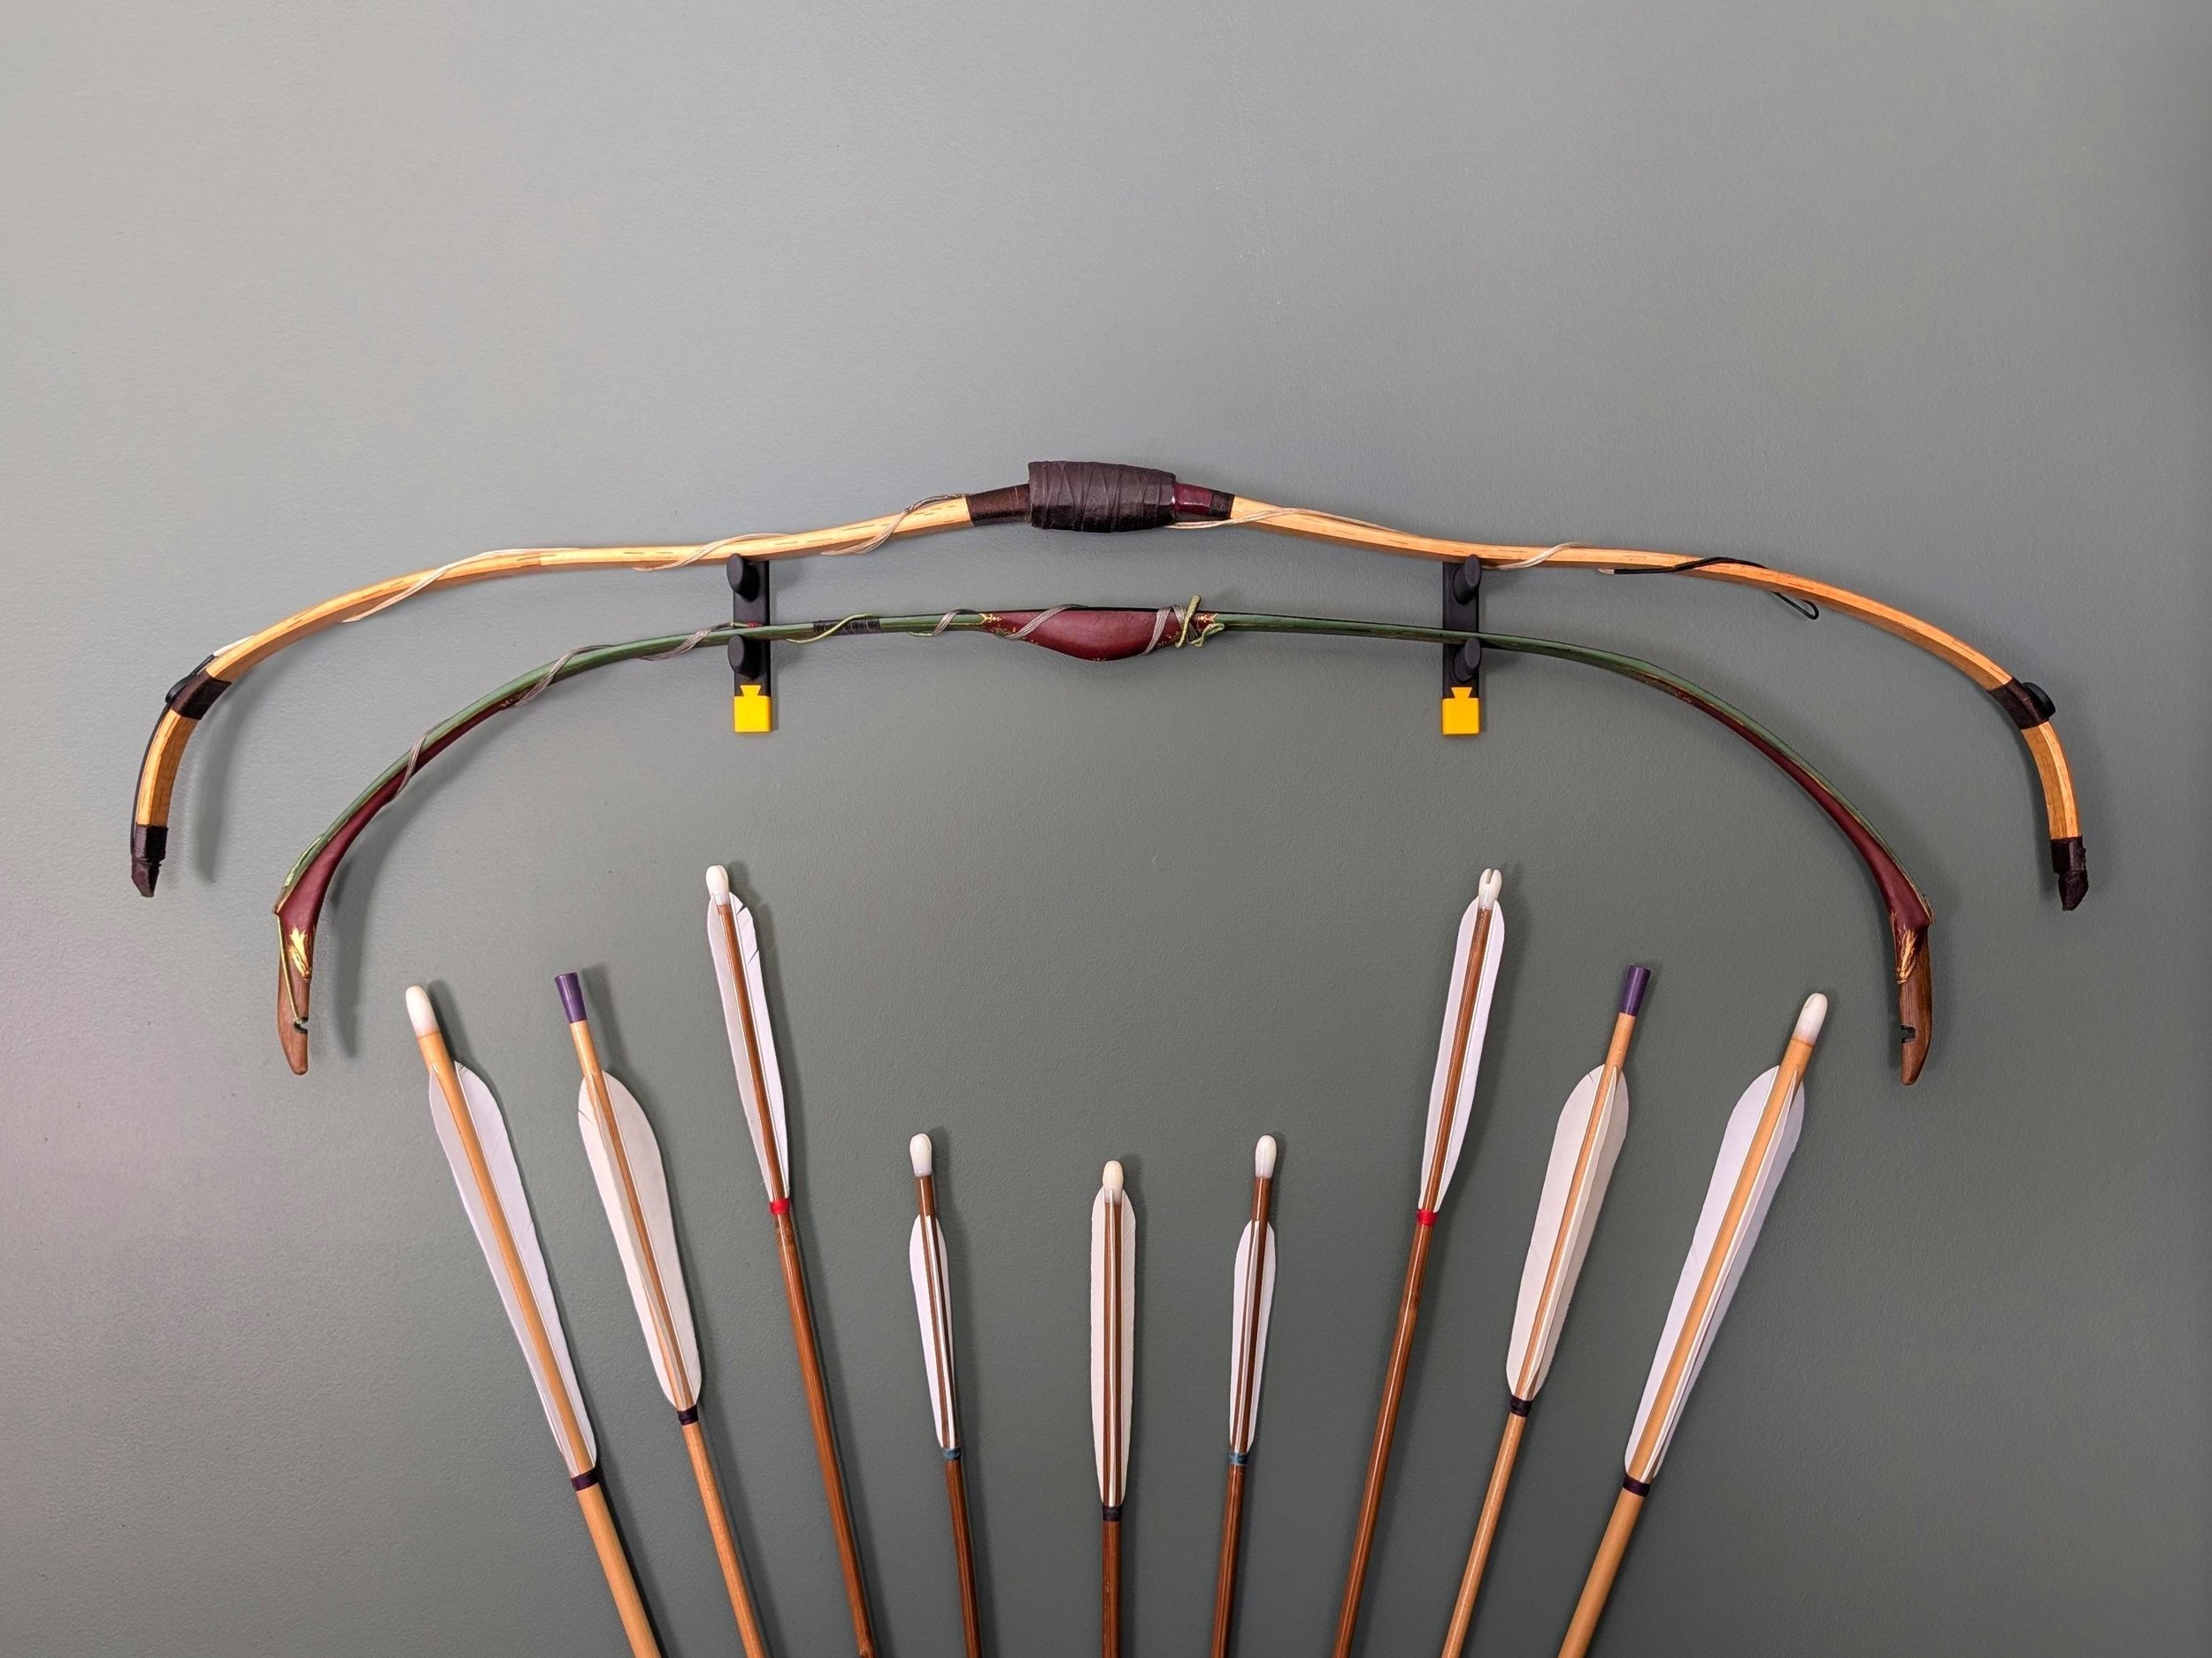
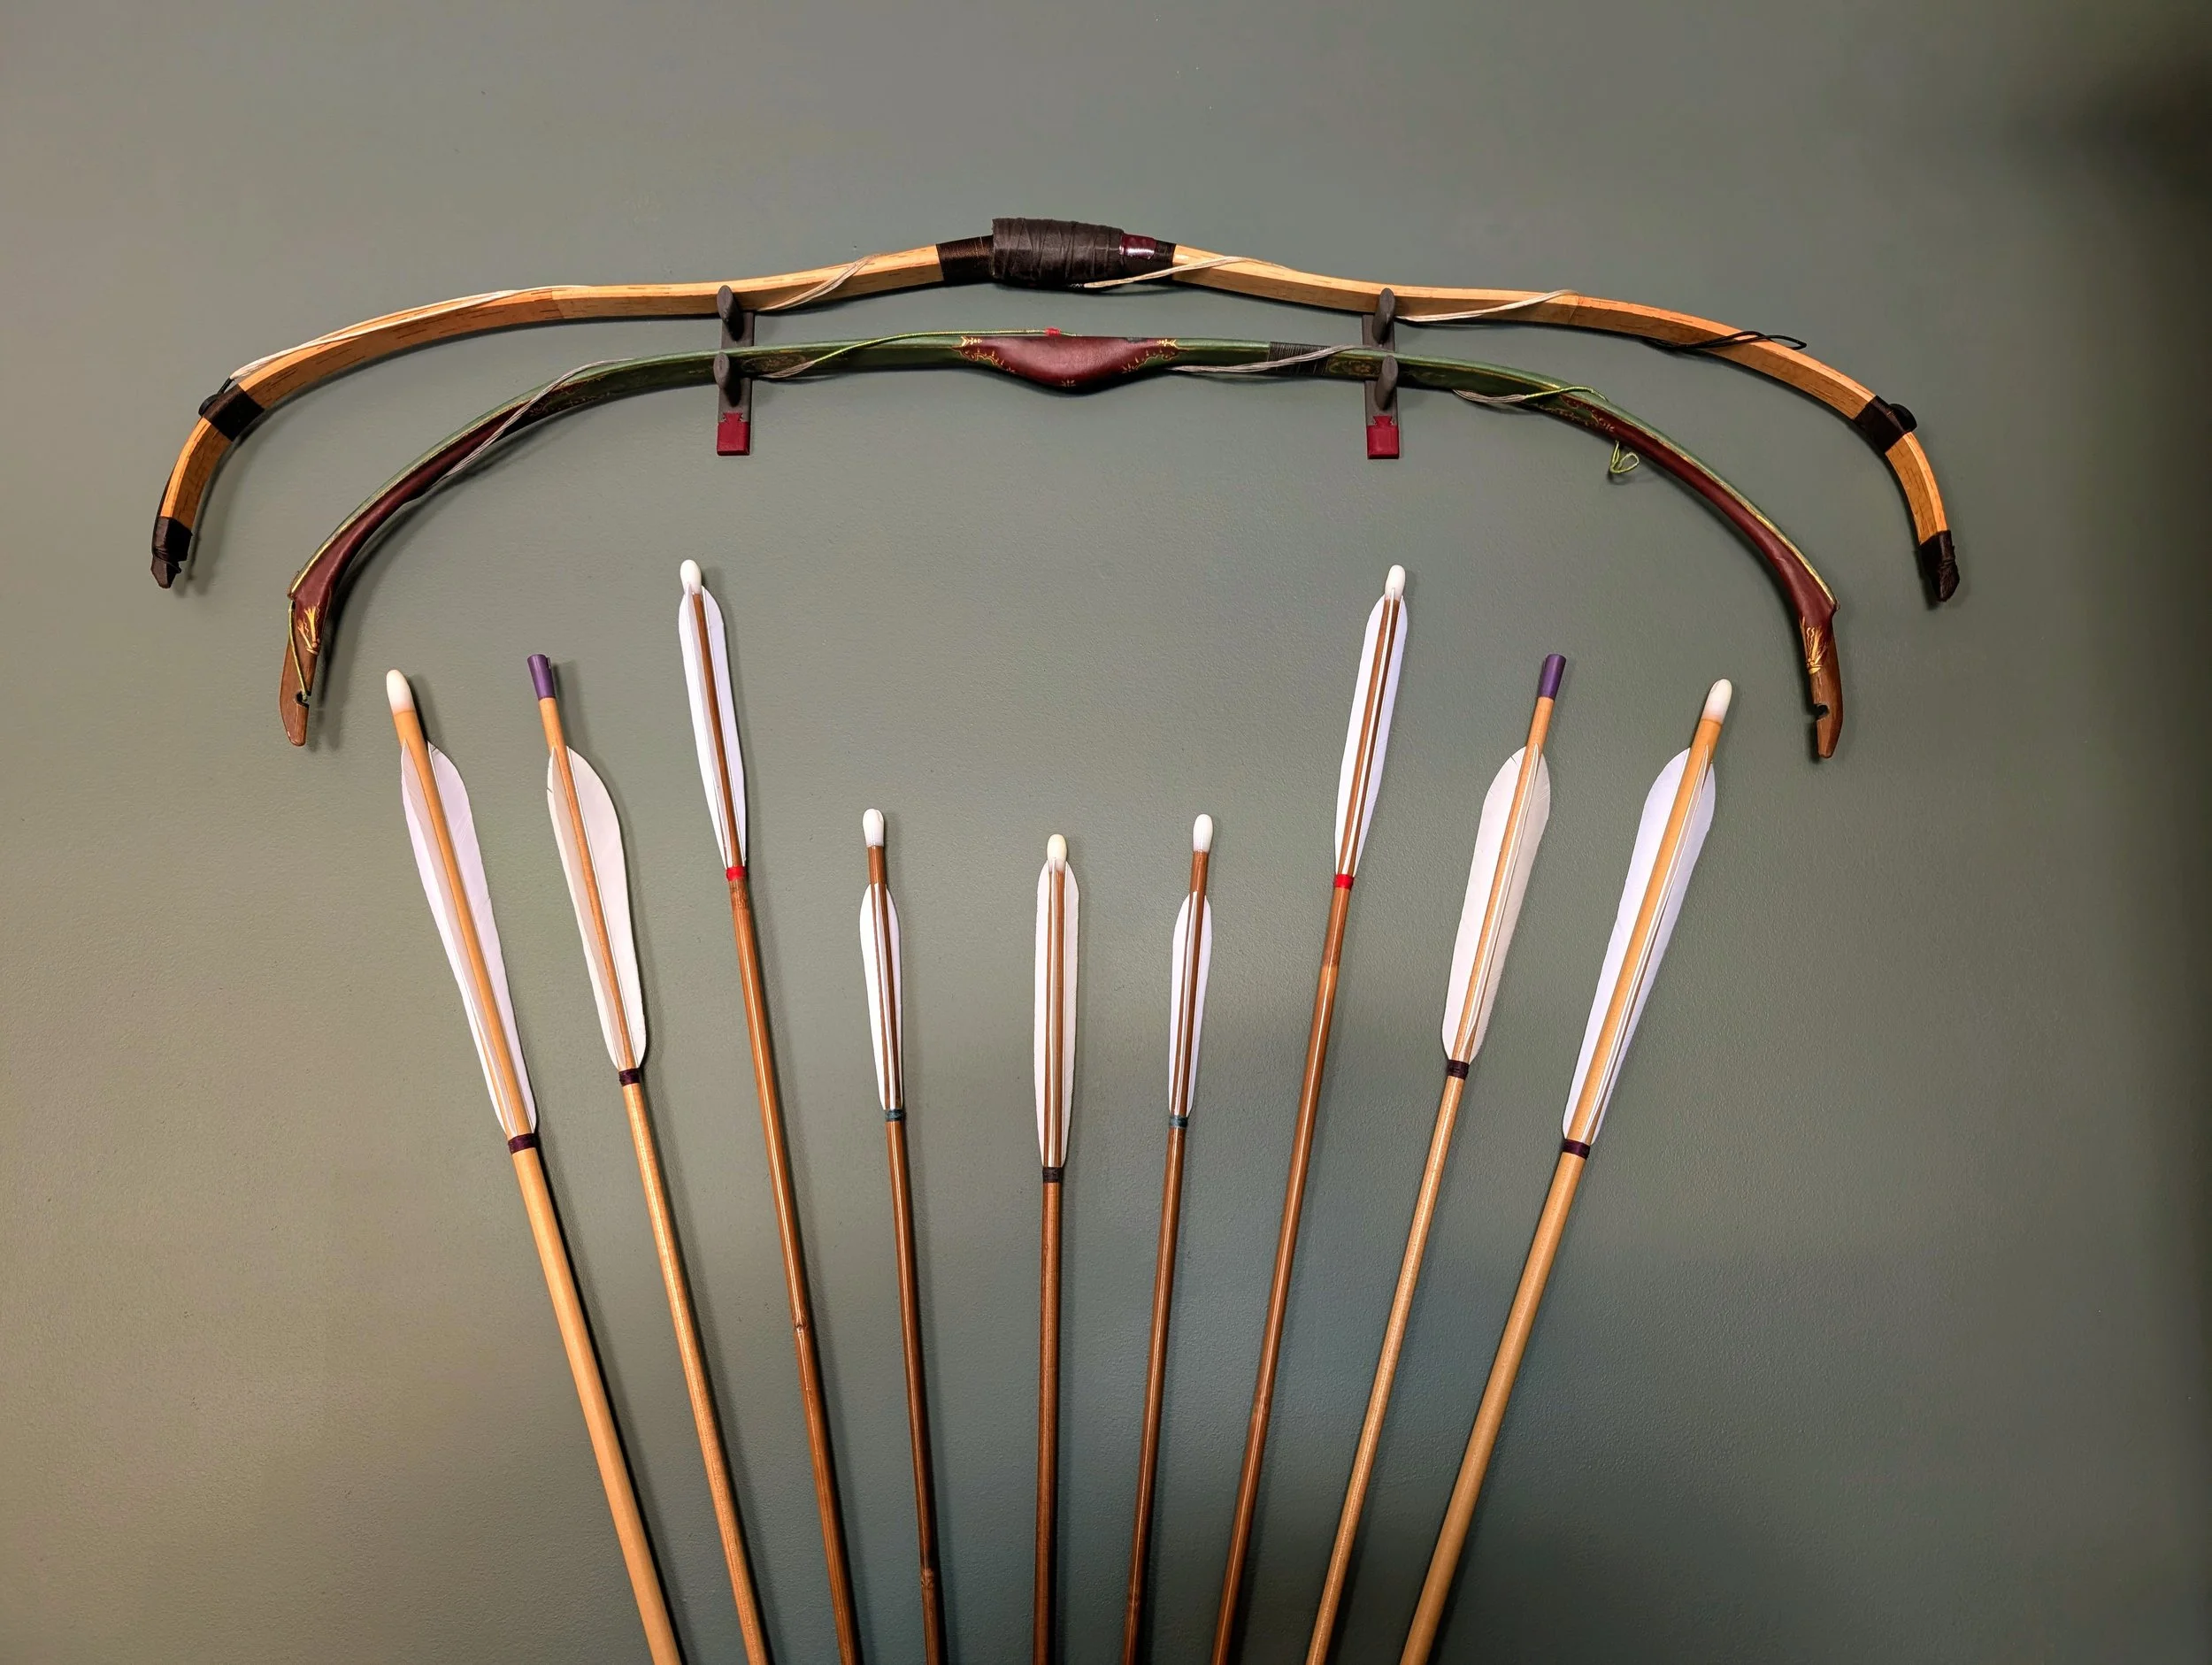
Bow Display Colors, Now Fully Listed
Our bow displays are available in more colors than we previously had photographed and listed, and we've corrected that. The full range is now up, including Persian Purple and the dark gray body color for those who prefer a more understated look. The product page has been updated with photos of each option.
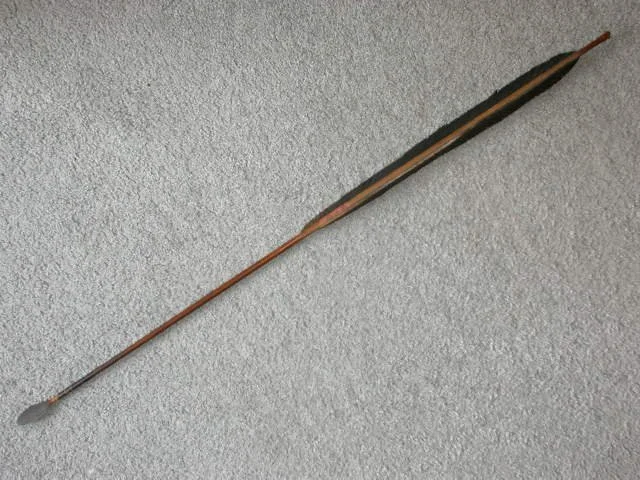
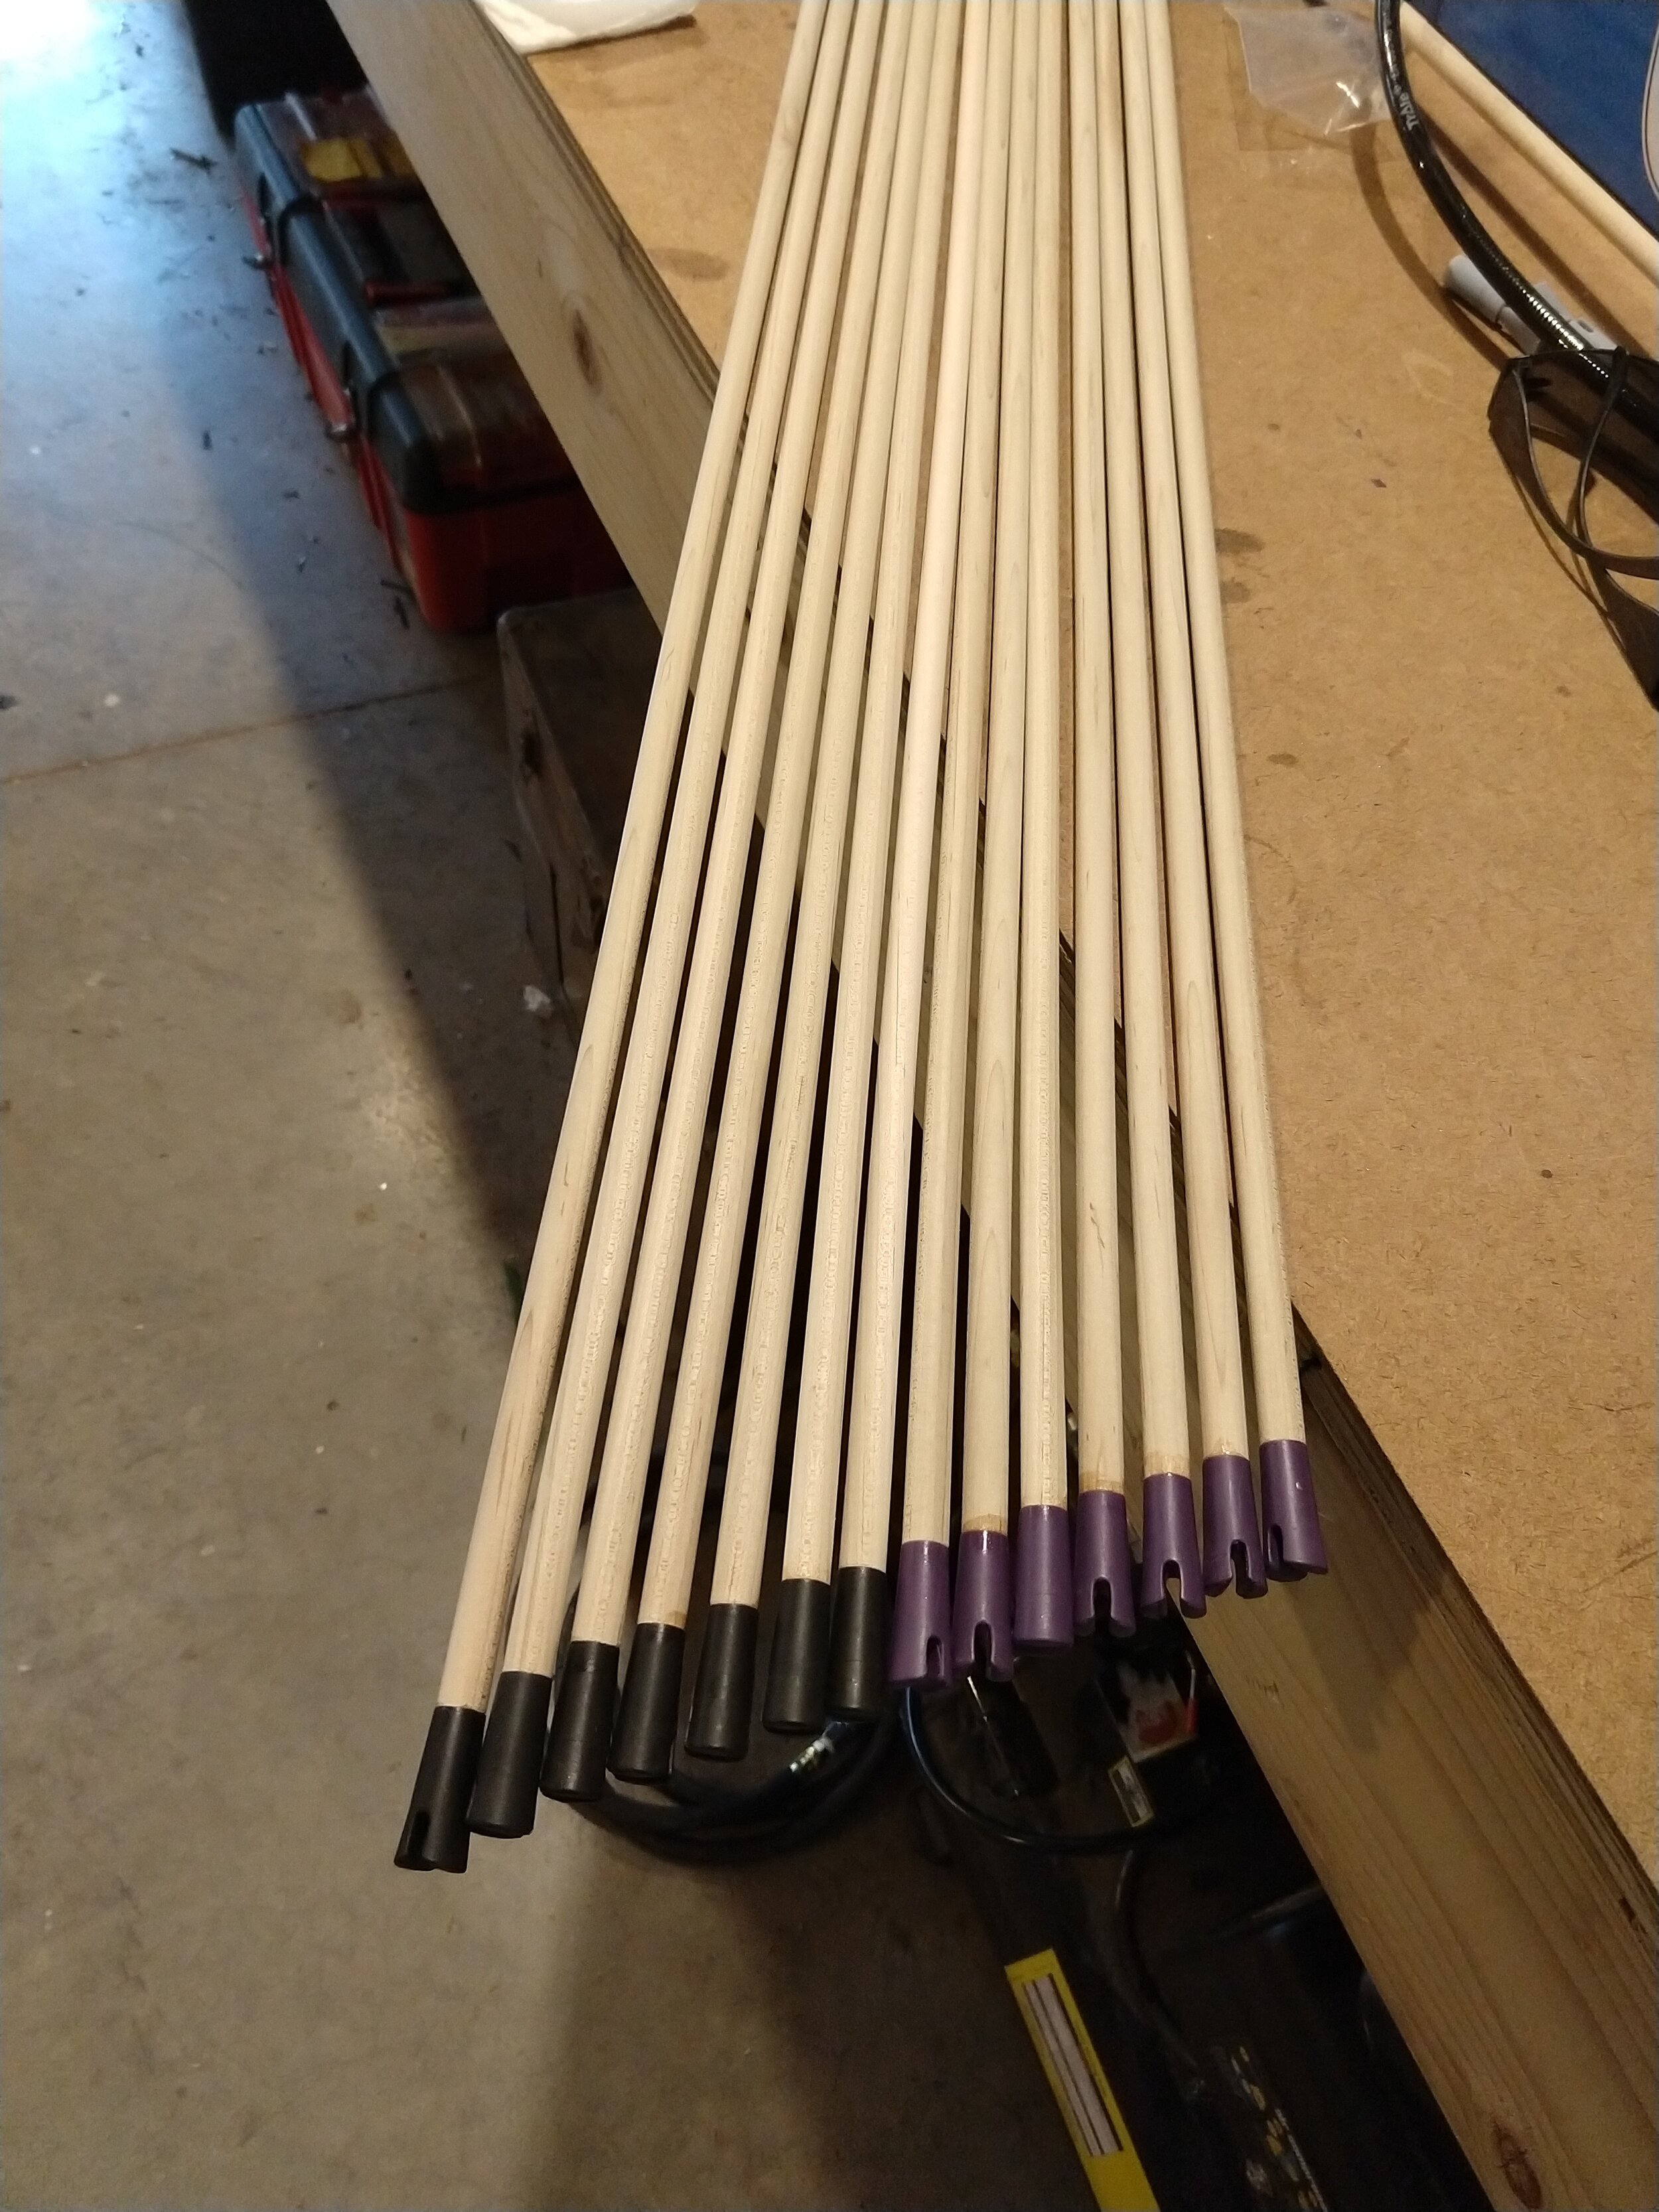
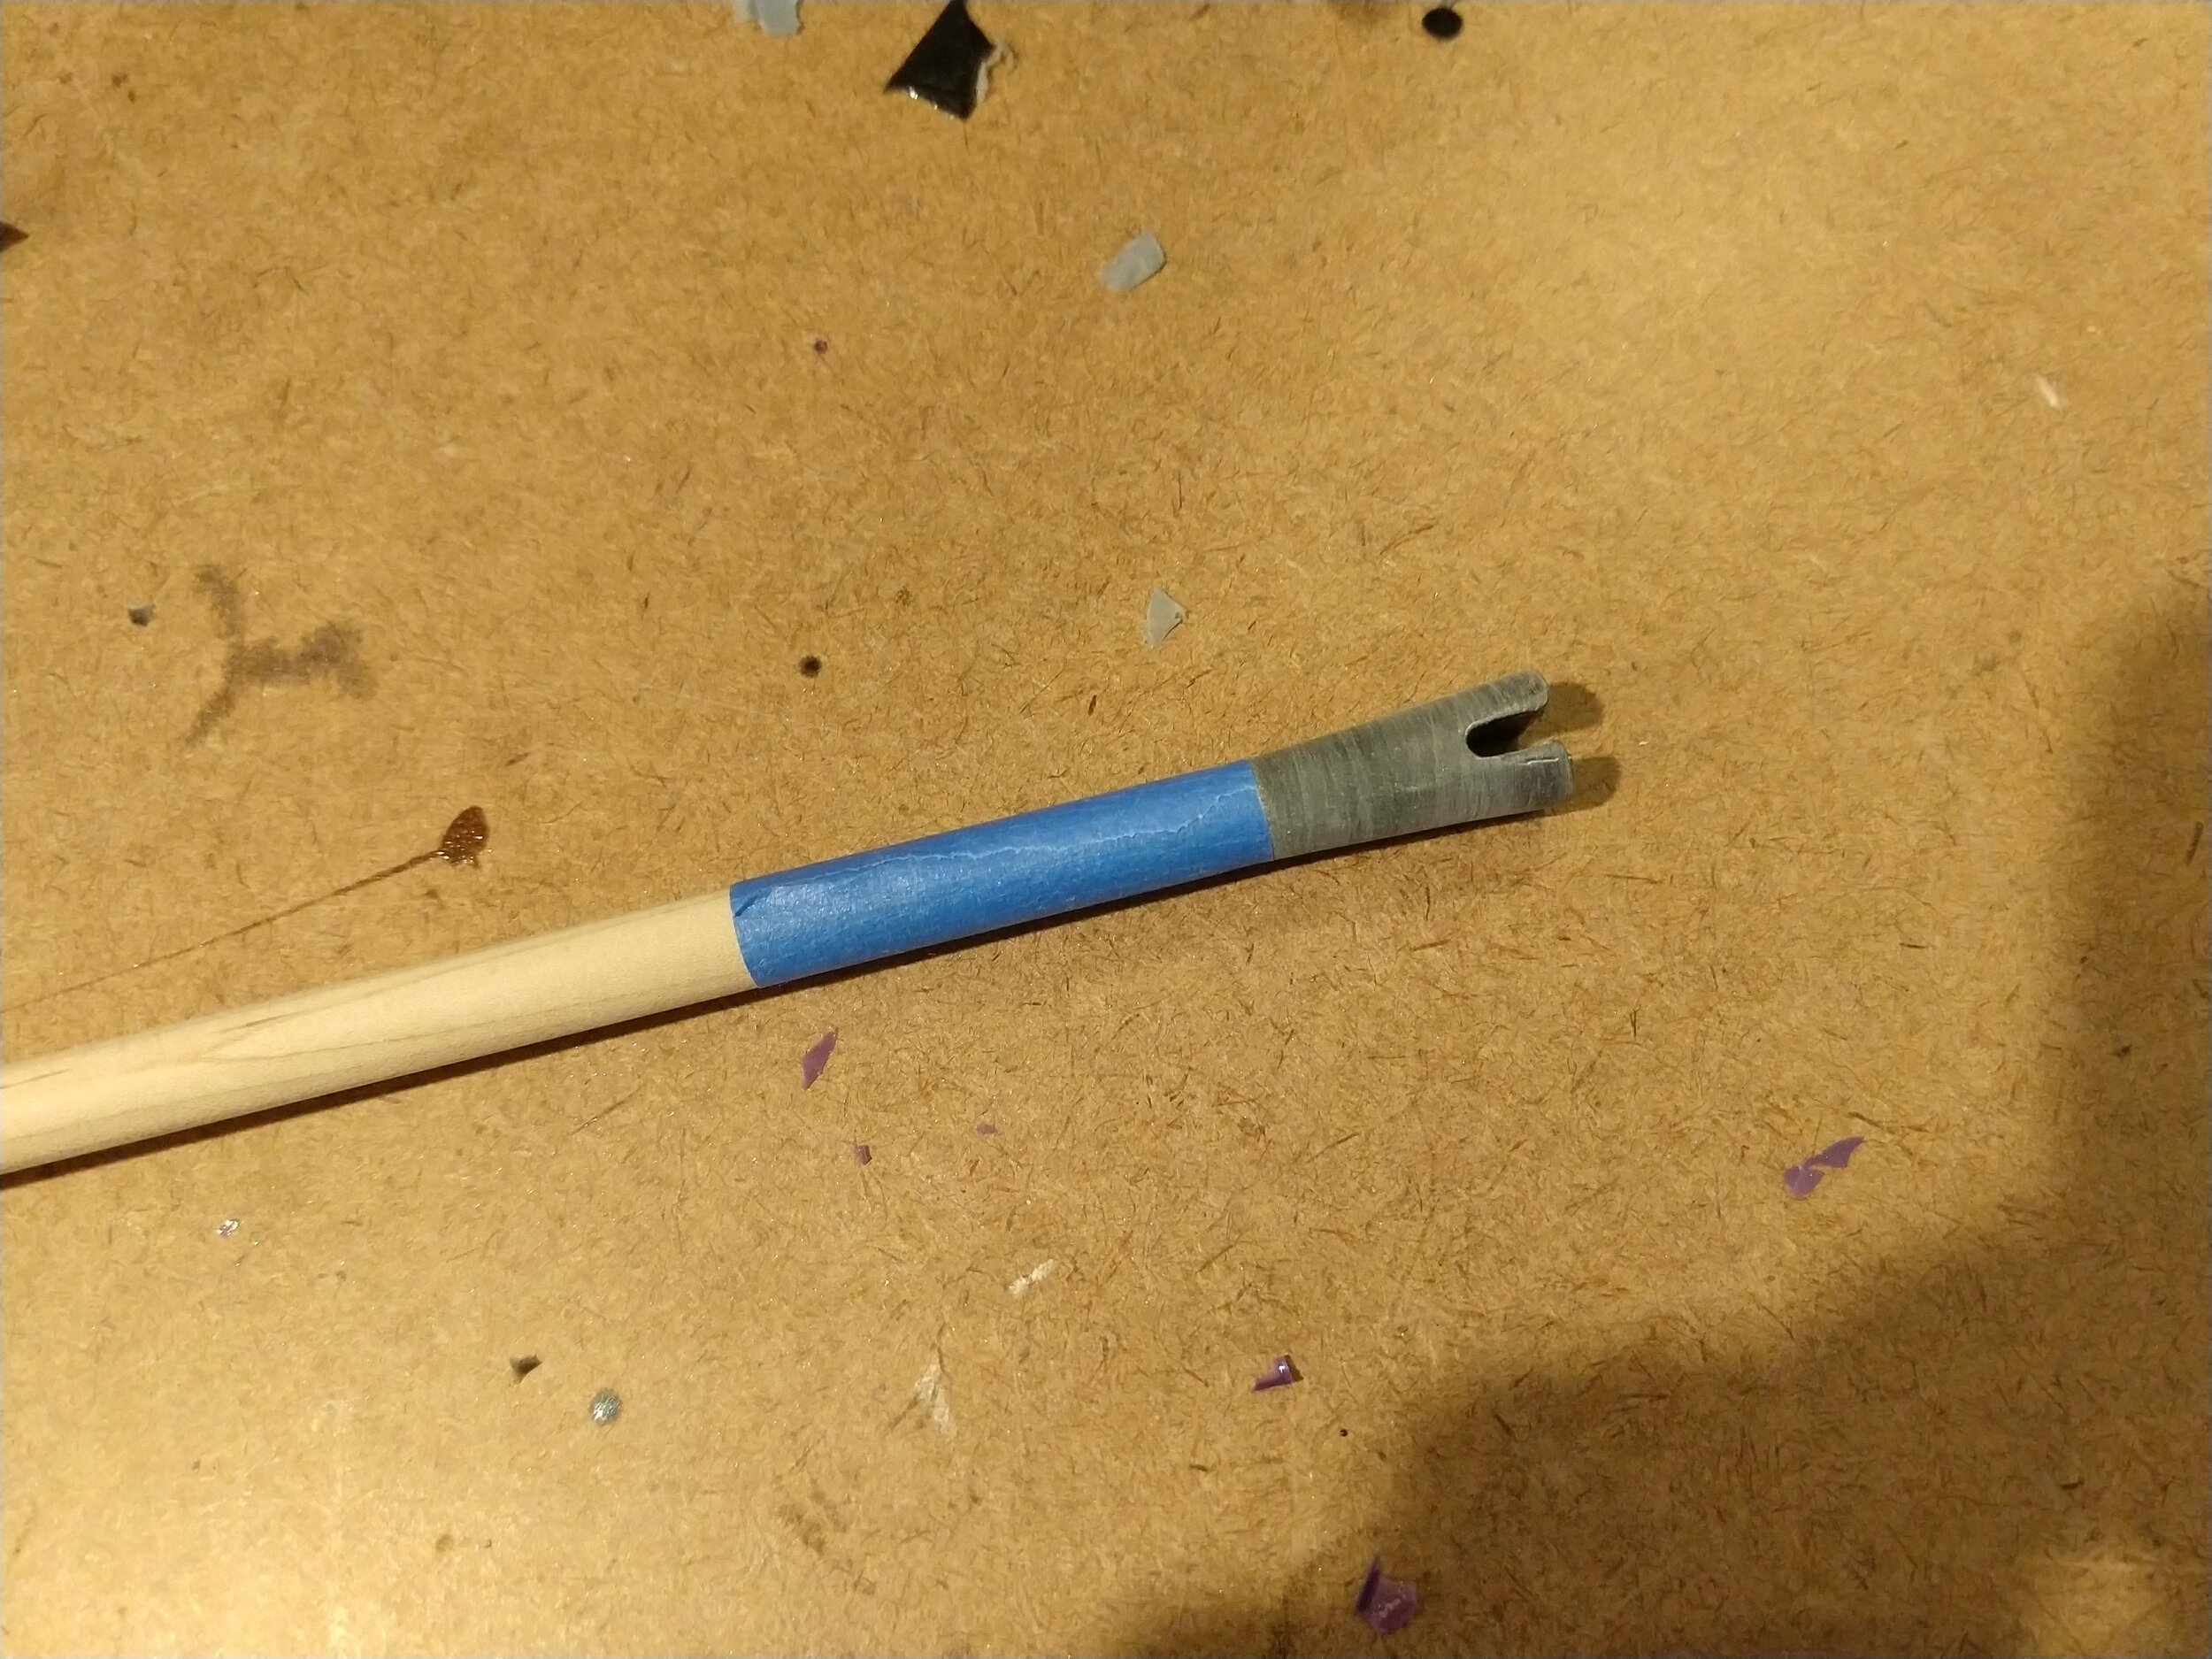
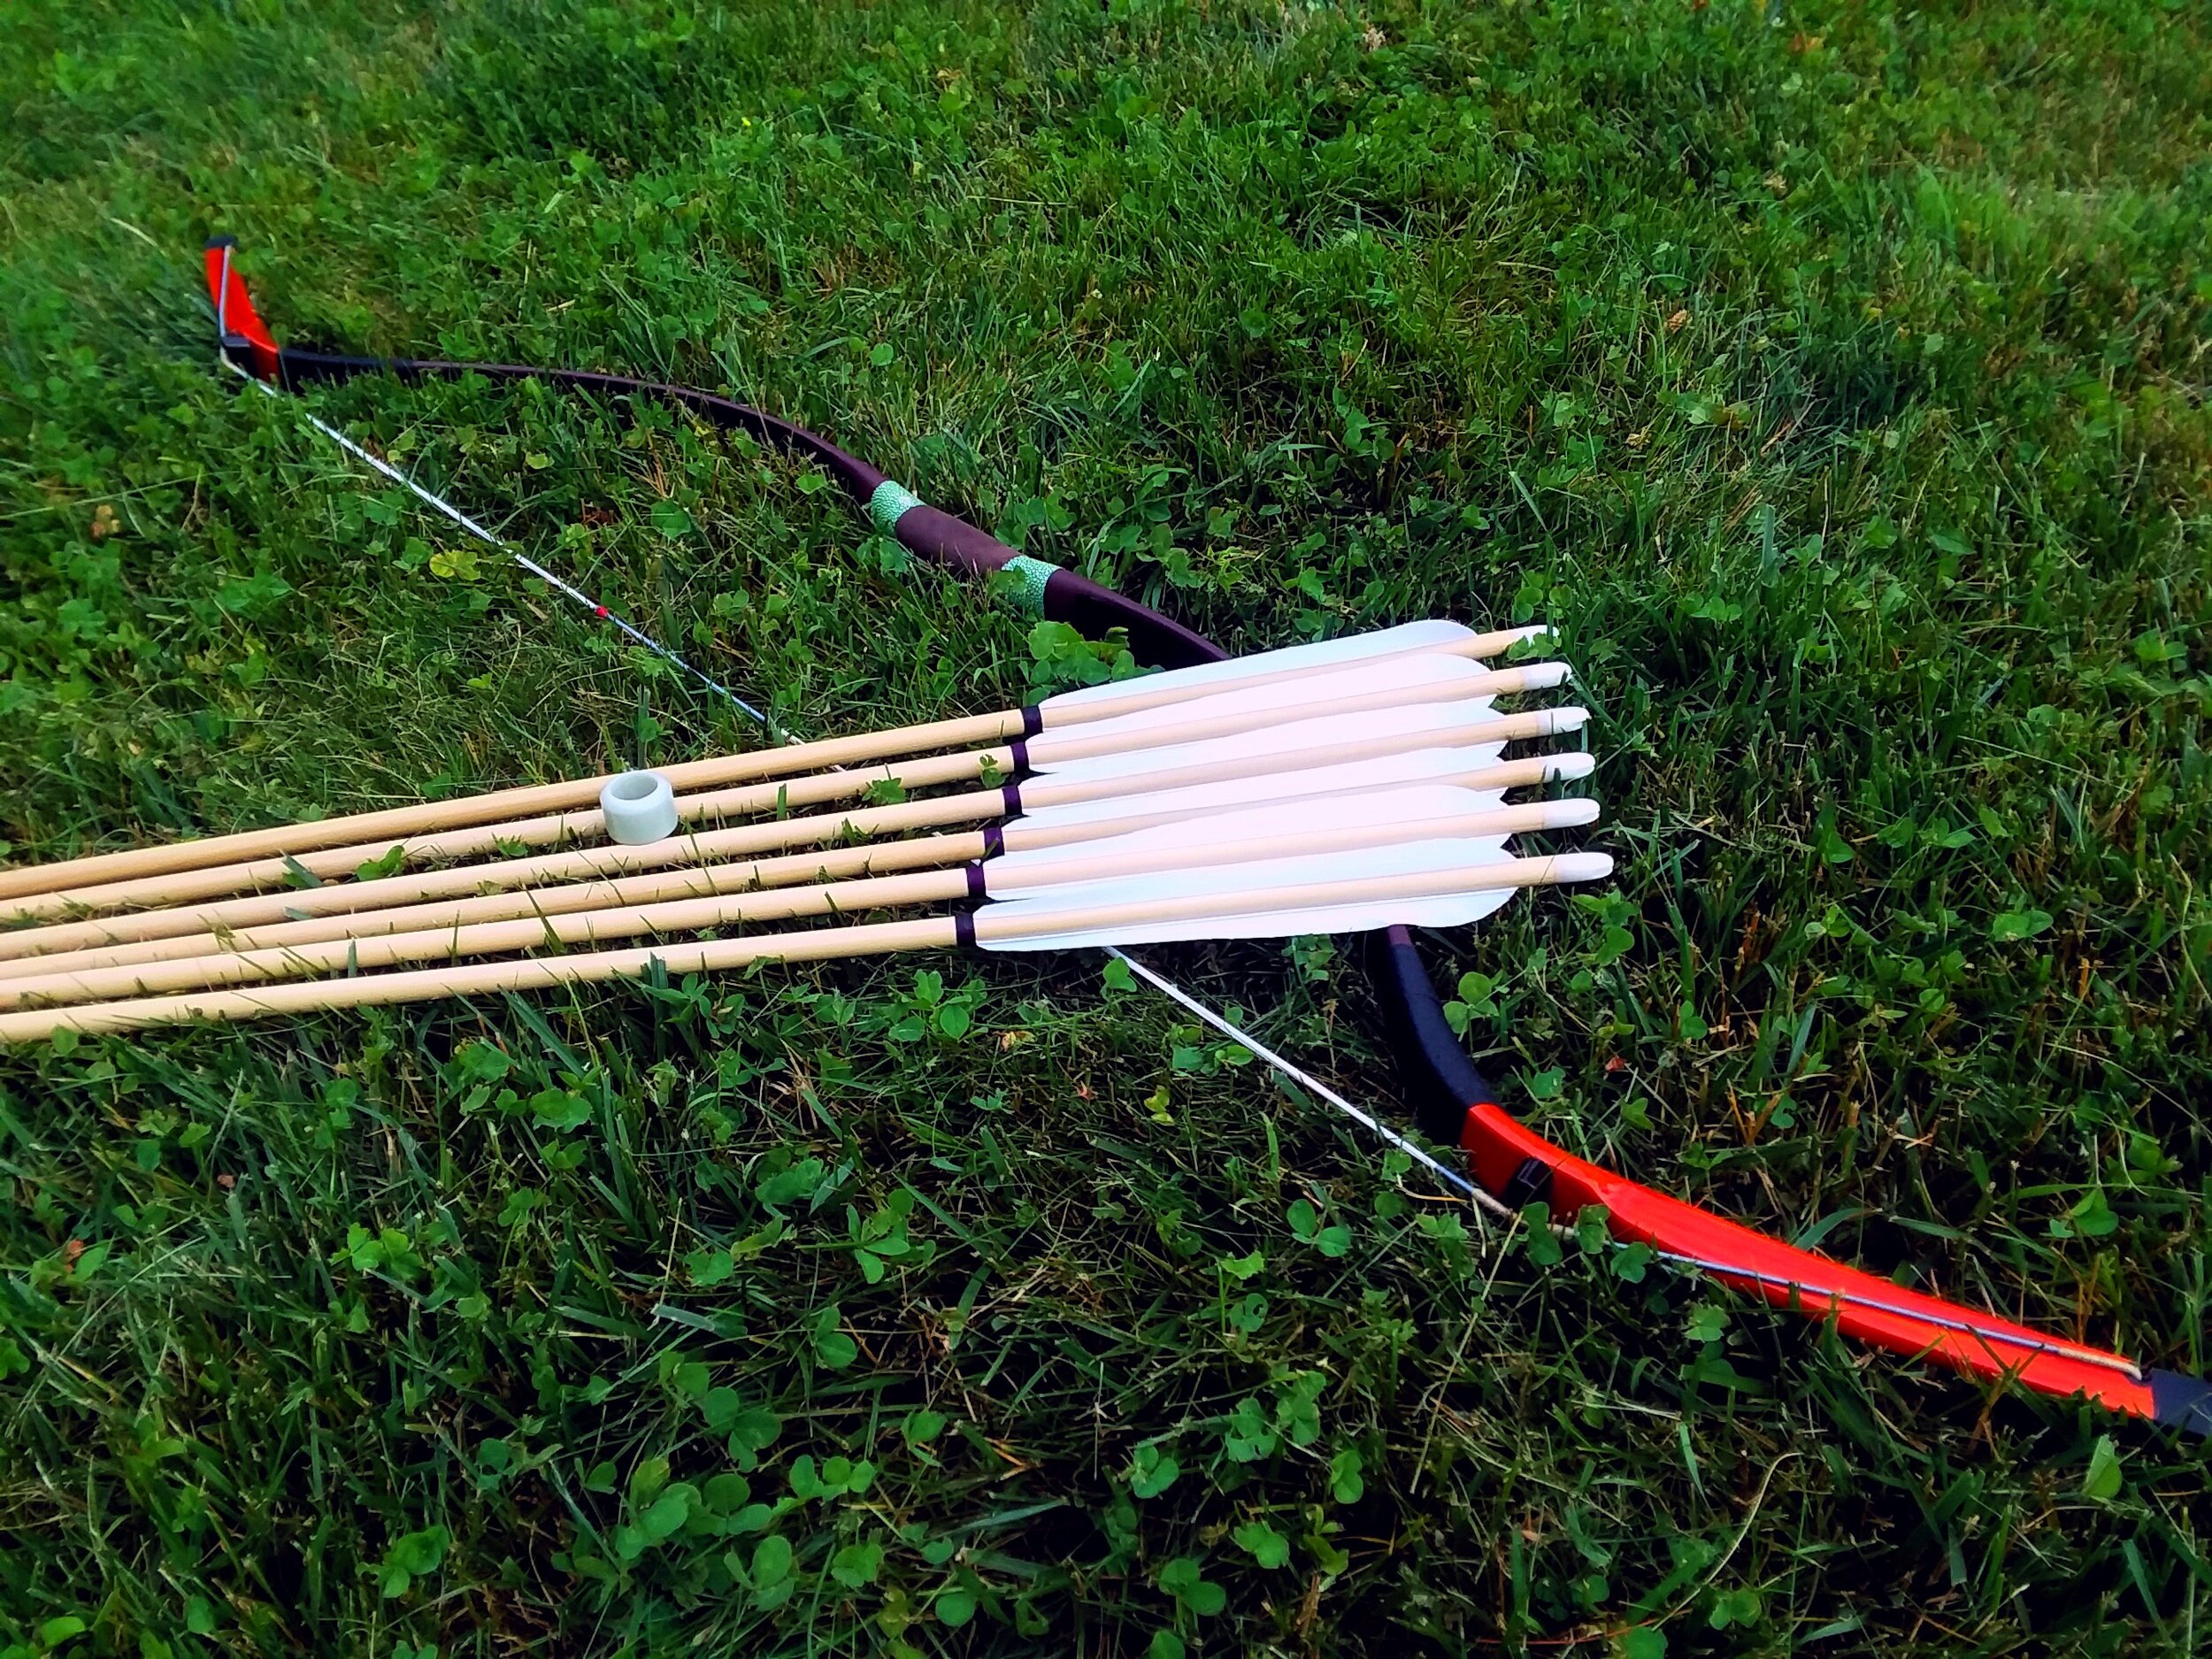
Whistling Arrowheads: New Materials and Updated Colors
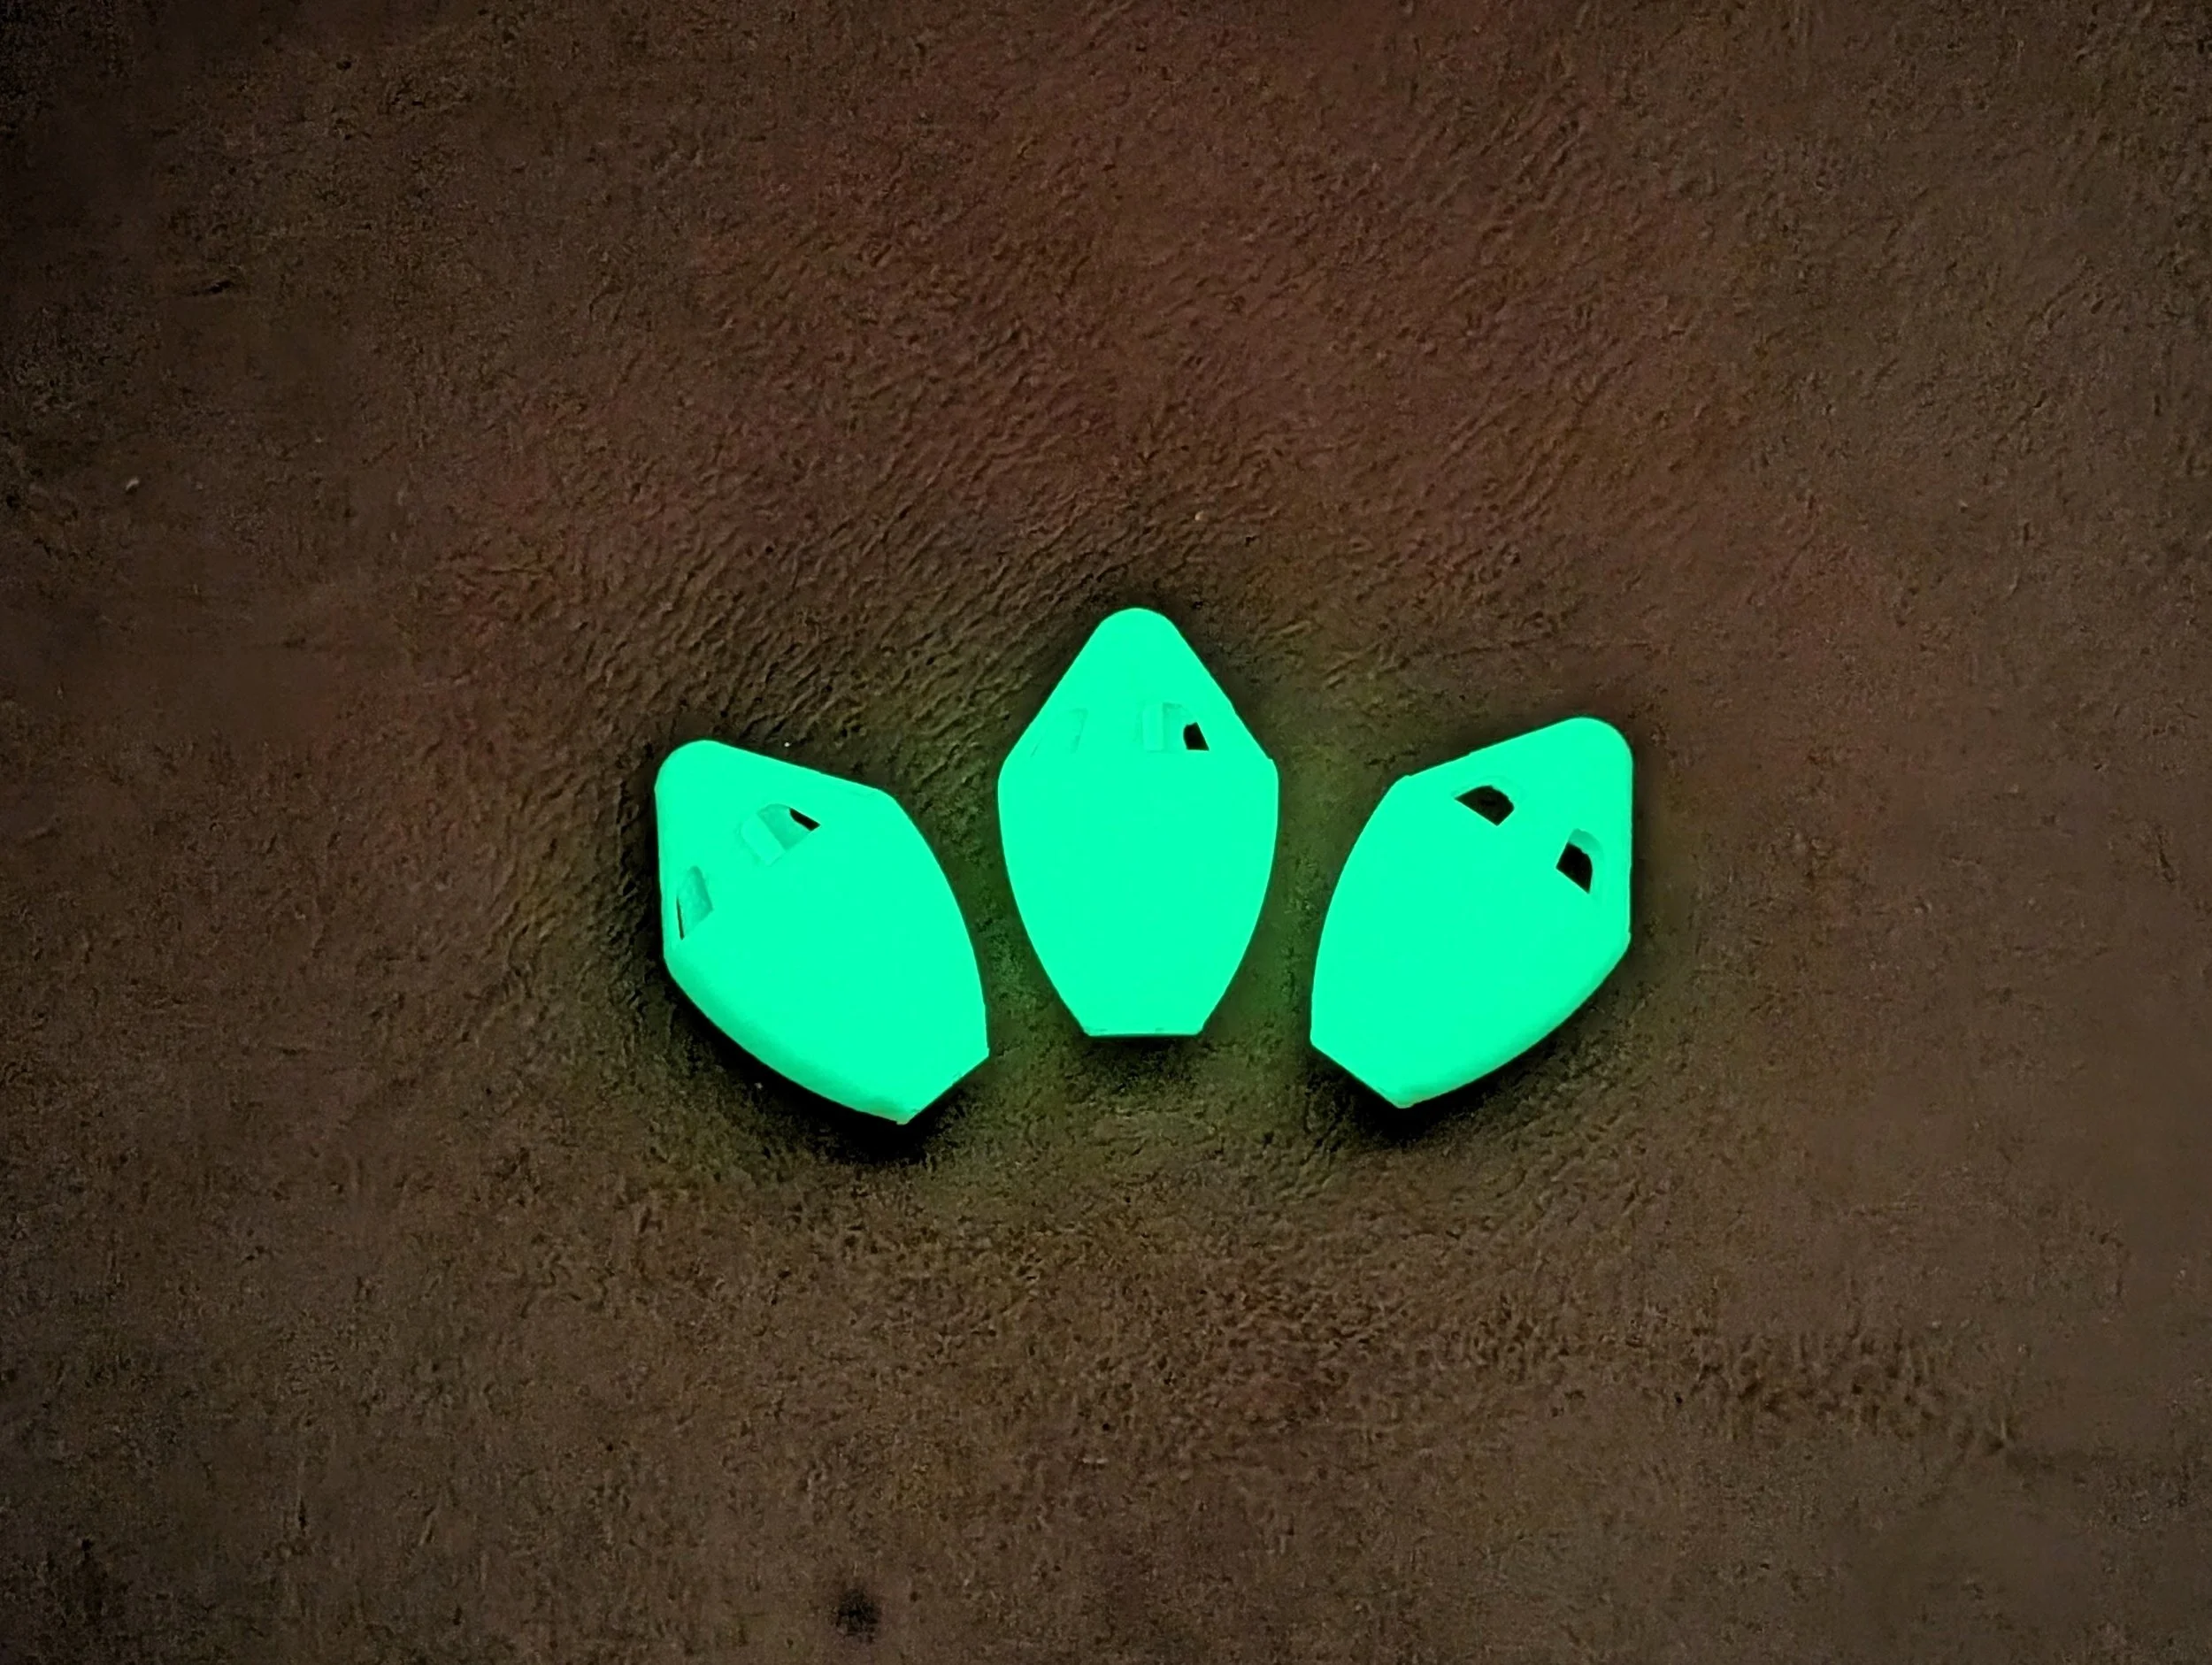
Whistling arrowheads are a different kind of product for us: straightforward, inexpensive, and genuinely enjoyable to use. The glow-in-the-dark versions in particular are worth trying if you shoot in the evening, since watching one fly through the air at dusk is a surprisingly satisfying experience, more so than you might expect from such a simple accessory.
On the practical side, we've added a new tough polymer option to the lineup. It isn't quite as polished in appearance as our standard polymer, but it offers meaningfully better impact resistance, particularly against the kind of glancing blow on a hard surface that tends to cause the most damage. If you shoot in environments where your arrows regularly find rocks, pavement, or other hard targets, the rugged version is worth considering.
Updated material and color options are available on our Whistling Arrowheads page.