Manchu Arrow Project (part 6)
Silent Thunder Ordnance
In our previous episode (Manchu Arrow Project part 5), we were making some more practical Manchu arrows. The goal was to get a complete set of wood arrows which were heavy enough for a max draw weight JZW Manchu (~60#s@36”), to do it in a manner accessible to those who do not own tools, and to keep it all within a budget of what a dozen finished Gold Tip Traditionals would cost (137$). Where we left off, this had already failed, if you truly own no tools, the ones you’d have to buy would push you up to 164$ so far. The worst of the tool acquisitions over though, just how trim can we keep the budget? That is what we aim to find out here.
But first, a brief digression. What with COVID-19 tearing a path across humanity, our email inboxes have been flooded with usually well intentioned advice to self-quarantine blended with a little self serving promotion. In some cases this is more hamfistedly done than others. While this project didn’t start out as something to do with the long evenings and weekends alone, it certainly could be a wholesome way of doing so. Nothing here requires more than a little space in which to work and a steady table. There is a real joy and satisfaction from making something beautiful and useful with your own two hands. Regardless I just want to say, to our cherished readers and customers, we at CTR all wish you and your families health and safety in these uncertain times. And now, back to the action.

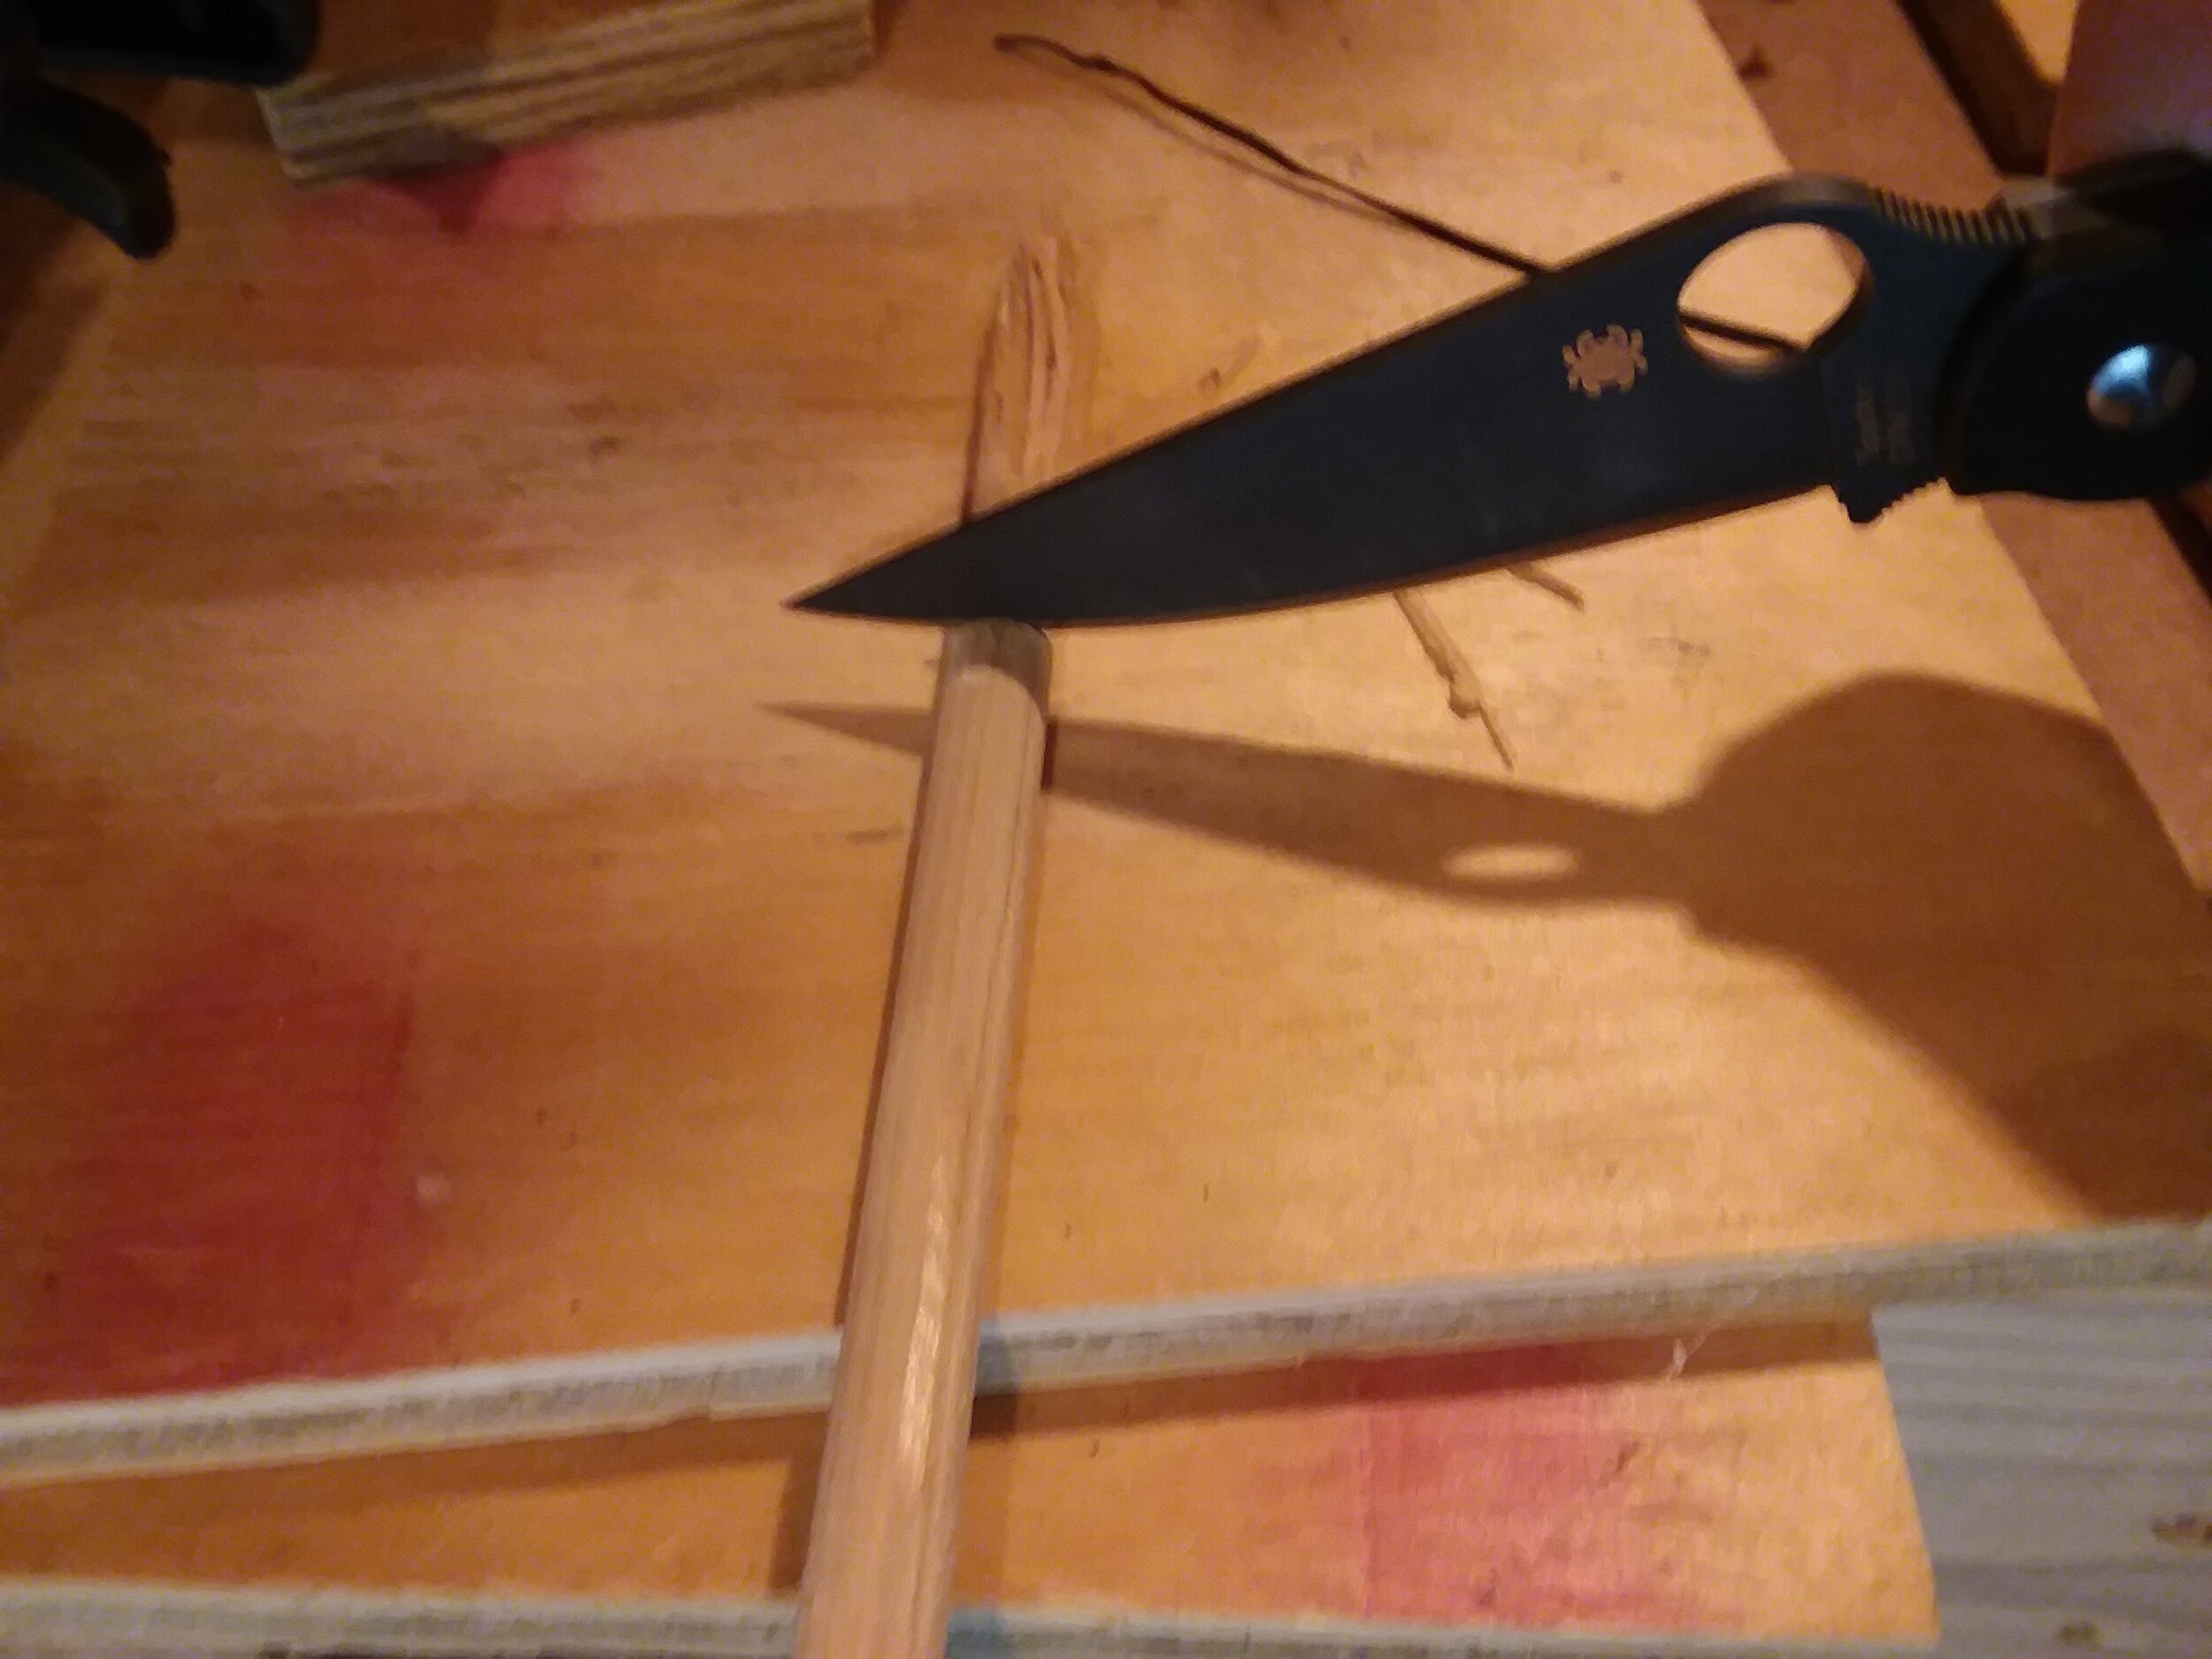
So the board produced 17 shafts out of a hypothetical 24. That is not bad for a board with a big blemish in it. Now each shaft must be cut to length, and those square ends have to go too obviously. If you have a saw of some sort this is easy, but what if you don’t? Well everyone owns a knife, and here is a little trick. Take the knife, hold it perpendicular to the shaft on a cutting board (or other cutting safe surface), and while pressing firmly downward roll the blade forward and backward. The knife will work its way through the shaft, cutting it clearly and squarely. Nifty eh?
The next step is nocks and points. The points were covered in the previous episode, and have the standard 5 degree taper. Nocks are something we’ll get to, but commercial ones use an 11 degree taper. I do want to pause briefly here to mention these taper mounted points are NOT authentic. My understanding is Manchu target points were done tang style. Both the point, and this style of mounting, can be accomplished at home with little more than some BIG nails, a drill, a file, and some time. The process is simply to drill the center of the arrow, file the nail into a point and tang, and then chucking the point in the drill use the tang to ream the hole drilled in the shaft to a perfect fit. Another option is to combine a few refractory bricks with a blow torch, a hammer, some pliers, and an old piece of railroad track to forge your own. It is also a surprisingly simple process. And, finally, authentic points can be purchased from just about anyone who has a forge, as they’ll need only a picture and some time to do the work. Tanged practice points are surprisingly easy and quick to forge, which is probably no accident. Almost nobody is sufficiently fanatical to go to these lengths though, hence the brief paragraph on the subject and then we’re back to the action.
Before cutting tapers on your arrows, you want to pick the point and nock ends of your arrow. What does it matter? Well think about failure modes, how would you like your arrow to fail, if it had to? Would you rather it fail when it hits the target, damaging only itself, or would you rather it blow up on the bow potentially damaging the bow or injuring you the shooter? (google carbon fiber arrow injury sometime if you want to have nightmares. This is why you always flex your arrows before shooting them, natural materials or carbon.) Circling back to the point, 10 out of 10 sane people would say they’d rather their arrow blow up on the target, and so want the orientation for optimal strength on the bow. This means, before picking which ends to put point and nock tapers on, you want to pick the “stronger” end of the arrow to go toward the nock. Why? The simple image I can provide is a flight arrow, or any other barrel tapered arrow. That taper isn’t uniform, it is biased toward the nock end. This is because every part of the arrow need exert the force to accelerate all of the arrow in front of it. At the very tip of the point this is nothing, but at the nock end this is the ENTIRE mass of the arrow. Barrel tapered arrows are thickest roughly around the middle because the effective lever arm exerting force on the arrow is at its peak roughly at the middle of the arrow upon release. So take a good careful look at the grain and for any blemishes. If one end has less grain crossing and no blemishes than the other, put that end toward the nock.

So if you’re trying to do this on the cheap, you have a decision split here which is taper mounted nocks or self nocks. Commercial taper mounted nocks are cheap and easy, no two ways about it. As you’ll notice from the pictures below though, 3/8” arrows are a little big for them though. Self nocks are trivial to cut. A pair of hacksaw blades (5$) can be taped together and used to cut the groove. From there is can be dressed up with a little sandpaper and a knife or a file, really whatever you’ve got kicking around. So for absolute minimum cost, this is a great way to go. Fancier self nock options can involve all sorts of glued on pieces, wood reinforcement, etc. Traditional Manchu arrows display the full range of flavors, from attached bone or horn nocks, to insert reinforcements, to wrapping in natural materials, to plain carved self nocks. So pretty much whatever you choose to do here, there is some historical precedent for it. Should you want to go down this path, there are thousands of instructionals for whatever flavor you like best. It also really isn’t that complicated. In general though, I personally recommend some sort of reinforcement for self nocks. Wrapping is incredibly easy, do it and then apply finish (lacquer, varnish, etc) to turn the whole thing into one solid unit. A simple groove cut perpendicular to the string orientation and a piece of thin hardwood inserted and glued in sideways (strong grain orientation) is also a nifty trick.
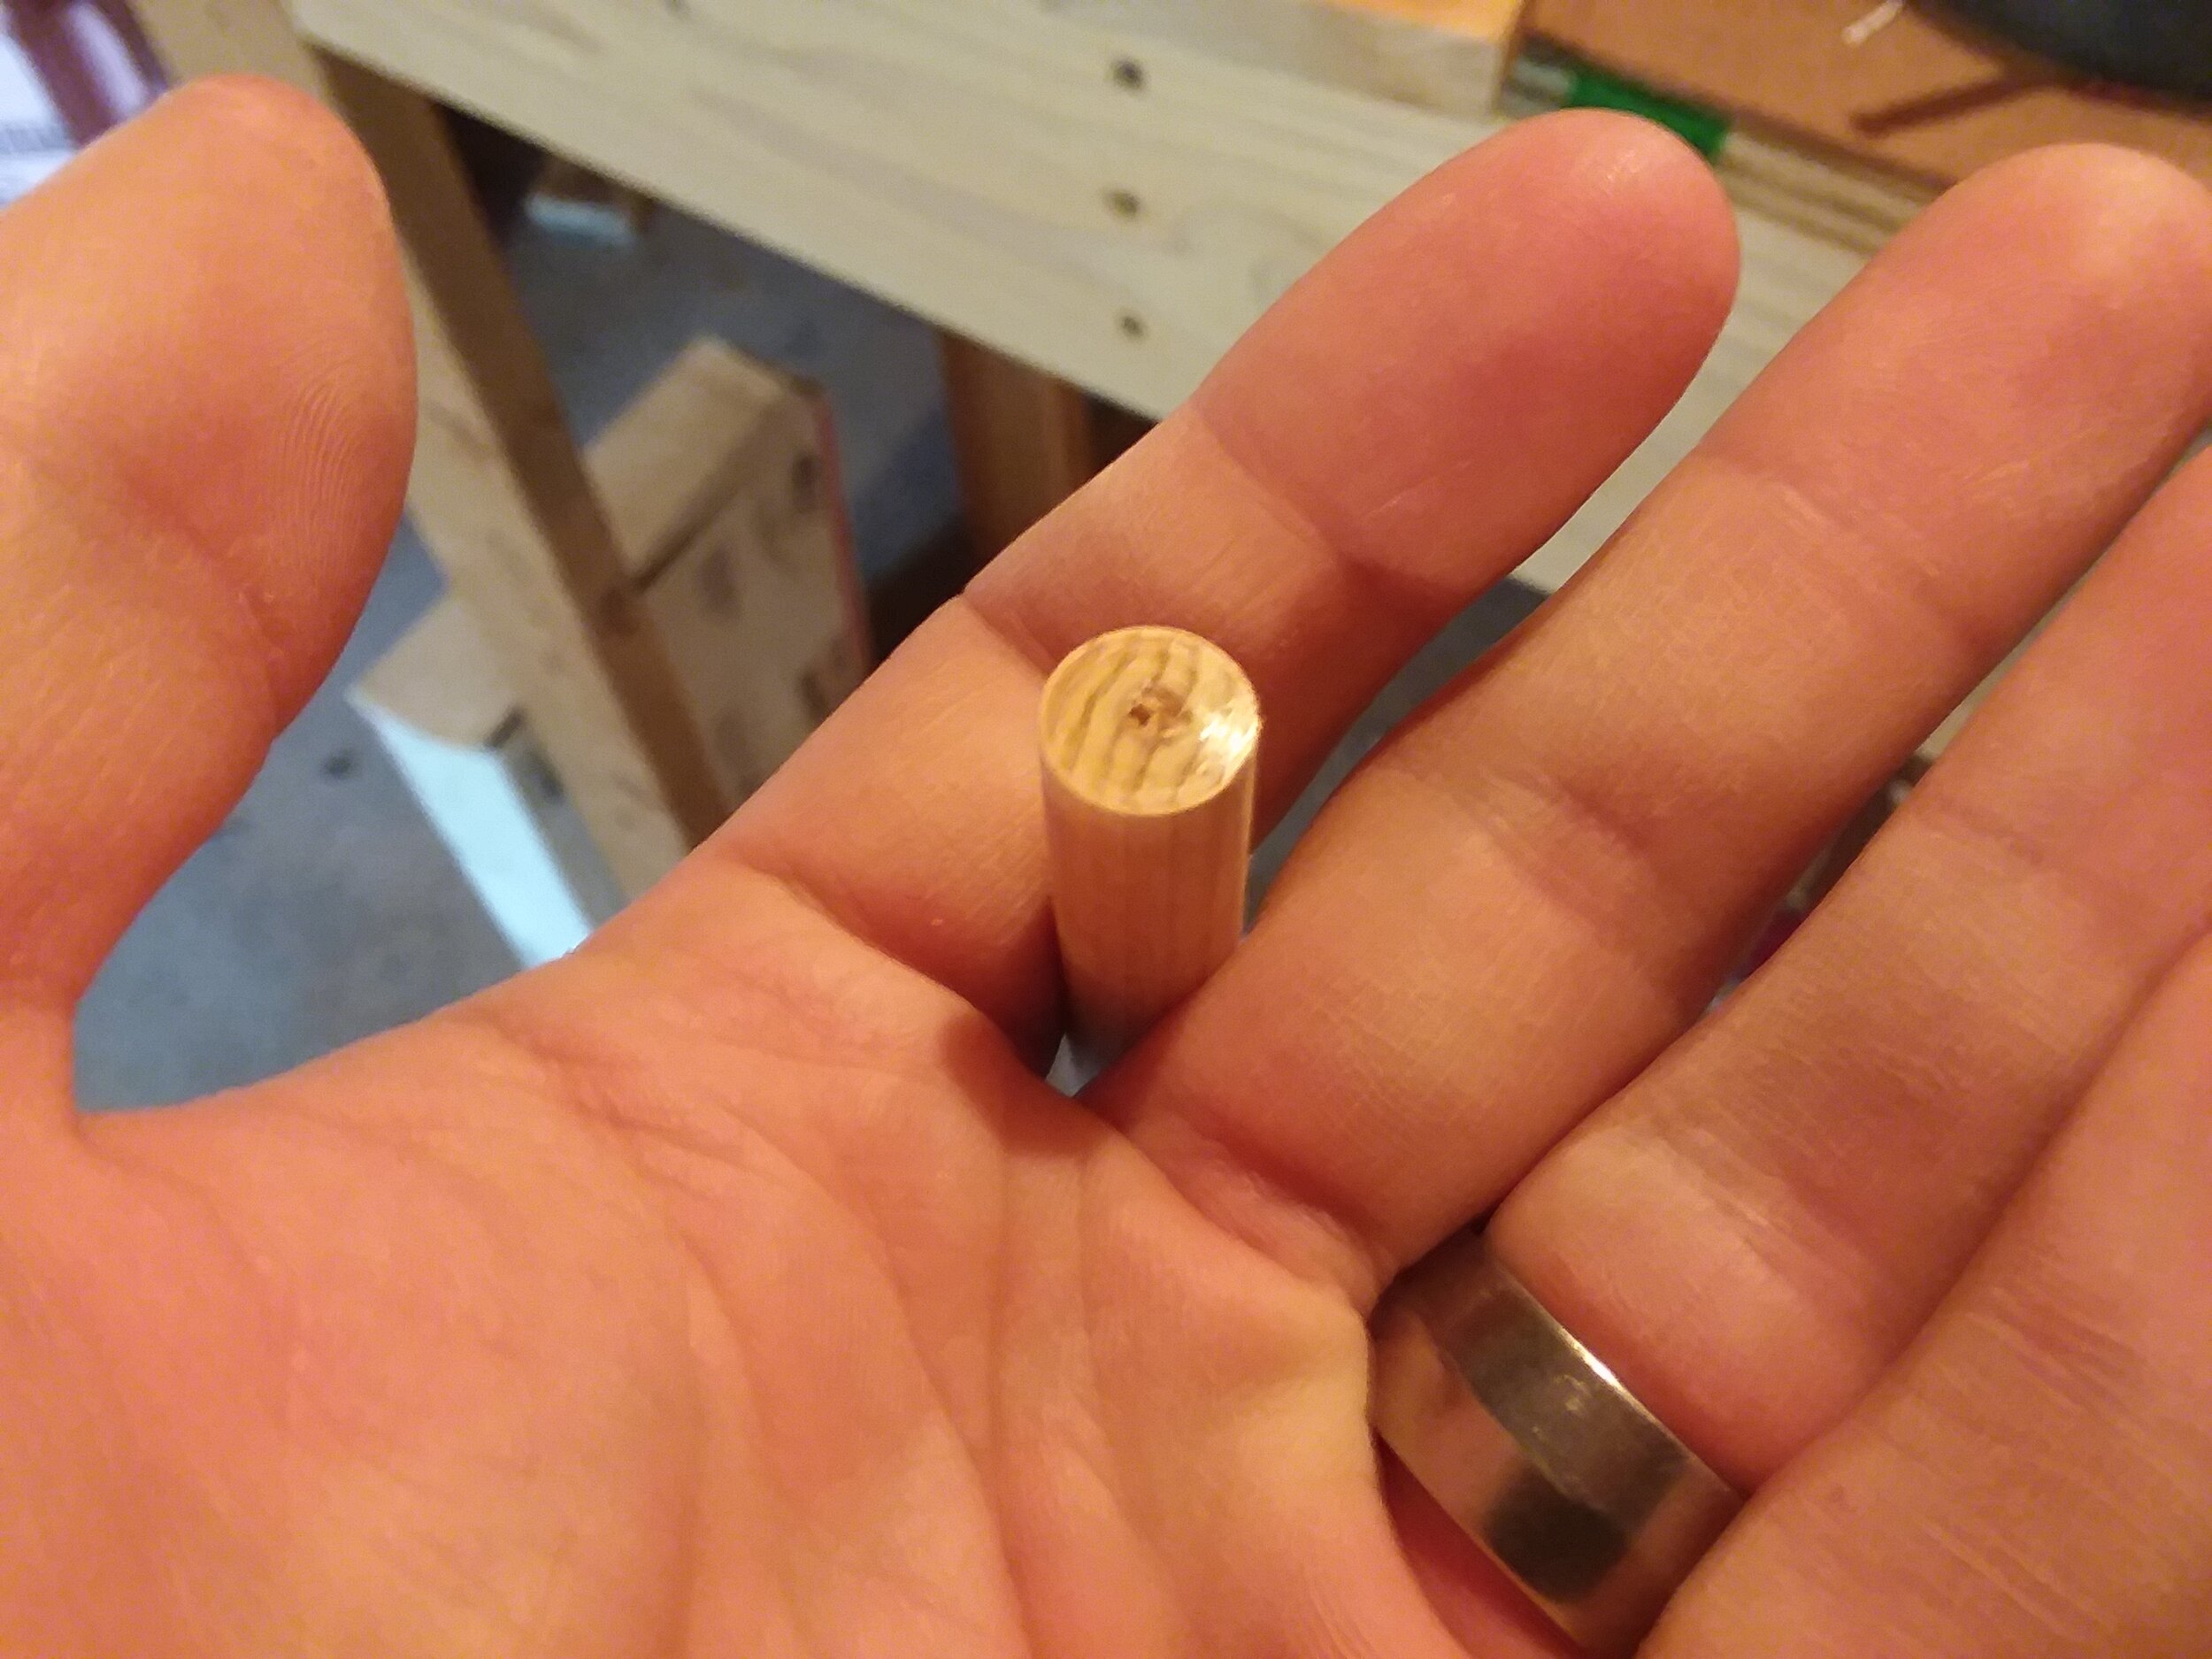
This leads to another important point though, which is grain orientation. Irrespective of insert nocks, cone nocks, or self nocks you want to control the grain orientation on your arrow. If viewed from the back, you want the wood’s growth rings to run perpendicular to the bowstring. There are two reasons for this. First is that, particularly with a self nock, you want the arrow to possess maximum resistance to splitting. Wood splits most easily along its grain boundaries, so aligning the string 90 degrees opposed to this provides maximum resistance. The second reason has to do with arrow breakage. Again wood tends to fail along grain boundaries. When the bow fires, the arrow flexes. That flex tends to be outward. With a wood selfbow, you typically follow growth rings on the back to prevent this. On an arrow this is not practical, so orienting the grain 90 degrees opposed to its maximum direction of flex is a prudent way to increase strength. The two images below I hope showcase what I’m trying to explain, using maple’s distinctive if slightly unusual grain appearance. If you’re wondering why the arrow has a crudely glued on plastic nock, the reason is because, before embarking on this whole wild goose chase and potentially leading all our readers astray, I cut one single shaft and took it all the way to (rough) completion and tested it. Shooting fletchless arrows is a great way to look for issues, both with form and dynamics, and this arrow worked great thus the whole blog series was started. You didn’t think I was totally winging this did you?


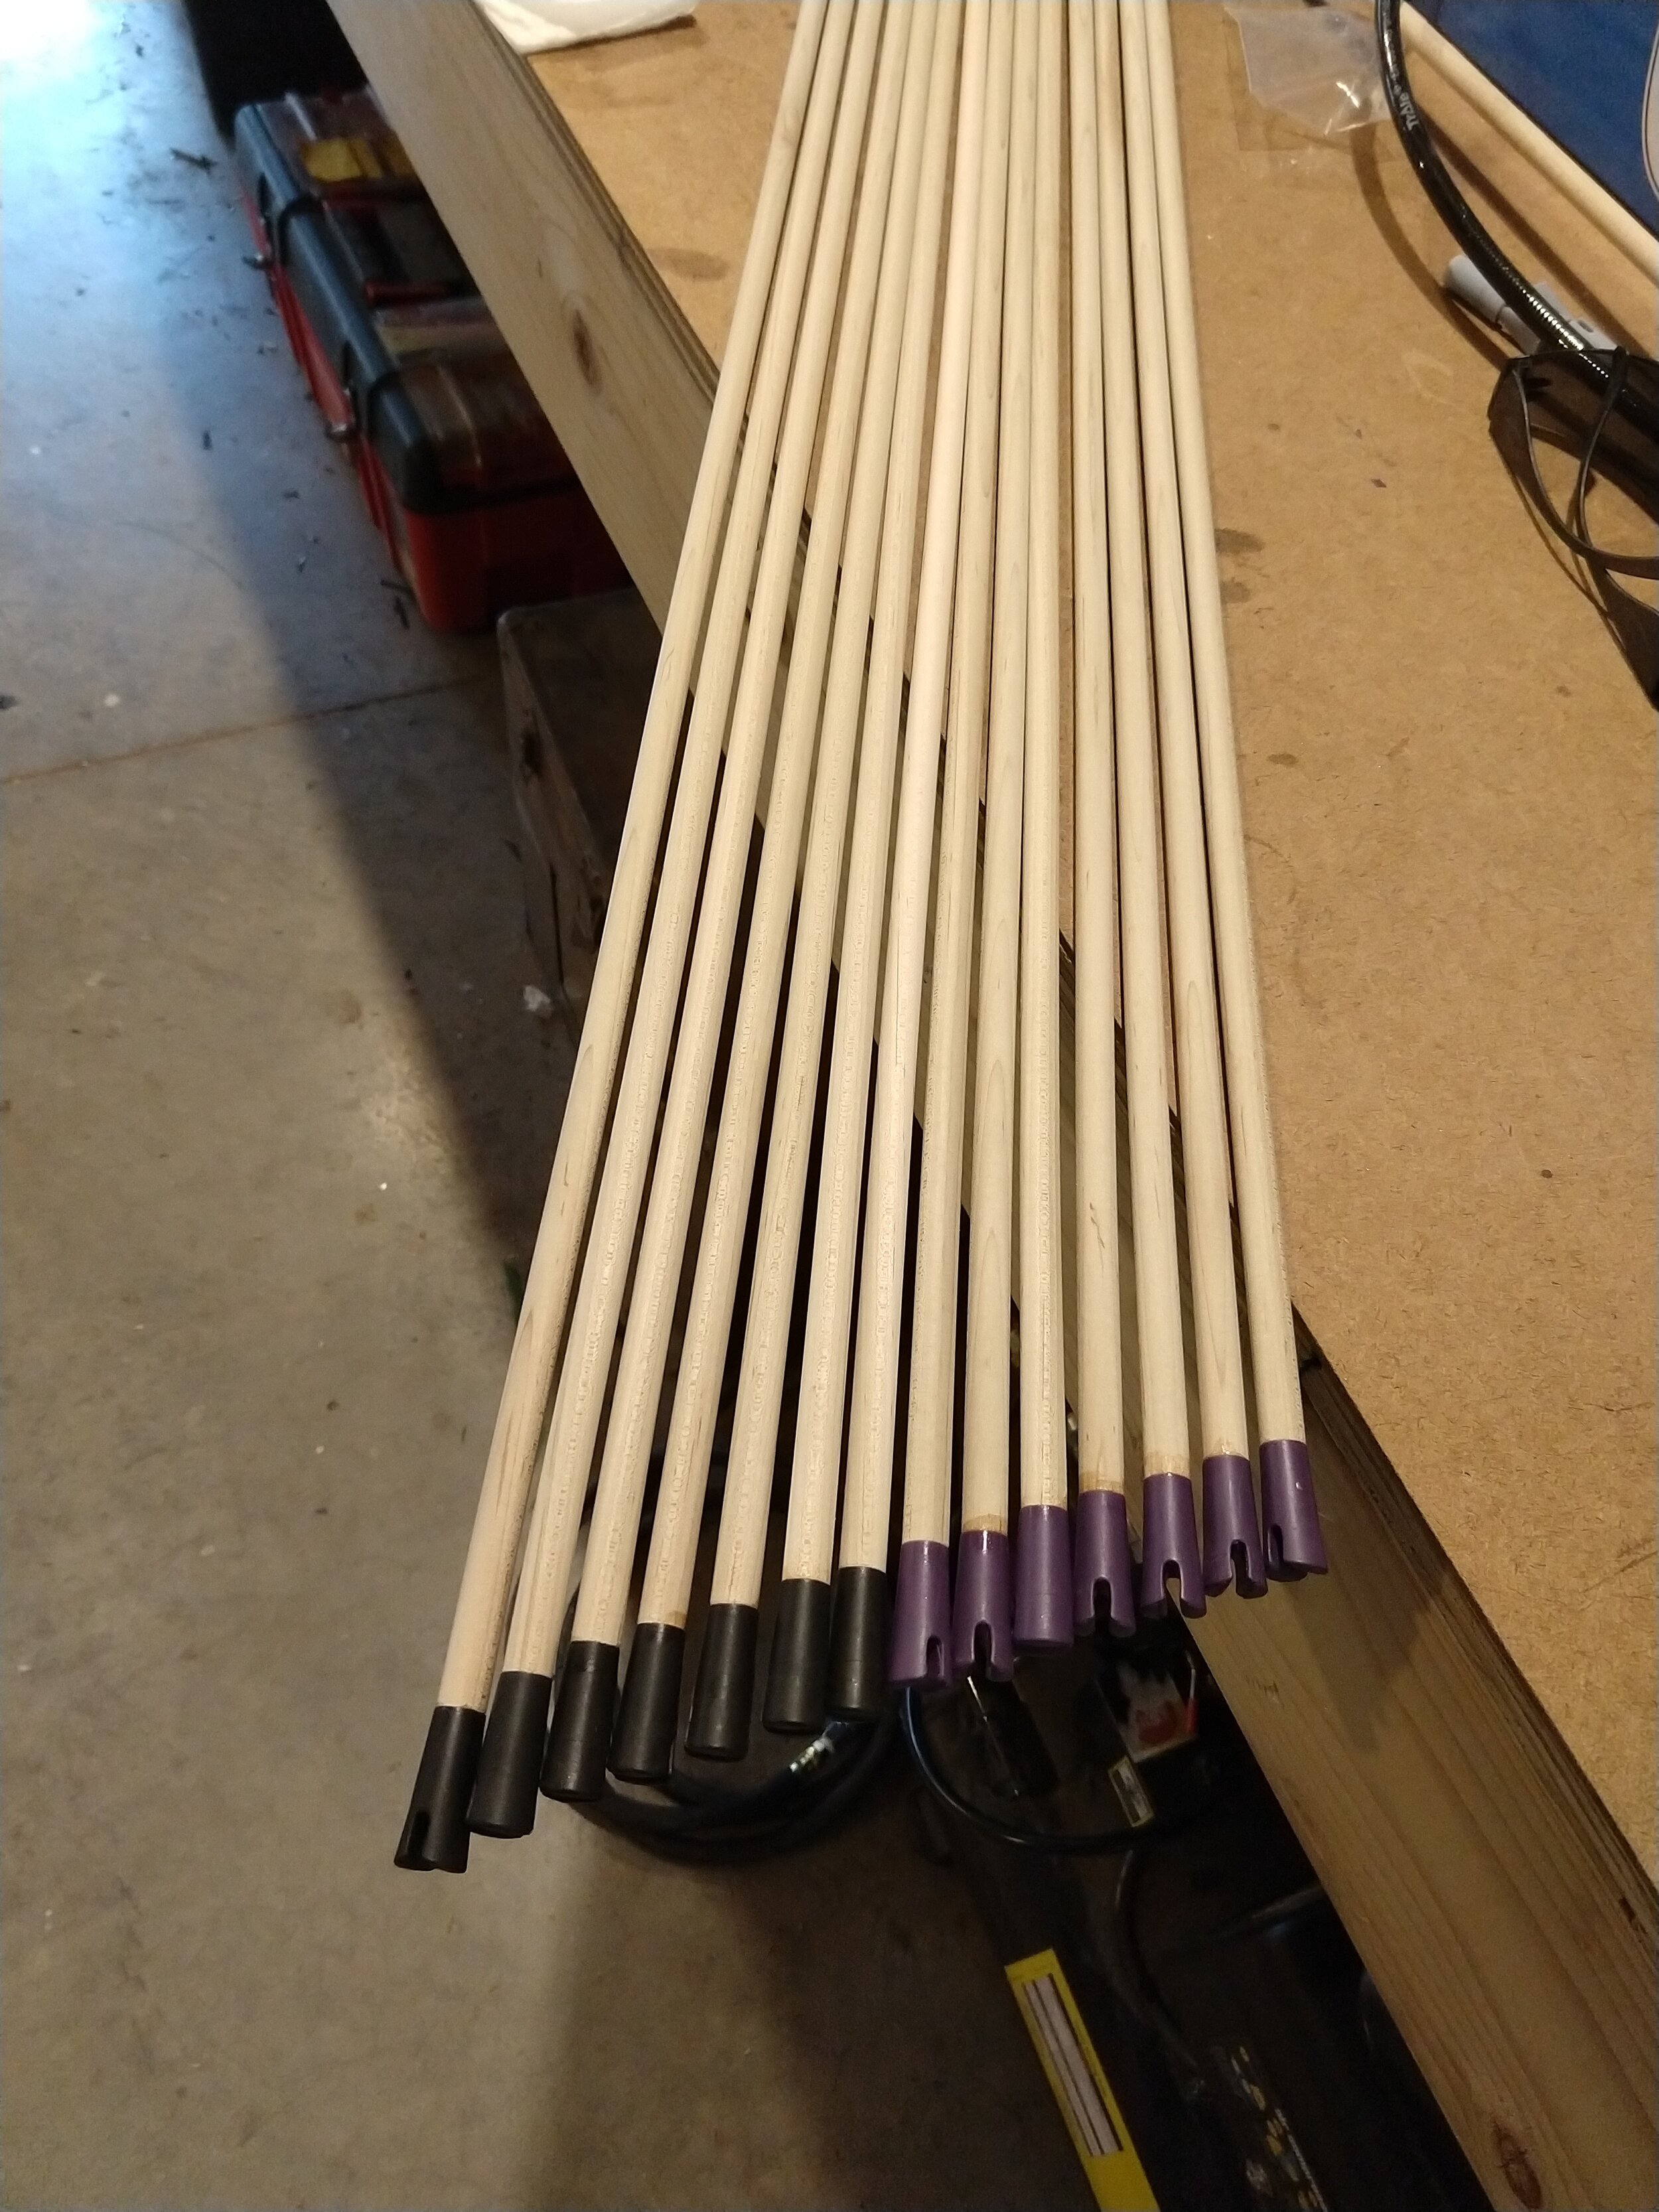
Circling back to nock selection though, my case is a bit of a smoke-em-if-you-got-em sort of situation; I decided to make custom taper mounted nocks. What are the advantages of this? Well, the big advantage of taper mounted nocks is that, if you break one, you can relatively easily replace it. And that is great. While they also have a relatively high initial investment cost if you decide to make them yourself, they’re also comparatively easy to churn out once that is done. I did 7 in purple, 7 in black. The black is obvious in its intention, to be a horn analogue. I’ll sand them as part of the process of blending each one into the shaft, and then polish to create that horn like lustre. If you’ve ever worked with horn, you know immediately what I mean, that beautiful polish which, somehow, you can’t quite describe why it doesn’t look like plastic but it is immediately apparent that it doesn’t. The purple ones are inspired by an article from Peter Dekker on the subject where a number of arrows shown have a beautiful almost tyrian purple to them.
There are a wide variety of commercial nock variants that can function in this application, so don’t be daunted by my choice here. There are perfectly functional modern nocks that can be had for pennies each, and of course there are the aforementioned self nocks.
So the next step is applying said tapers. Even if you don’t plan on using taper mounted nocks, most points use a taper. Points typically use a 5 degree taper while nocks an 11 degree taper. There are a number of ways to achieve this. With standard wood shaft diameters, there are tools available. The sanding ones tend to be the best, as they produce quick and consistent results across a wide variety of shaft diameters. There are commercial versions available, but they’re easy to DIY with some scrap wood and a protractor. All you need is a power sander of some sort and a couple clamps.

But what if you don’t have a power sander? And I haven’t forgotten about the goal of the project. For the absolute bottom budget option, it is hard to beat a 7$ arrow taper tool. 3/8”=24/64” so the 23/64” variant you’ll probably be able to get away with, maybe needing a little modification. Be careful and go easy with these plastic taper tools, they’re meant for cedar and other softwoods, not maple so be gentle. If you plan on doing this a lot, a more robust metal taper tool might be a better option, however sanders are so cheap these days simply buying one and building your own taper tool might be the best option.

Next it is time to attach points and nocks. For whatever reason I generally attach points before applying finish, and nocks after. In this case though, for cost/accessibility reasons I want to use a wipe-on finish (instead of dipping laquer) and I want to try and integrate and “blend” the nocks into the arrow shafts a little bit. As a result, I intend to attach both nocks and points before applying finish.
So attaching points is straightforward. Pick the adhesive of your choice, apply it, and go. It is a bit generic as far as advice goes, however I’m partial to Bohning Ferr-L-Tite because it holds points firmly but also is reversible. (heat the points and you can remove them) It is important here you use a clean flame source. An alcohol lamp is really preferred because it is low enough temperature you’re not going to burn adhesive or anything else, but produces no soot or oil or wax when it burns. Natural gas (methane), propane, MAPP are all good as well. Butane (what is in a typical bic lighter) works but is not preferred simply because it does not burn quite as clean, and some lighters burn it cleaner than others. I recommend against candles, as they produce a great deal of waxy soot which can inhibit bonding. I should add making an alcohol lamp is easy, almost trivial, and you almost certainly have the materials laying around to do it. (it can be as simple as an upturned soda can, although here is a more thorough article on the subject)
The procedure with Ferr-L-Tite is quite simple: heat the stick over the flame and apply a little to the taper. Then, gripping the point with pliers, heat it thoroughly. You’ll see condensation appear on the surface and, as you continue heating, you’ll see it disappear. This is a process you’ll see in chemistry called flame drying, and is often used on glassware which must be dry for a given reaction. The adhesive meanwhile will have gotten cold and hard on the arrow taper. Don’t worry about that. When the point is properly hot, place the tip against a solid surface and press the shaft into it. The adhesive will soften and squeeze out around the base. Continue pressing firmly while you release the pliers (no longer necessary) and apply a wet cloth to the point to cool it rapidly. Once the point is cooled the adhesive will be set and you can release pressure on the shaft. Once they’ve all cooled, a disposable blade knife can be used to clean up the excess glue. There is no need to clean this obsessively, the points will see a lot of wear in their life and so little bits of excess will wear off fast, you’re just looking to get the big chunks off.
Nocks are a similar affair. Some people use no adhesive at all on their taper mount nocks, simply pressing and twisting them into place. In my personal opinion this is only convenient if you’re using commercial nocks which are so cheap as to almost be free, and if you intend to carry a supply of them in your quiver. A lower temp hot-melt-adhesive is an easy reversible way to attach them. I’m partial to a cyanoacrylate adhesive though, so that is what I used here. Such glues are available EVERYWHERE from your local hardware store to Amazon to archery supply stores. I’m not a huge fan of Gorilla products, but this 6$ option should be adequate. As an added bonus, this glue can be used for fletching. We’ll get to that. Simply apply a little to the shank, orient the nock the way discussed above, and press firmly into place. Hold in place for a 15 count (varies based on humidity, temperature, and glue brand) and then release. The adhesive will continue to cure over time, but is now sufficiently hardened to hold the nock in place as long as it is treated gently.
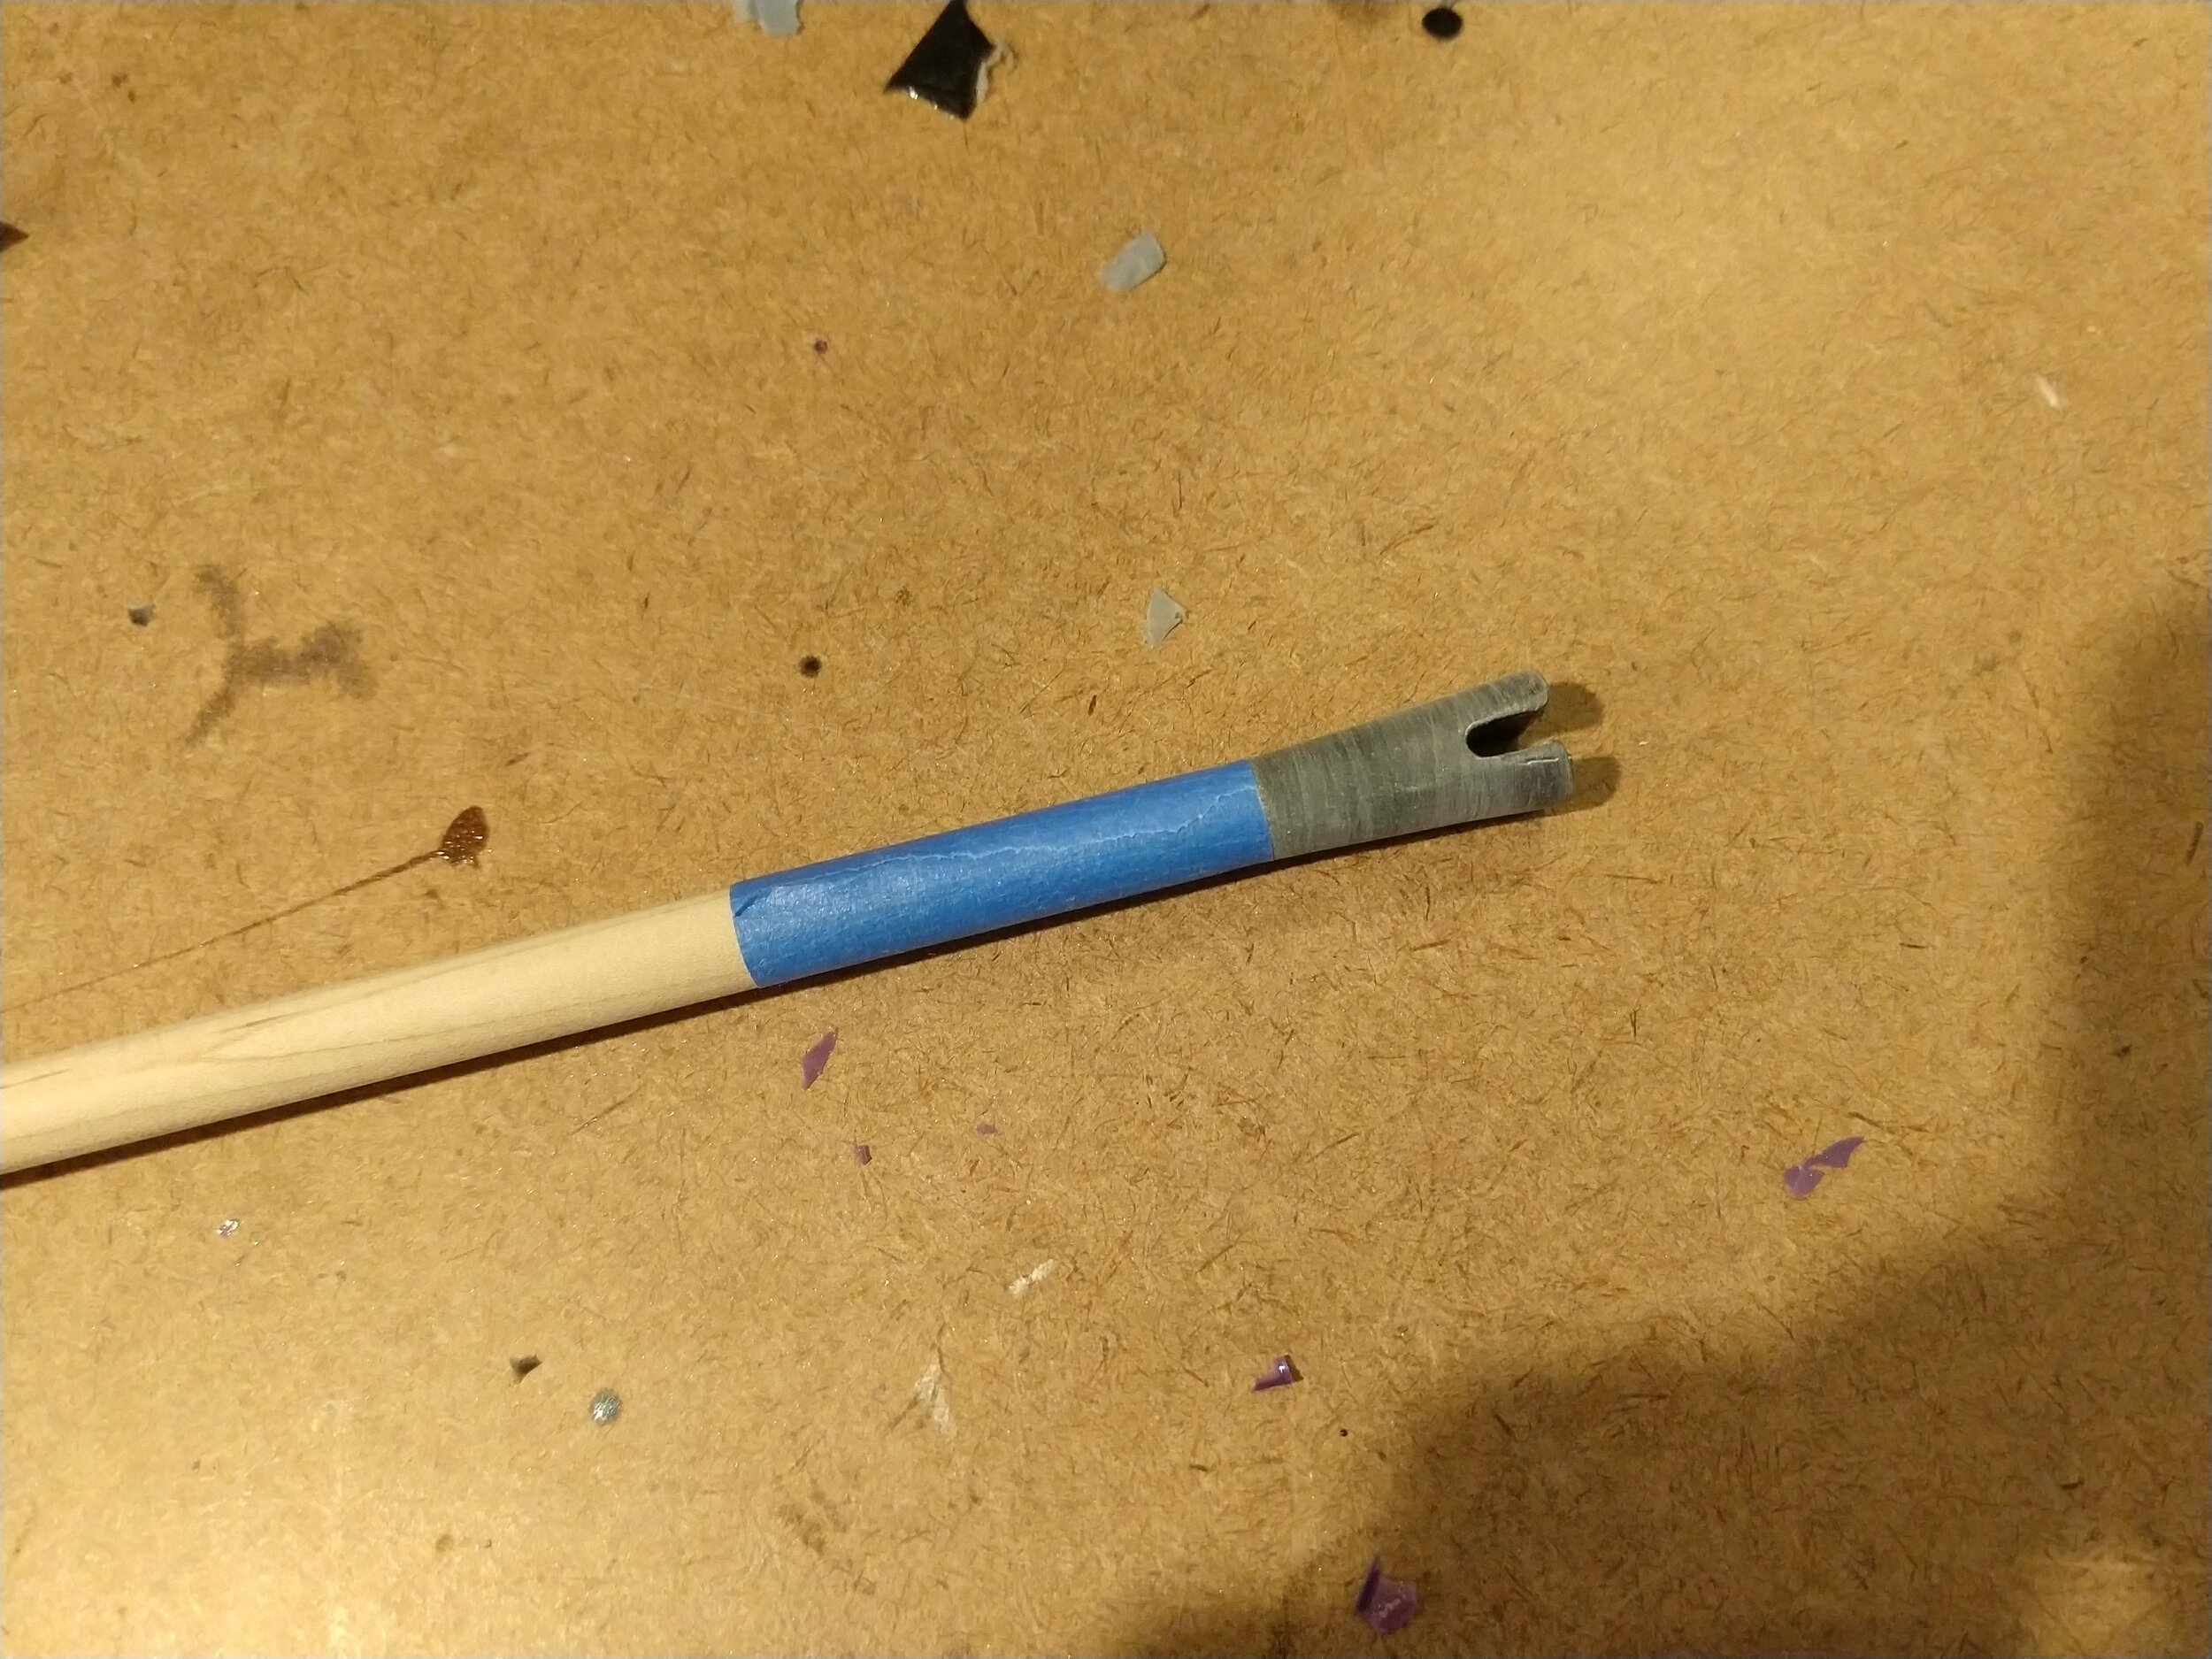
So here is where I pull another, albeit smaller, rabbit out of my hat. I want my nocks to look like they “belong,” and I don’t particularly want them to have that “perfect” gloss of a cheap injection moulded plastic nock. So I’ll kill two birds with one stone here by carefully chucking each arrow in the lathe and sanding it. The drill from the previous episode can be use here just as well if you don’t have a lathe. This sanding should start just above the the point, move to the shaft, blend the nock into the shaft, and finally the body of the nock itself. I also, while stationary, give a quick sand to the top of the nock both to clean up the mould sprue marks and keep the finishing consistent. Then I wrapped the shaft in a little painter’s tape to mask it from the polishing compound, which can both stain the shaft and prevent the adhesion of finish later. Applying polishing compound to the nock, buffed it to the aforementioned gloss. Sort of a round-about-way to achieve a specific effect, but hey these are my arrows. I should add this trick only works on nocks which are radially symmetric, which at the time of writing all our nock designs happen to be, so if you want to go all presentation-grade on your arrows, you can. Historical nocks also tend to be radially symmetric, which is a natural shape to cut and finish by hand, spinning the shaft between your palm and leg.

If you cut self nocks, or used glue-on nocks, now would also be an opportunity to blend them in, clean up areas around the taper, or simply cut/sand a taper in. You can also, as mentioned above, readily use one hand and your thigh to spin the shaft while the other applies a tool if you don’t want to use a drill.

With shafts sanded and nocks polished, it is time to apply finish. While finish isn’t strictly necessary, some historical arrows went without it, the expectations of modern target shafts are such that finish is highly advisable. Sealing out moisture will help keep the arrows straight and in good condition, help seal the pores against dirt and staining, so on and so forth. The “typical” way this is done today is with laquer and a dip tube. I used to make arrows like this, and it is fast, creates a thick finish, and quite durable, however it makes an appalling smell and mess. This is just not suitable if you’re doing this in an apartment for example, not only will the fumes drive you out, it’ll drive your neighbors out as well. Part of why it is so bad is you have to deal with the fumes, not just off the arrow shafts themselves, but off all the dripping as well. So you can brush on lacquer which is a little better, or go with shellac for that matter, both are fine options. The issue, again, is these relatively low viscosity fast-drying finishes can be a bit fickle to apply and will run (drip) if you’re not careful. They also will show every fuzzy, lost bristle, and unlucky insect to come across their path in finishing. They also want to be a relatively glossy on-top-of-the-wood finish. At the other end of the spectrum are natural oil finish products such as tung oil, flax seed oil or boiled linseed oil. These are polymerizing natural oils, which are often pre-polymerized to some degree to speed curing. Flax and linseed oil are “the same thing,” but really aren’t as they differ in extraction process, functionality (that is what the boiling in boiled linseed oil is all about, to pre-polymerize it), and safety. Be cautious when selecting a brand, especially when it comes to “tung oils” as anything that doesn’t advertise 100% pure is likely an oil-varnish blend, which is a different animal. These natural oils are super duper easy to wipe on, however they require a lot of coats and really only penetrate rather than build up like a shellac. This leaves the natural feel of the wood, however it provides less physical protection. They also tend to take much MUCH longer to cure, weeks in some cases, although coats can often be applied mere hours apart and gentle heat can speed the process. They also have comparatively little odor, essentially no volatile content, so if you are somewhere with limited ventilation and are averse to strong smells, this would be my recommendation. Flax seed oil specifically is food safe, so makes for the safest option here. An oil varnish blend (often called Danish oil and sold under various brands the most famous of which is probably Formbys, also often called “tung oil” even though it is only partially tung oil) can go on a little easier and provide a slightly glossier and harder more protective finish. It is something of an in-between. Be careful though, it still can run, wipe it on in light coats. I would also put the popular Tru Oil in this category, even though it is part linseed oil and part “secret sauce,” as it behaves much like an oil-non-oil blend. As an alternative, a gel varnish like Bartleys is made to be wiped on in several coats, won’t drip, and is incredibly easy. It is probably the most all-around user friendly yet fairly durable finish option here. For the running price though, I’m going with flax oil simply because it is inexpensive, easy, and can work in any environment for anyone. (refinish your spouse’s wooden kitchen spoons with it or you kitchen knife handles, it is food safe, multi-purpose, and making your significant other happy never hurt anything)
Whatever finish you choose, before you start applying it, give everyone one final check to ensure you’re happy with the sanding, give it a quick straightening using the palm of your hand to flex the arrow, and then wipe it down with a clean cloth to remove any sawdust. Wipe the finish on in thin coats preferably with a lint free cloth. You may find a gentle rub with fine sandpaper or steel wool between coats is necessary where the grain has been raised by the finish. If, upon applying your first coat, you start to see spirals running up the shaft, fear not. These are scratches from your coarser sandpaper grits which weren’t rubbed out with the subsequent finer ones. (it is also why you’ll hear woodworkers constantly berate you for sanding across the grain, because doing so cuts the fibers and leave these marks which are harder to rub out) You can go back and sand more, or simply not bother as they don’t really harm anything beyond appearance. Keep applying finish until you’re happy with the results, in general that is a minimum of two coats but you may want to do 3 or more. You may be surprised how “thirsty” the wood is on the first coat, but this should diminish as the pores become filled, and is a good way to judge how “done” you are.

Wiping varnish on these arrows I remembered why I love doing this just so much. There is a real joy to making something beautiful with your own two hands. Even though this is clearly not the cheapest way to get arrows in most cases, nor are these the most authentic Manchu arrows possible, there is something unquantifiably special about this process. It is much the same thing that leads people to build their own bows. I know in the previous episode I promised fletching would be here, however this post has already gotten quite long and the finishing process has curing/drying steps involved so it’ll take me a while to get to fletching. Thus, we end here.
So how are we doing on our total? Well last time around we had the following items which totaled 164$:
9$ points
25$ board
47$ doweling cutter
11$ Veritas sockets and adapter for dowel cutter
36$ skill saw
15$ C-clamps
21$ Corded Drill
To that we’ve added:
5$ hacksaw blades
7$ arrow taper tool
4$ Bohning Point Glue
6$ Nock Glue
8$ Flax Oil (finish)
That was only 30$. See, I told you the worst of the buying-stuff was over. This brings the running total to 194$. And only fletching is left. Not bad. We’ll scoot in under the price of two dozen Gold Tip Traditionals easily, and if you’d started out with two boards instead of one and a few extra points you’d be on track for three dozen arrows with only a slight cost increase. So there we are. Stay tuned for the final episode where we fletch and shoot!