Manchu Arrow Project (part 7)
Silent Thunder Ordnance
In our previous episode (Manchu Arrow Project part 6), we were making some more practical Manchu arrows. The goal was to get a complete set of wood arrows which were heavy enough for a max draw weight JZW Manchu (~60#s@36”), to do it in a manner accessible to those who do not own tools, and to keep it all within a budget of what a dozen finished Gold Tip Traditionals would cost (137$). Where we left off, this had already failed, if you truly own no tools, the ones you’d have to buy would push you up to 194$ so far. With arrows almost complete though, how much worse could it get?
First though, a quick digression. Quality insights on Asiatic artifacts are surprisingly rare. Even rarer is quality photography. Peter Dekker reliably produces both. While browsing one of his websites, Mandarin Mansion, I stumbled across the following account:
“…The tanged point is inserted at the front, wrapped with sinew and covered with black peach bark. Such a construction is incredibly strong, I've shot accurate replicas of such arrows into walls and they remained intact where a socketed arrowhead would break right behind the socket…”
(ref. https://www.mandarinmansion.com/item/sirdan-or-manchu-war-arrow)
While this may seem a small detail, or even obvious to some, it is the first authoritative account I’ve come across which notes the superior strength of tanged arrow heads to socketed ones. And the account makes a certain amount of sense, after all anyone who has shot arrows with socketed heads know they reliably fail immediately above the socket. A mounting system which creates a longer transition between head and shaft could avoid the stress concentration of a socketed head and provide higher durability. Food for thought. Sadly, tanged arrow heads are hard to come by, and can be more challenging to install. Never the less, an interesting insight. And now, back to the action.
Acquire feathers. Feathers can be had pre-cut, if you’re looking to save as much money as absolutely possible, but for arrows you’ve made yourself going that little extra distance for a little more authentic spice I think is very much worthwhile. I should also add that arrows this long and heavy can be more difficult to steer, and so the typically larger feathers of the Manchu isn’t unreasonable. One should also note, full length feathers often are about the same price as their pre-cut relatives, so your savings is mostly going to be in the tools used to shape them. At this point you might ask: left or right wing? Some people will tell you it matters, for one reason or another, but in all my years doing this I’ve never seen a single scientific study showing one to actually be better for some specific application to another. So just get what you like.

So lets say you went with the splurge option of uncut feathers, how to make them consistent and beautiful? Well, as it just so happens, we manufacture and sell templates for this application quite specifically. Our full snarling Manchu template is quite a thing, however is actually longer than many uncut feathers. Because I didn’t want to have to cherry-pick feathers to get ones long enough, and because it is still more than adequate, I opted for our Manchu Mini. Use is incredibly easy. On a cutting board, place the quill in the template’s groove, and firmly press down. Then take a rotary knife and run it around the outside of the template, starting at the distal end of the feather. Keep your movement smooth and slow, and your force even.
So now you have beautiful feathers, how to attach them? There are a lot of products here, however I specifically selected a gelled cyanoacrylate which could be reused for feathers. This is far from the only option, there are a wide variety of adhesives on the market, the easiest of which to use is, in my opinion, fletching tape. Either way we’re going to lay these on by hand, because they are too long for most if not all commercial fletching clamps.

This process is made easier with some sort of jig though to ensure consistent spacing. Whether you go for three fletch or four fletch, you’ll want your feathers consistently arrayed around your arrow. This template can be done with something as simple as a piece of paper. Place your arrow on your bowstring, and make note of where you want the rear of the fletch to start. Make a small mark on your shaft at that point. Then, from your nock, cut a piece of semi-rigid material (paper is sufficient) to the width between the nock and where you want the fletching to start. Wrap it around the arrow, and make another mark where the ends meet. Lay this piece flat and measure it, marking it at even intervals for the placement of your feathers. (thirds for three fletch, quarters for four fletch) Roll it up again, and slide it over your arrow shaft, taking care to align the marks correctly with your nock orientation. You now have a jig that gives you a consistent position for the rearmost part of every fletch. Mark this carefully and discretely on your arrow shaft with a pencil or marker, then remove the jig.

From here, with the aid of a clamp to hold the arrow shaft down, apply each fletch. A word on the adhesive: use it sparingly, it wicks readily and can climb up and onto your fingers which is not a big deal, but is better to avoid. After the fletch is secured, you can always go back later and lay down a larger bead of glue. Cyanacrylates cure with exposure to moisture, so doing this in a lower humidity environment will give you more working time. Orient the spot for a specific feather upward, so it is visually obviously when it is aligned properly. You can apply spiral here, though it is traditional not to. Press down the rear of the feather on the mark you made, and lay it down moving forward pressing firmly on the quill. Hold it until the adhesive has tentatively set, typically 15 seconds, and then rotate to the next one. Full strength cure is typically achieved in 24 hours. It really is that simple and easy. If you’re really struggling, a big potato chip bag clip, given a quick coat of wax, can help hold the feather straight while you lay it down.

So it is far from necessary, however wrapping the front of each fletch can add durability, beauty, and a little spice to the whole affair. This can be done by hand, but so long as you got a drill, why not use it? Clamp the arrow LOOSELY in something, such that it can freely rotate. Attach the drill chuck to the point, and make the first few wraps of thread by hand. Then gently apply power to the drill to spin the arrow and form up an attractive wrap. A few half-hitches followed by a drop of glue complete the wrap.
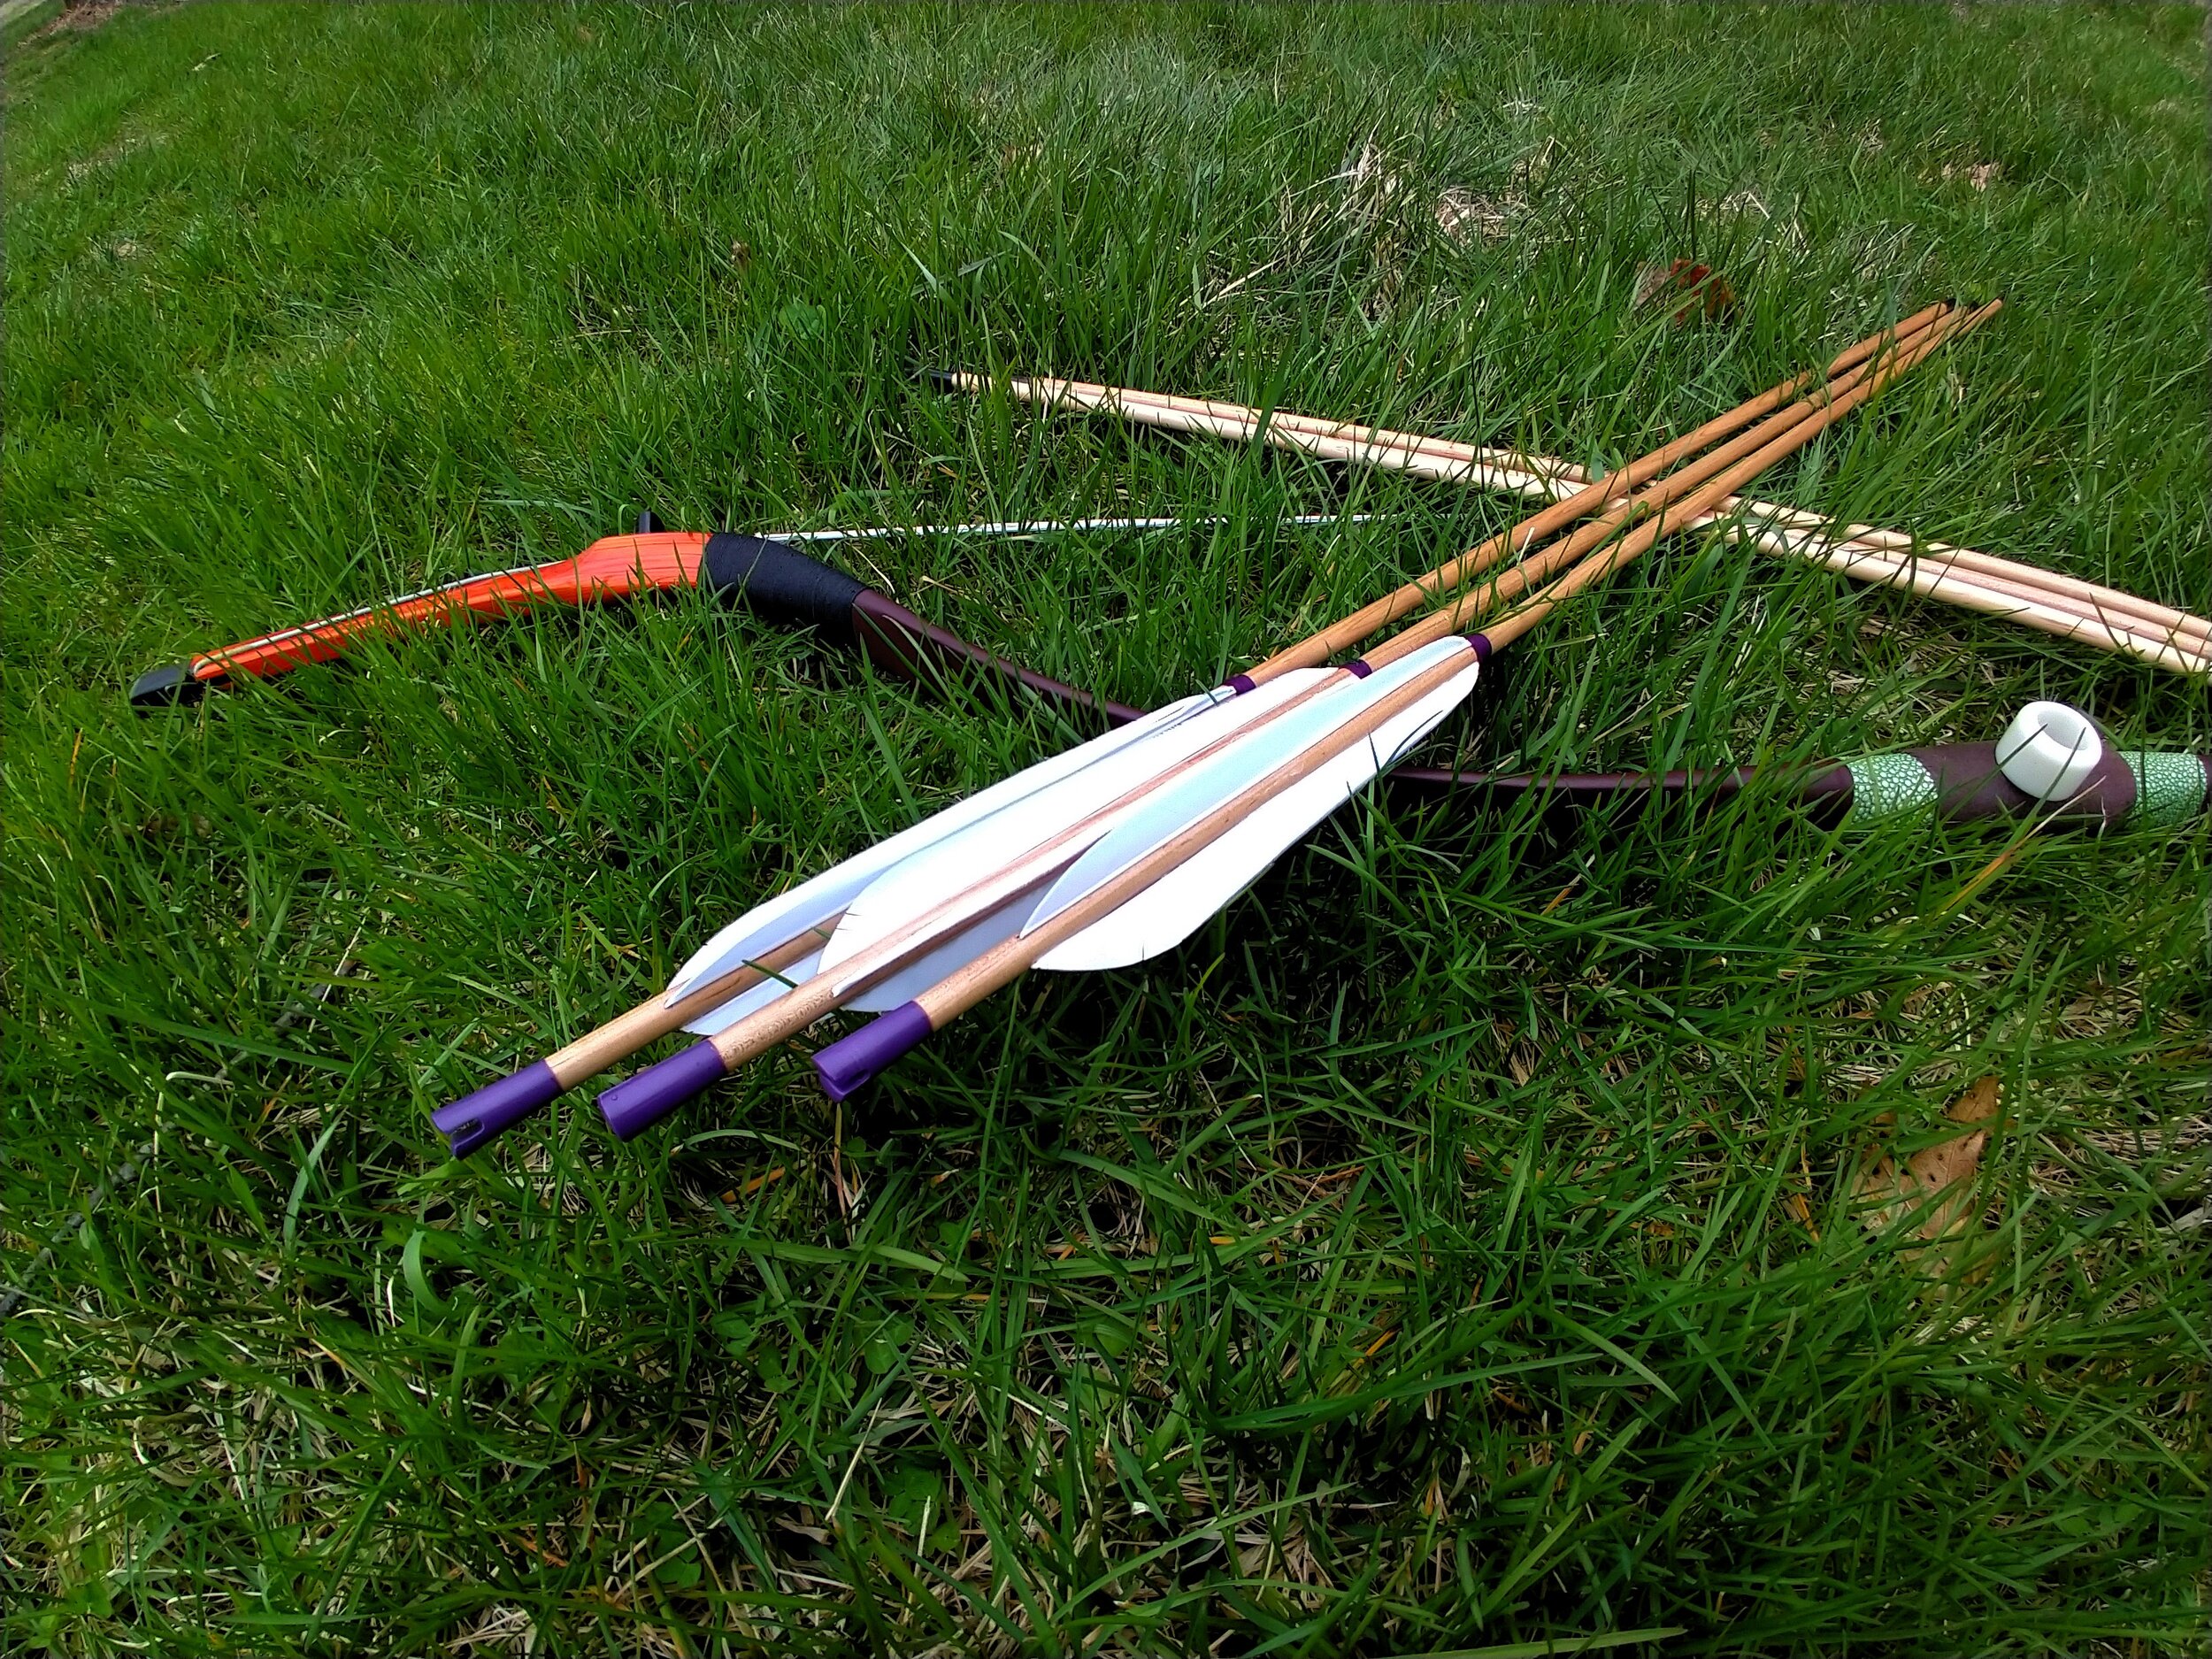
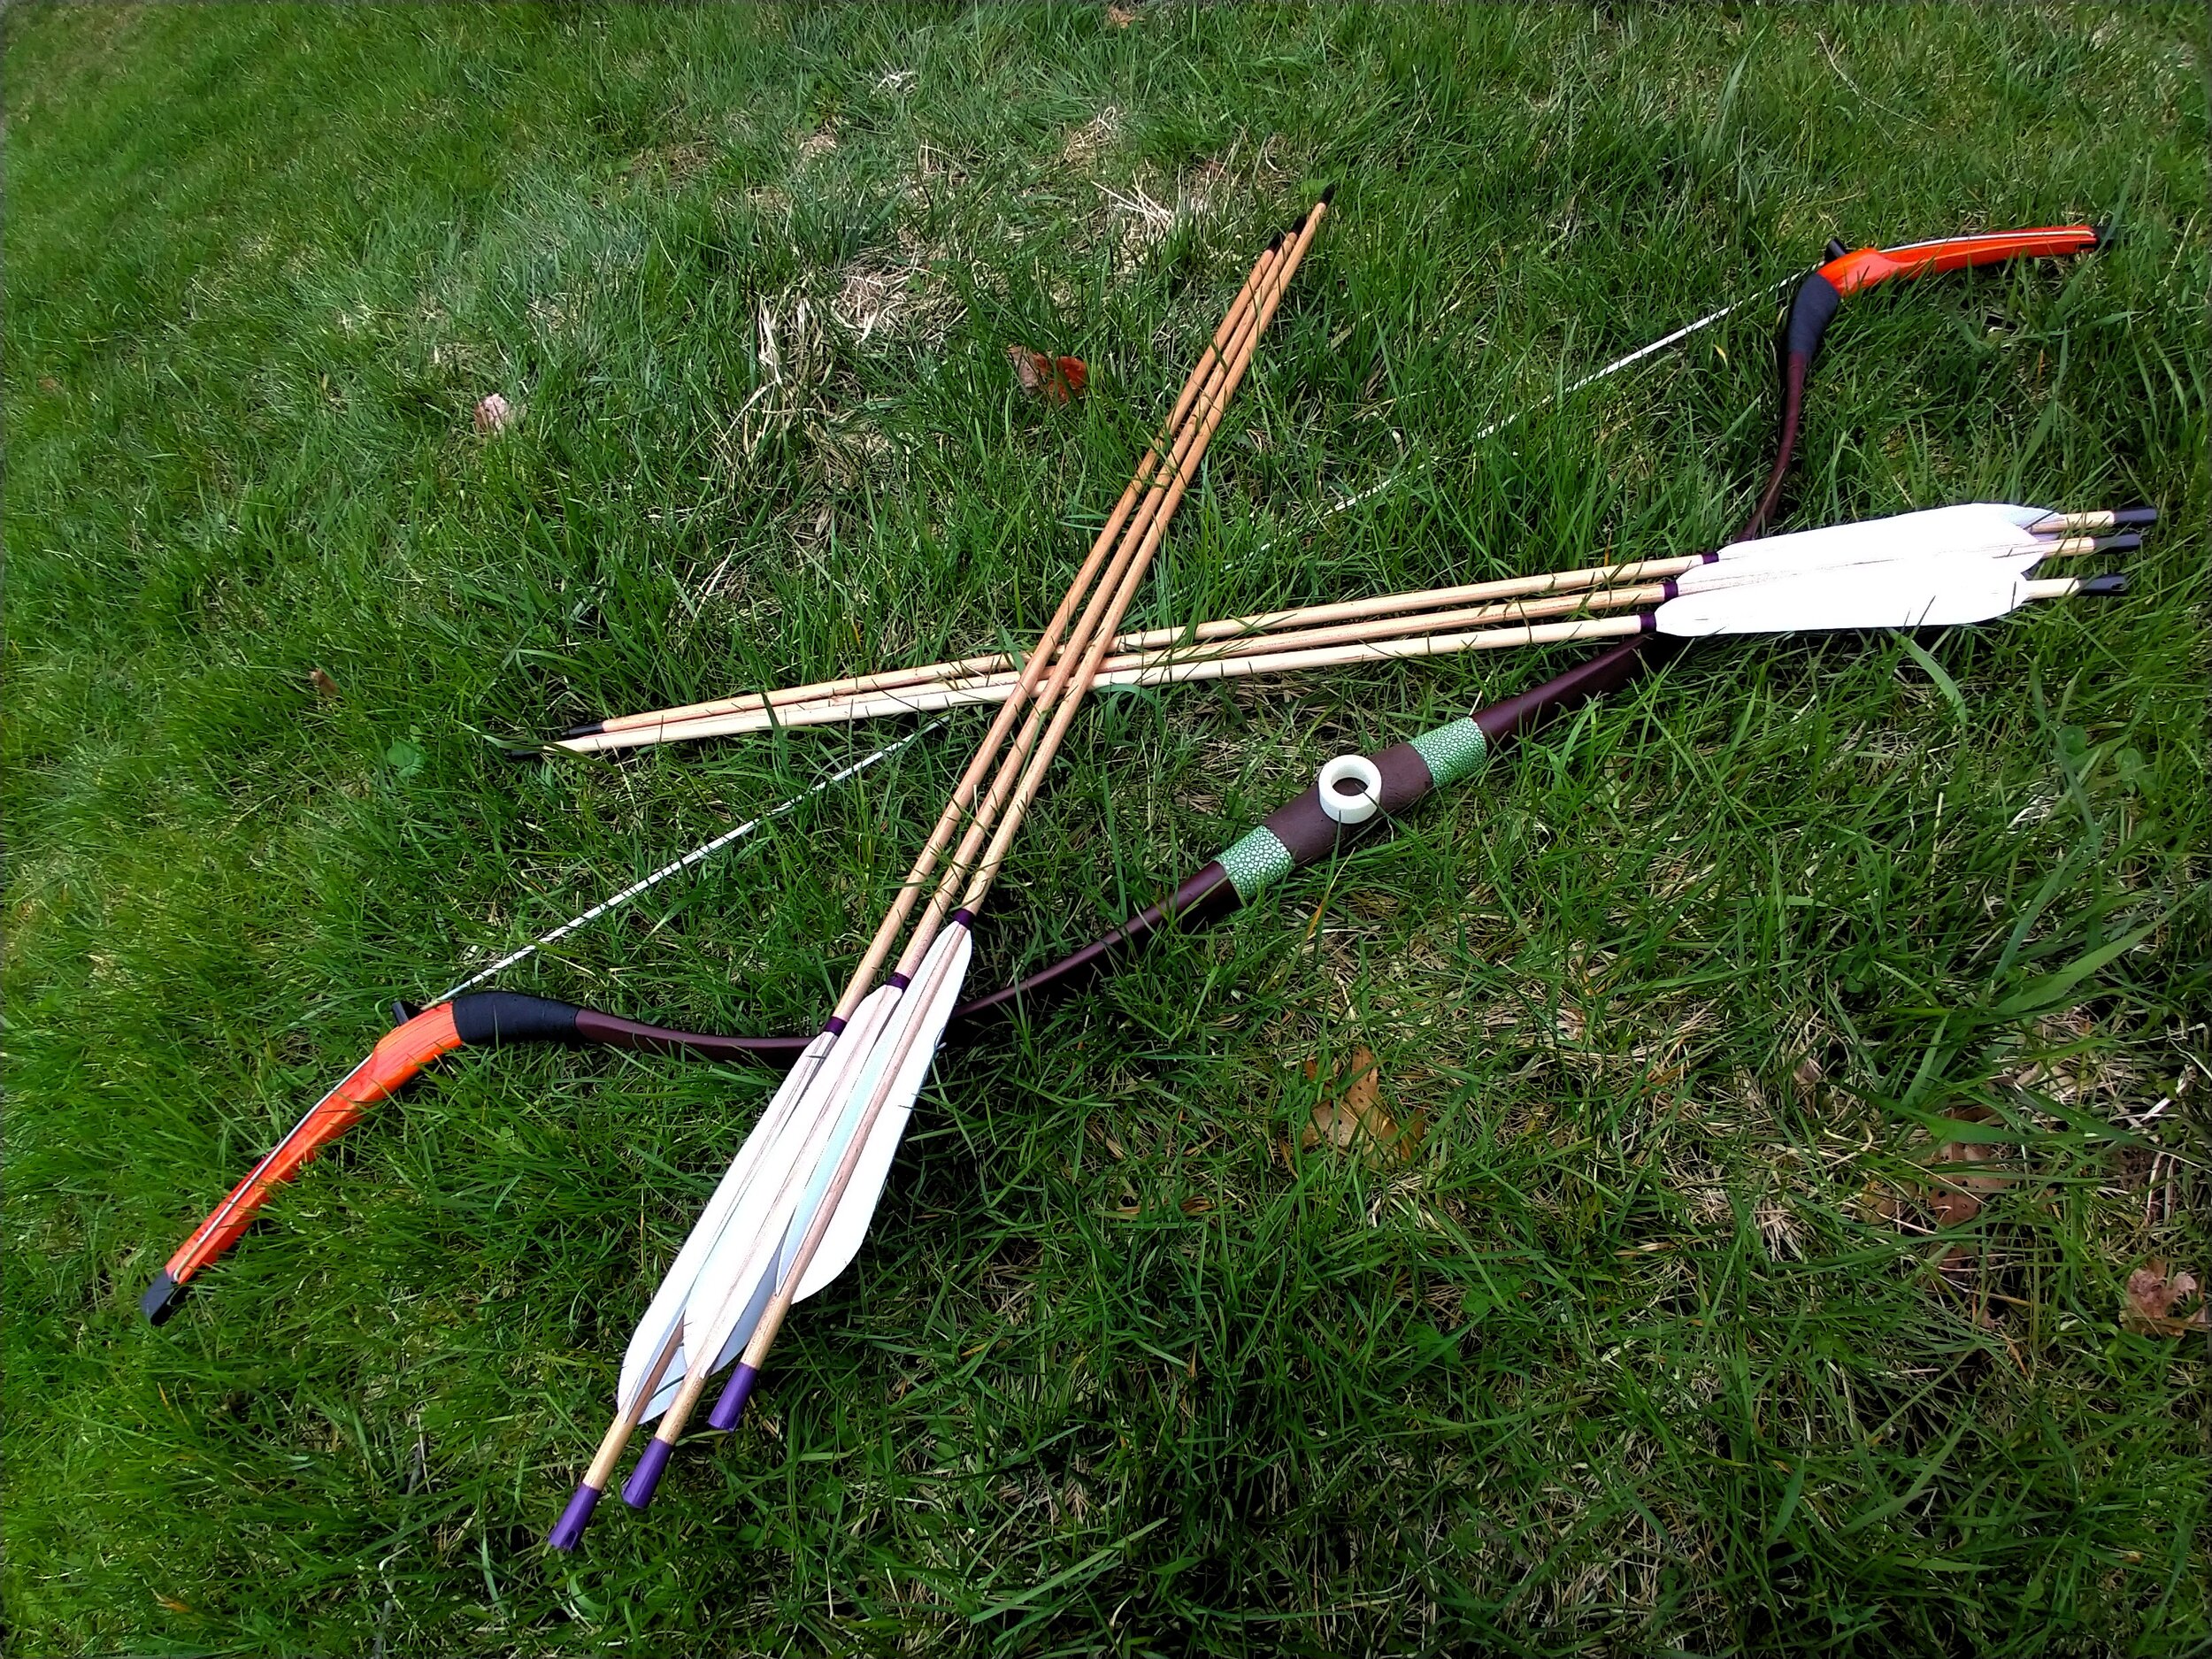
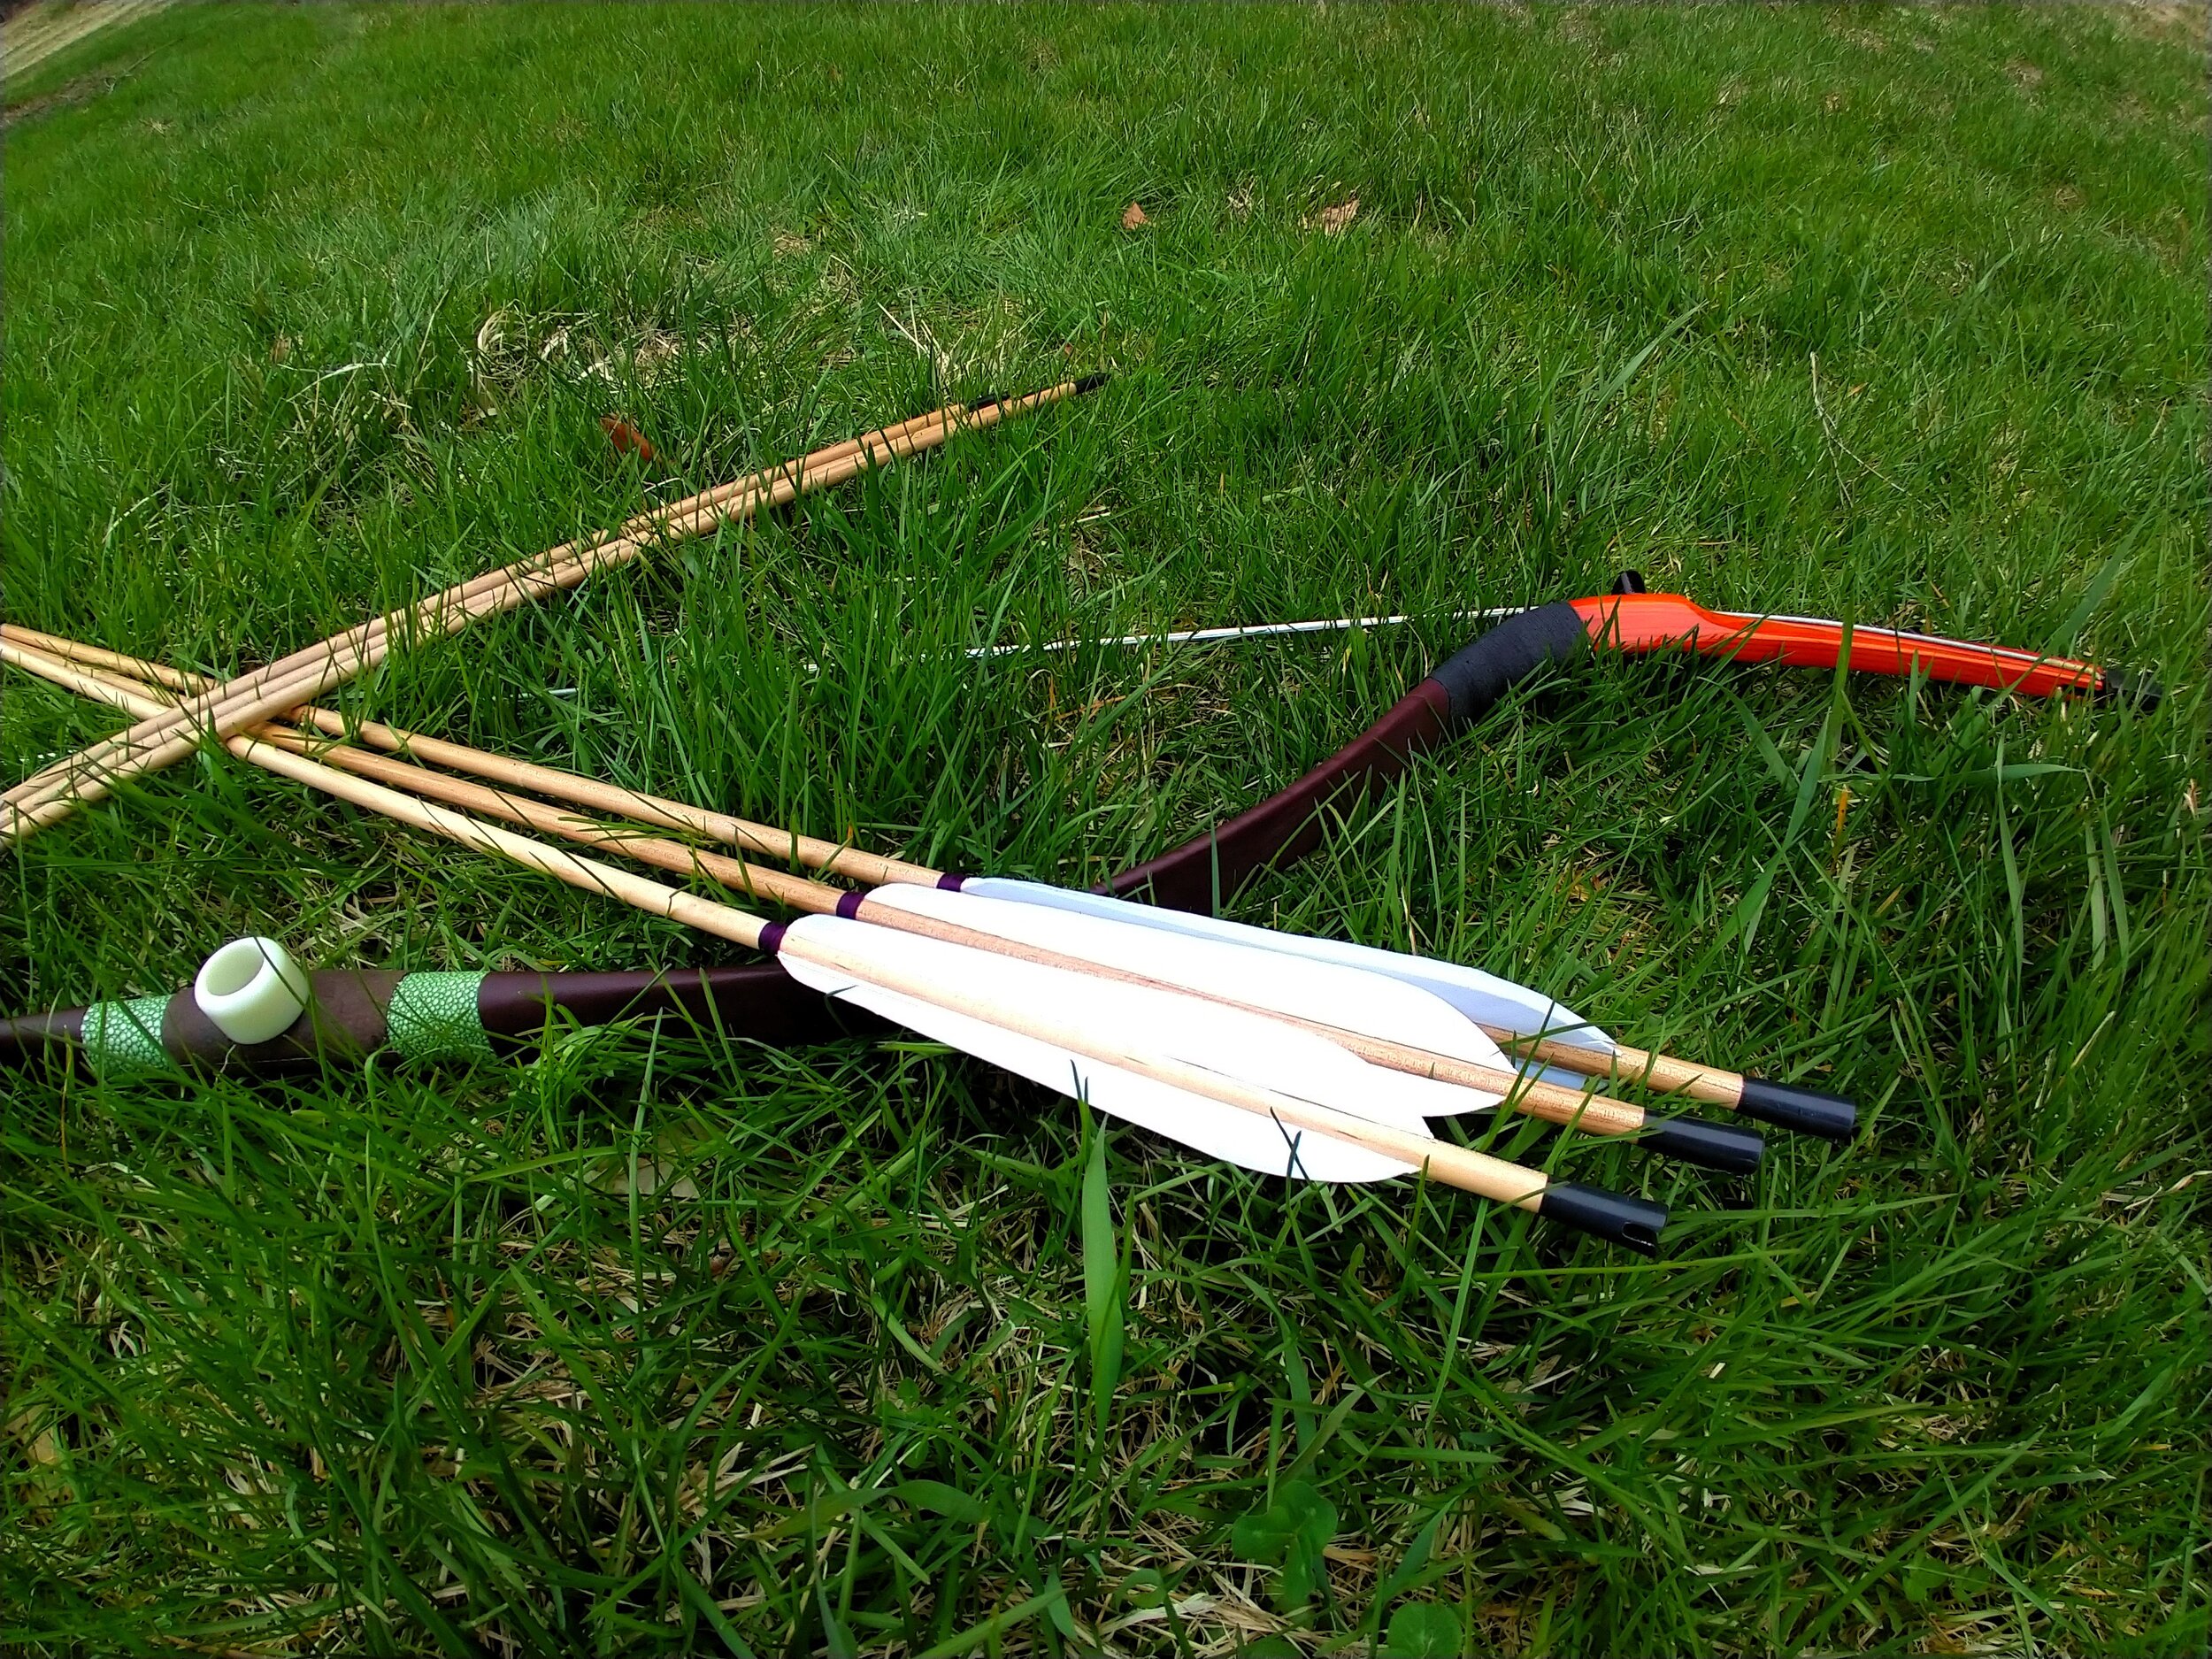
And before you know it, that is it, you’re done. Give everything a final once over, use the palm of your hand to give the arrows one final straighten if they need it, then take a step back and admire your work, or better yet GO SHOOT!
One more final prickly subject, the budget.
Everything so far has totaled 194$:
9$ points
25$ board
47$ doweling cutter
11$ Veritas sockets and adapter for dowel cutter
36$ skill saw
15$ C-clamps
21$ Corded Drill
5$ hacksaw blades
7$ arrow taper tool
4$ Bohning Point Glue
6$ Nock Glue
8$ Flax Oil (finish)
To that we’ve added:
30$ Feathers
So, the full damage is 224$ for what ended up being 15 beautiful arrows against a proposed budget of 137$ which would buy you a dozen finished Gold Tip Traditionals. That is a less than stellar 40% cost overrun, if I’m honest. Split another way, it is 14.93$ per arrow while the GTTs are 11.42$ per arrow. However I want to again repeat the huge caveat that, if you wanted to make more than just a dozen arrows, or just owned a handful of these tools already, that could quickly reverse. A few quick numbers crunched and you could rip out 30 arrows for about 288$ which brings the price down to 9.60$ per arrow. And so the relative cost would continue to drop as more and more arrows were made. At the end of the day, this is a fun project, a great way to spend rainy days or time in COVID-19 lockdown. I hope this was entertaining and informative, if nothing else, but really I hope I showed making arrows yourself doesn’t have to be hard or too expensive and can be a ton of fun.