Arrow Pass Repair
Silent Thunder Ordnance
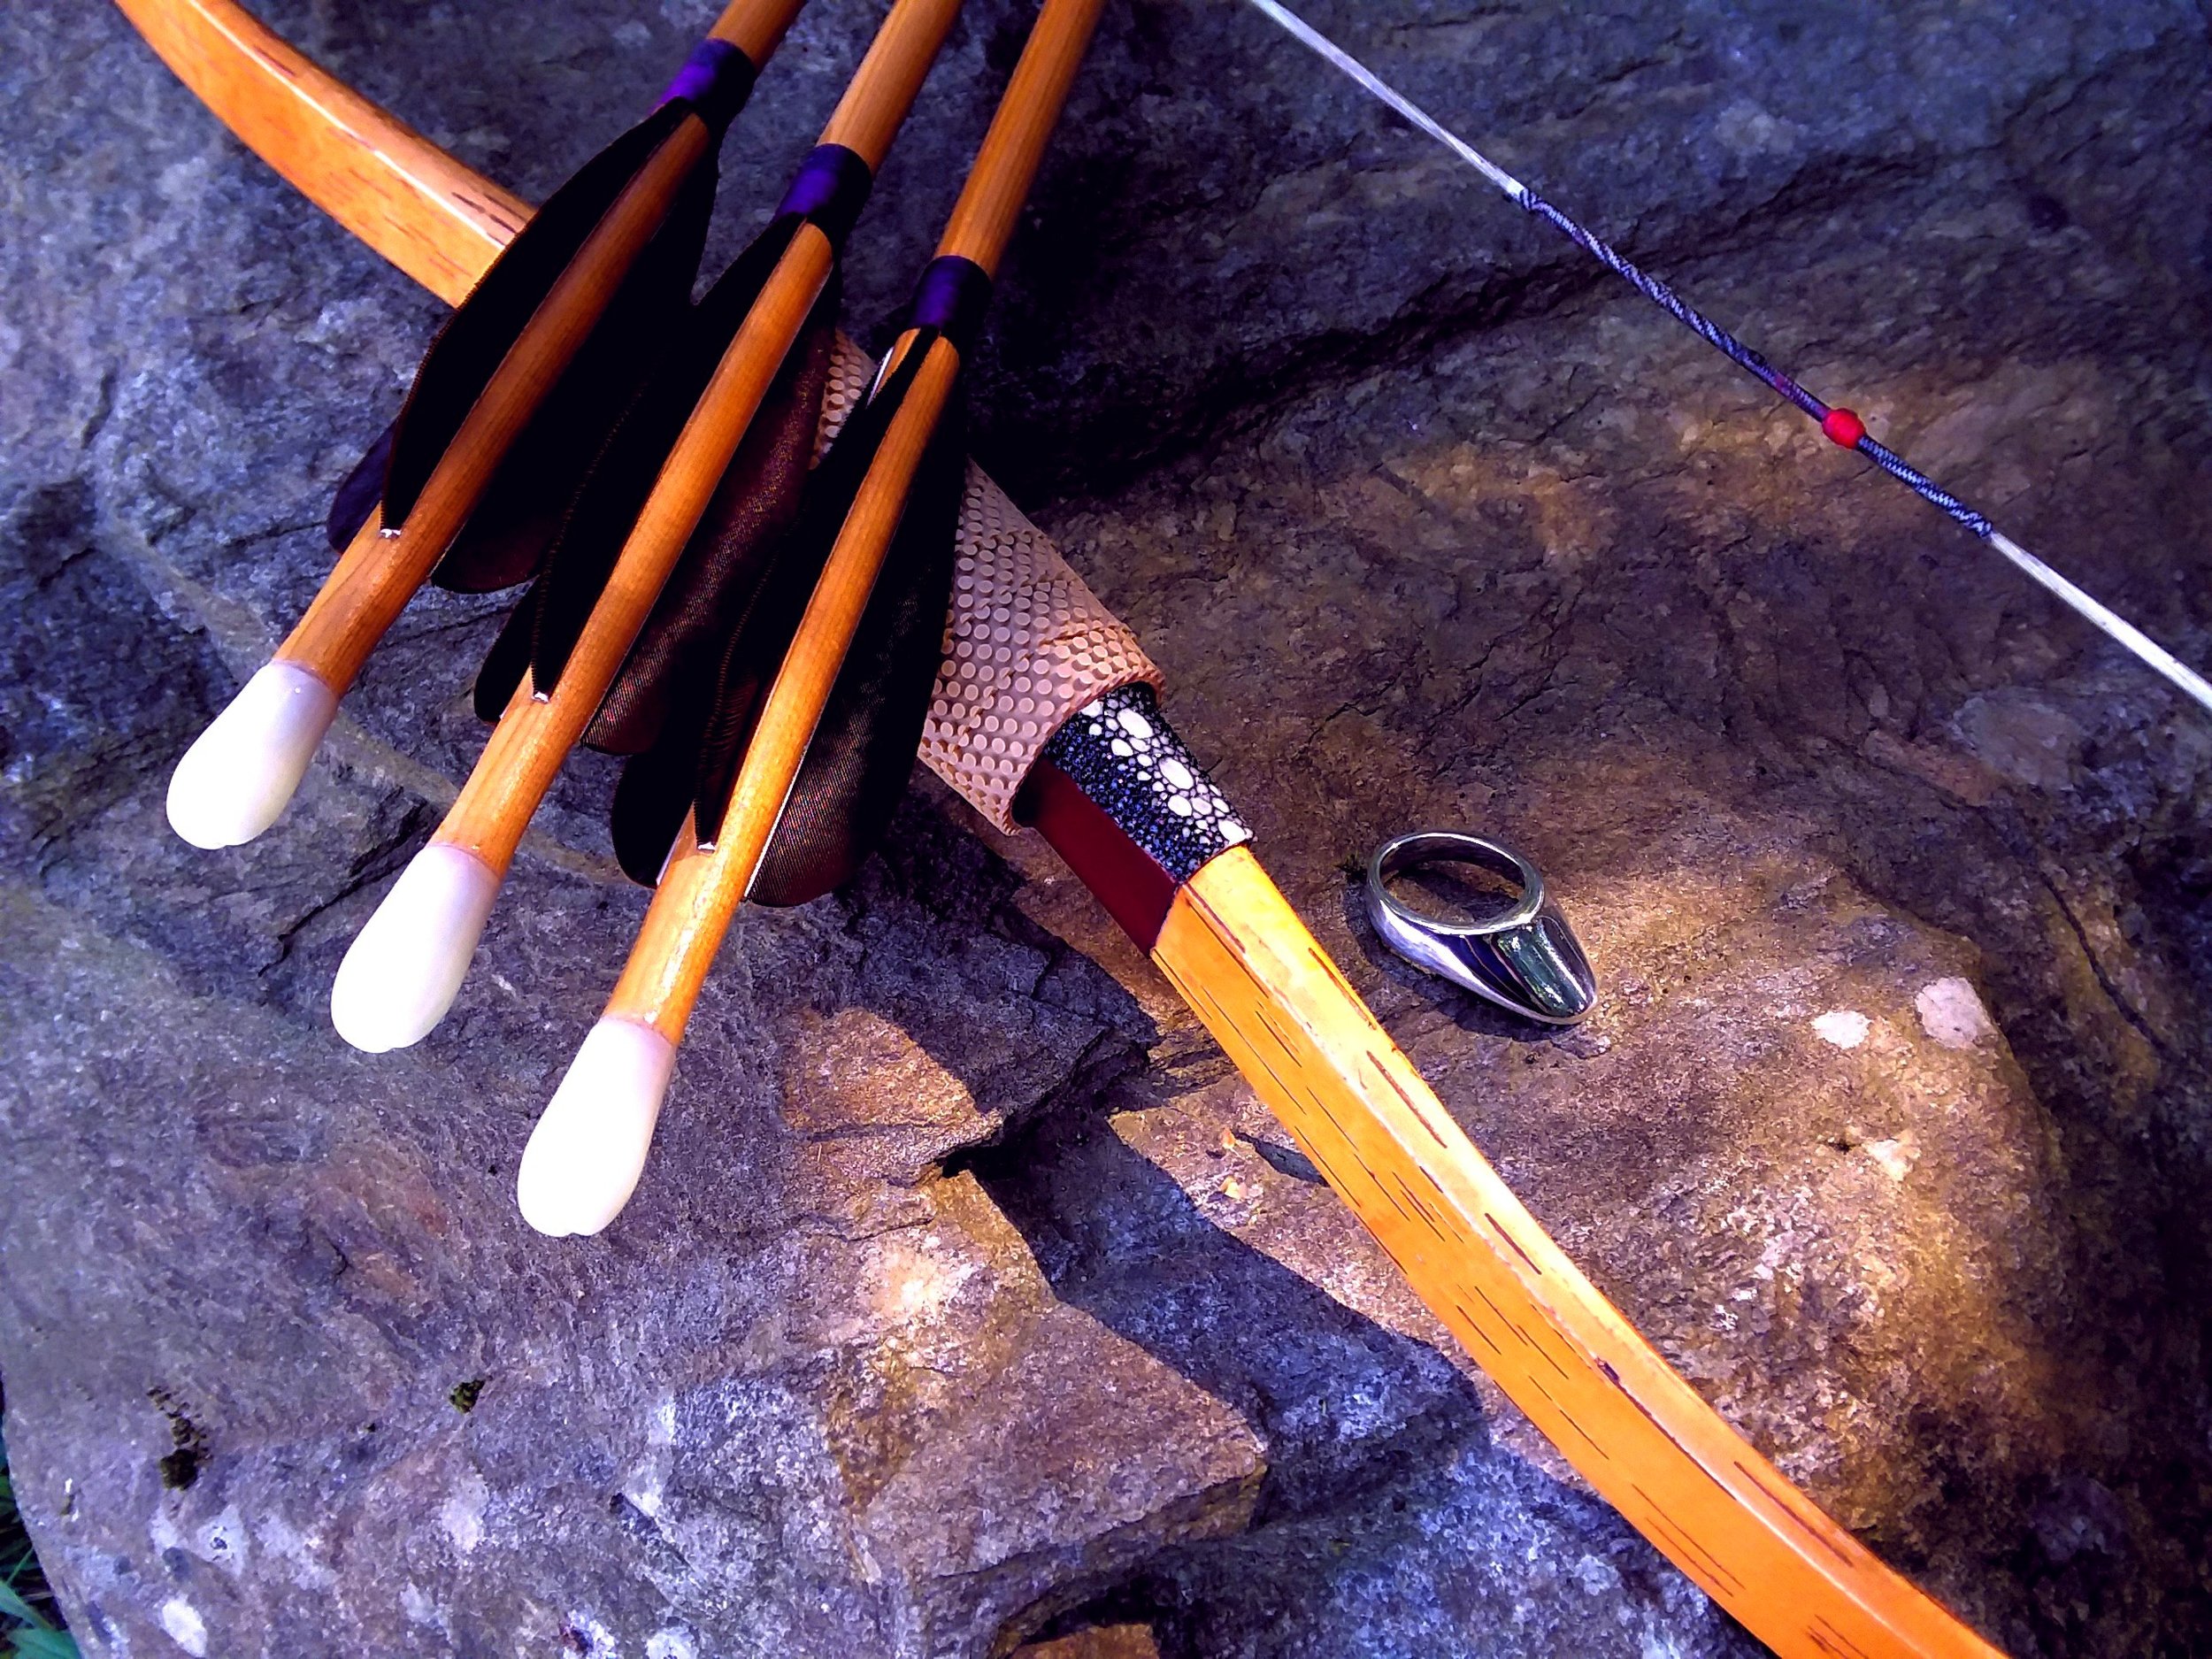
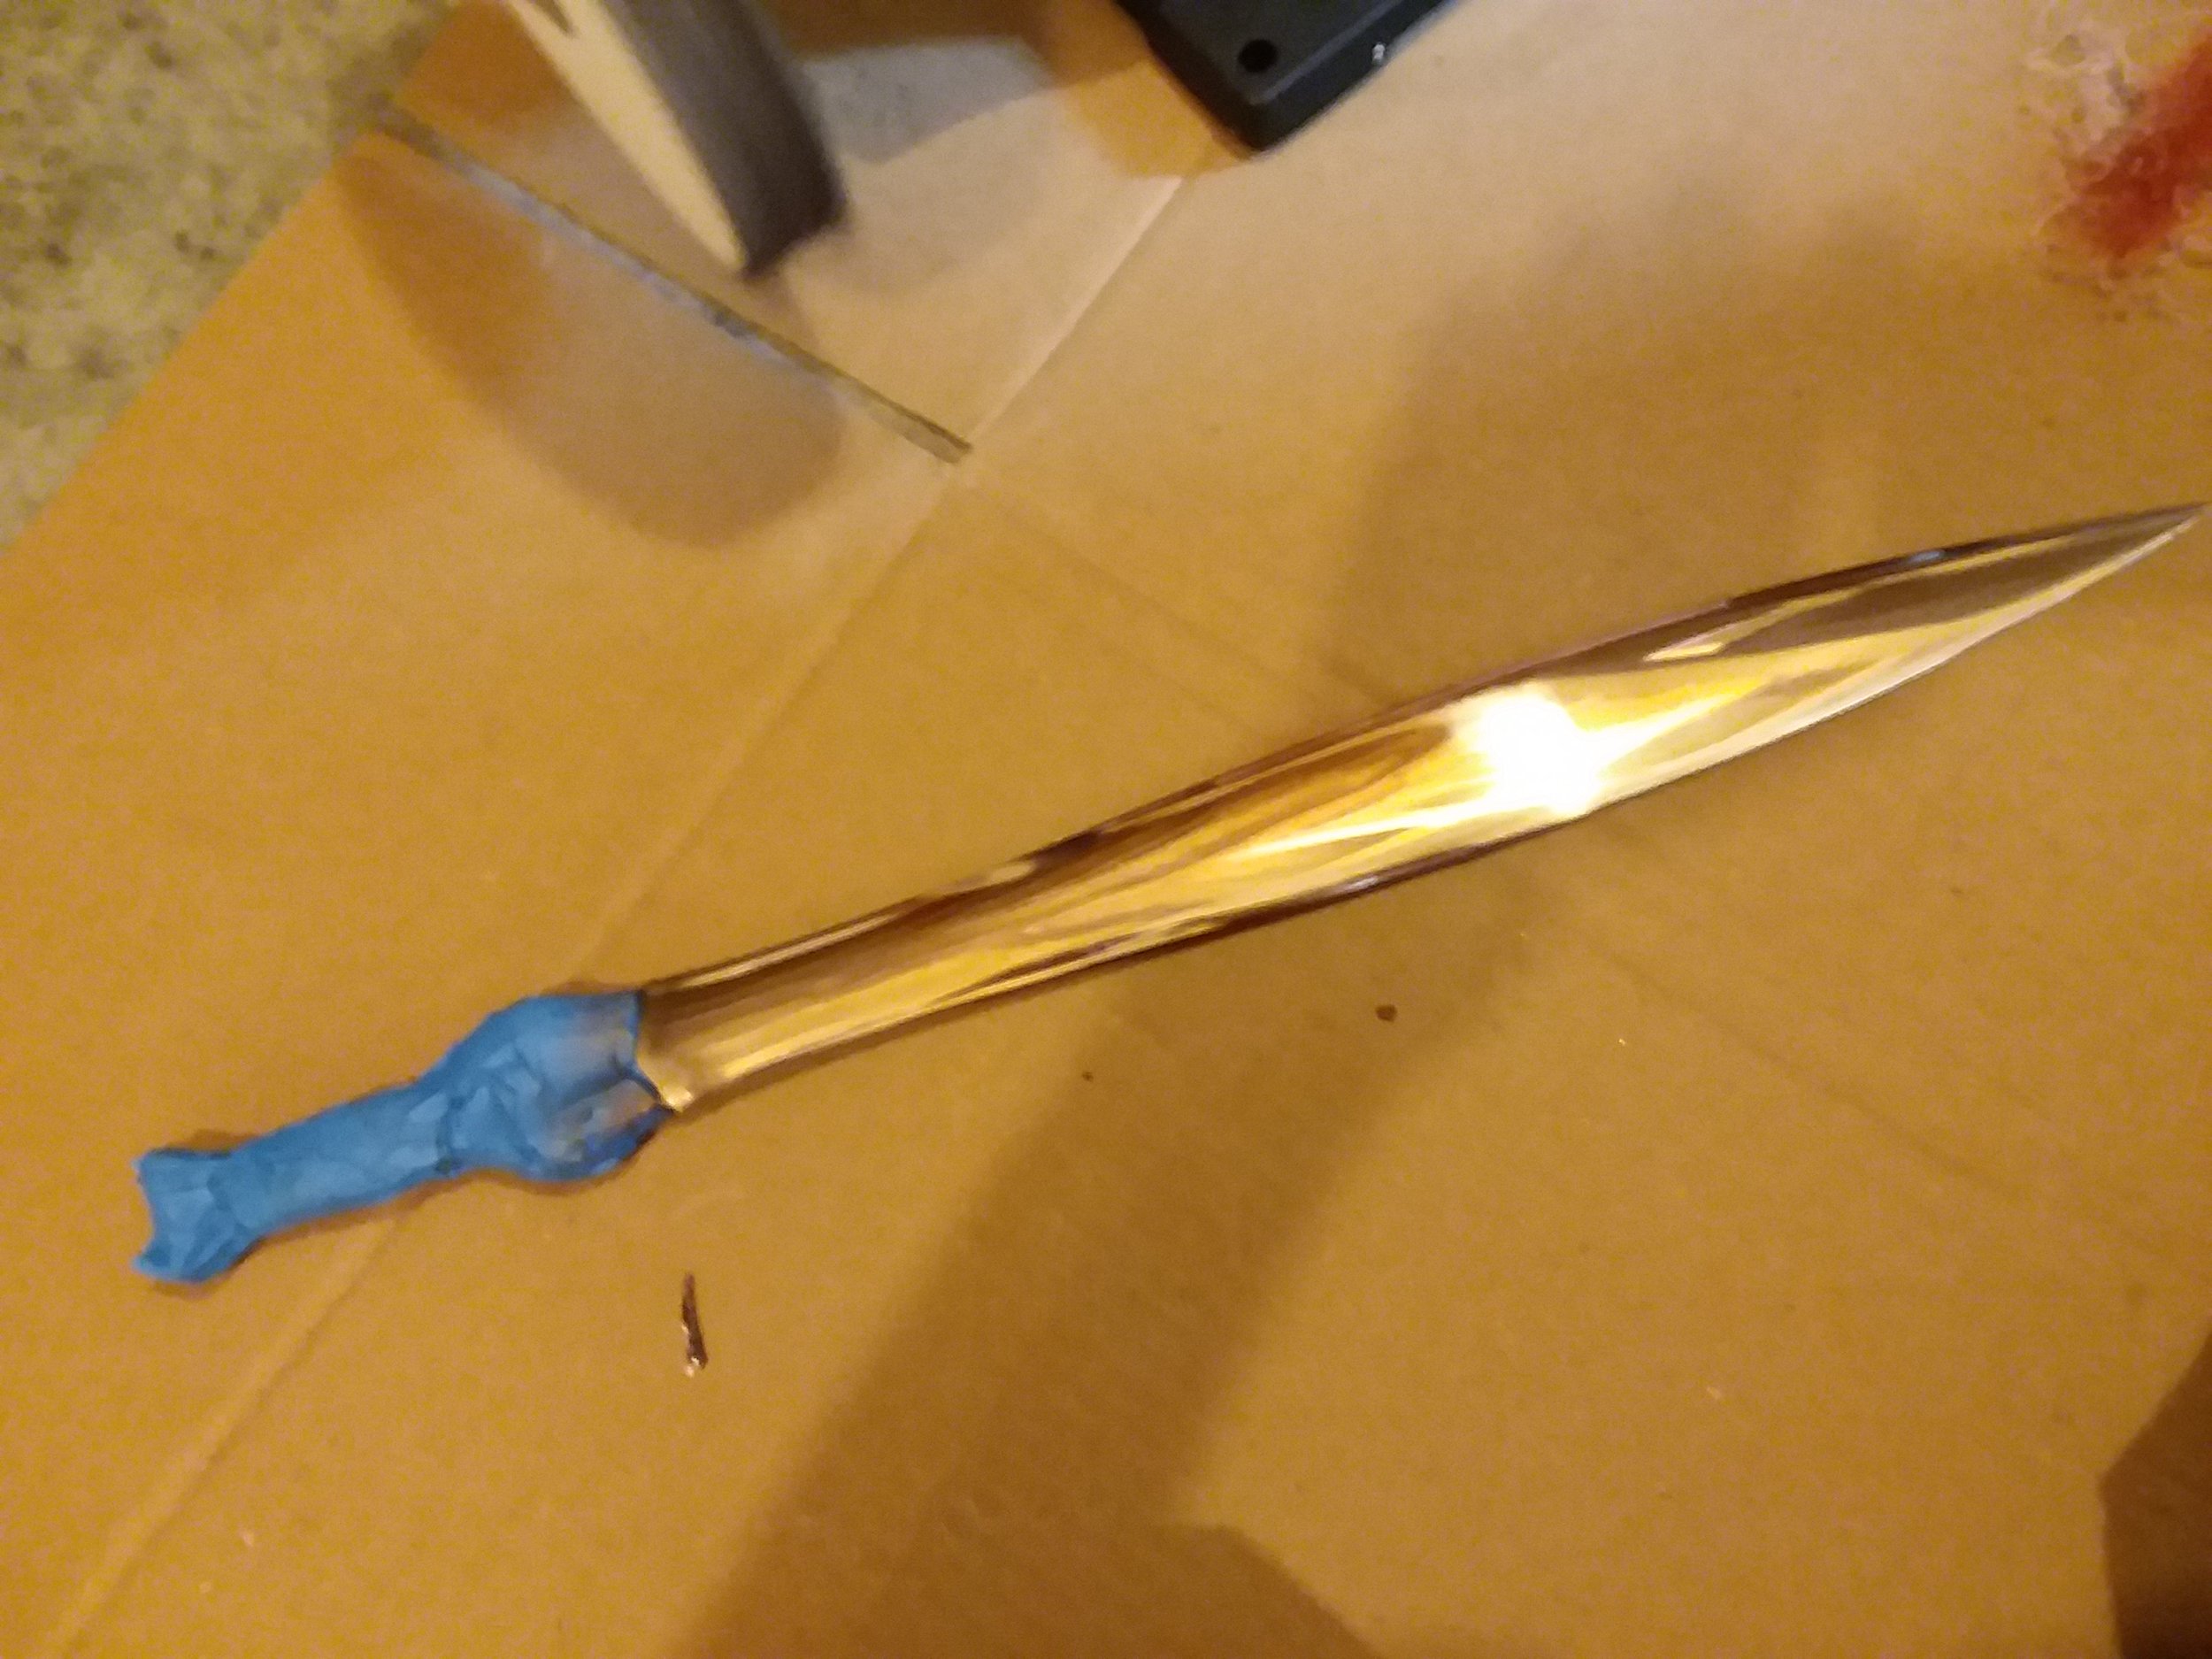
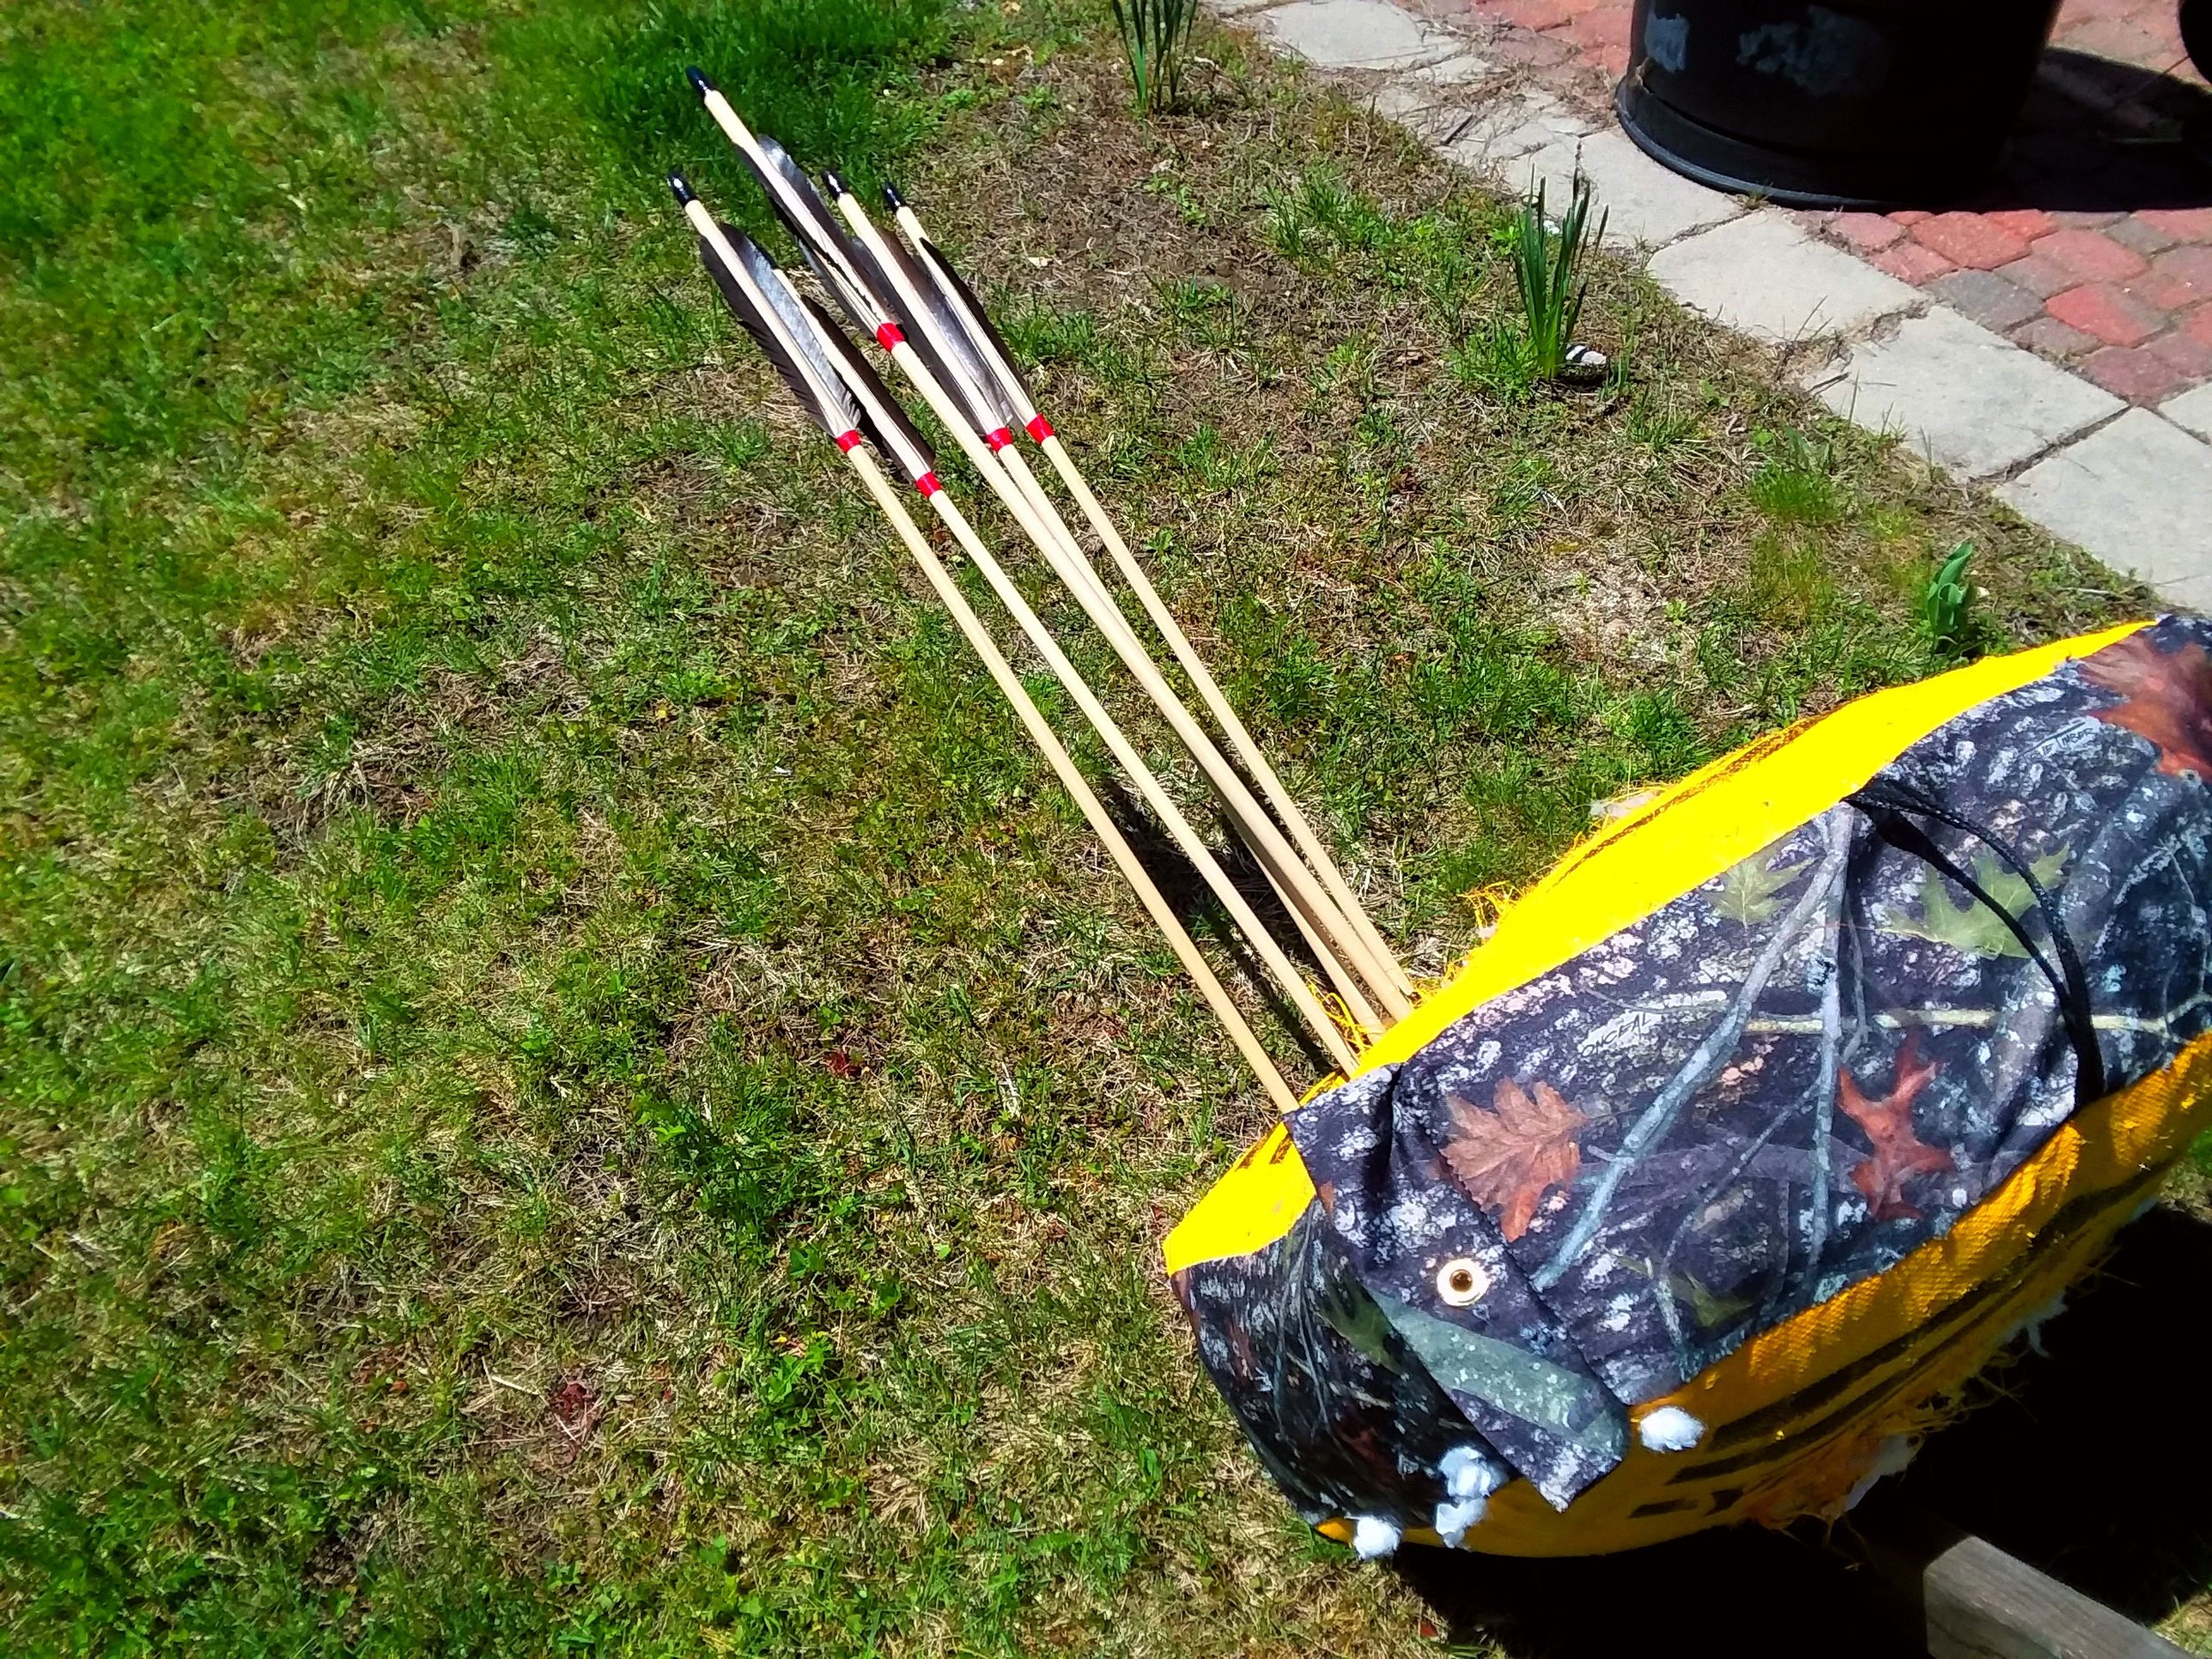
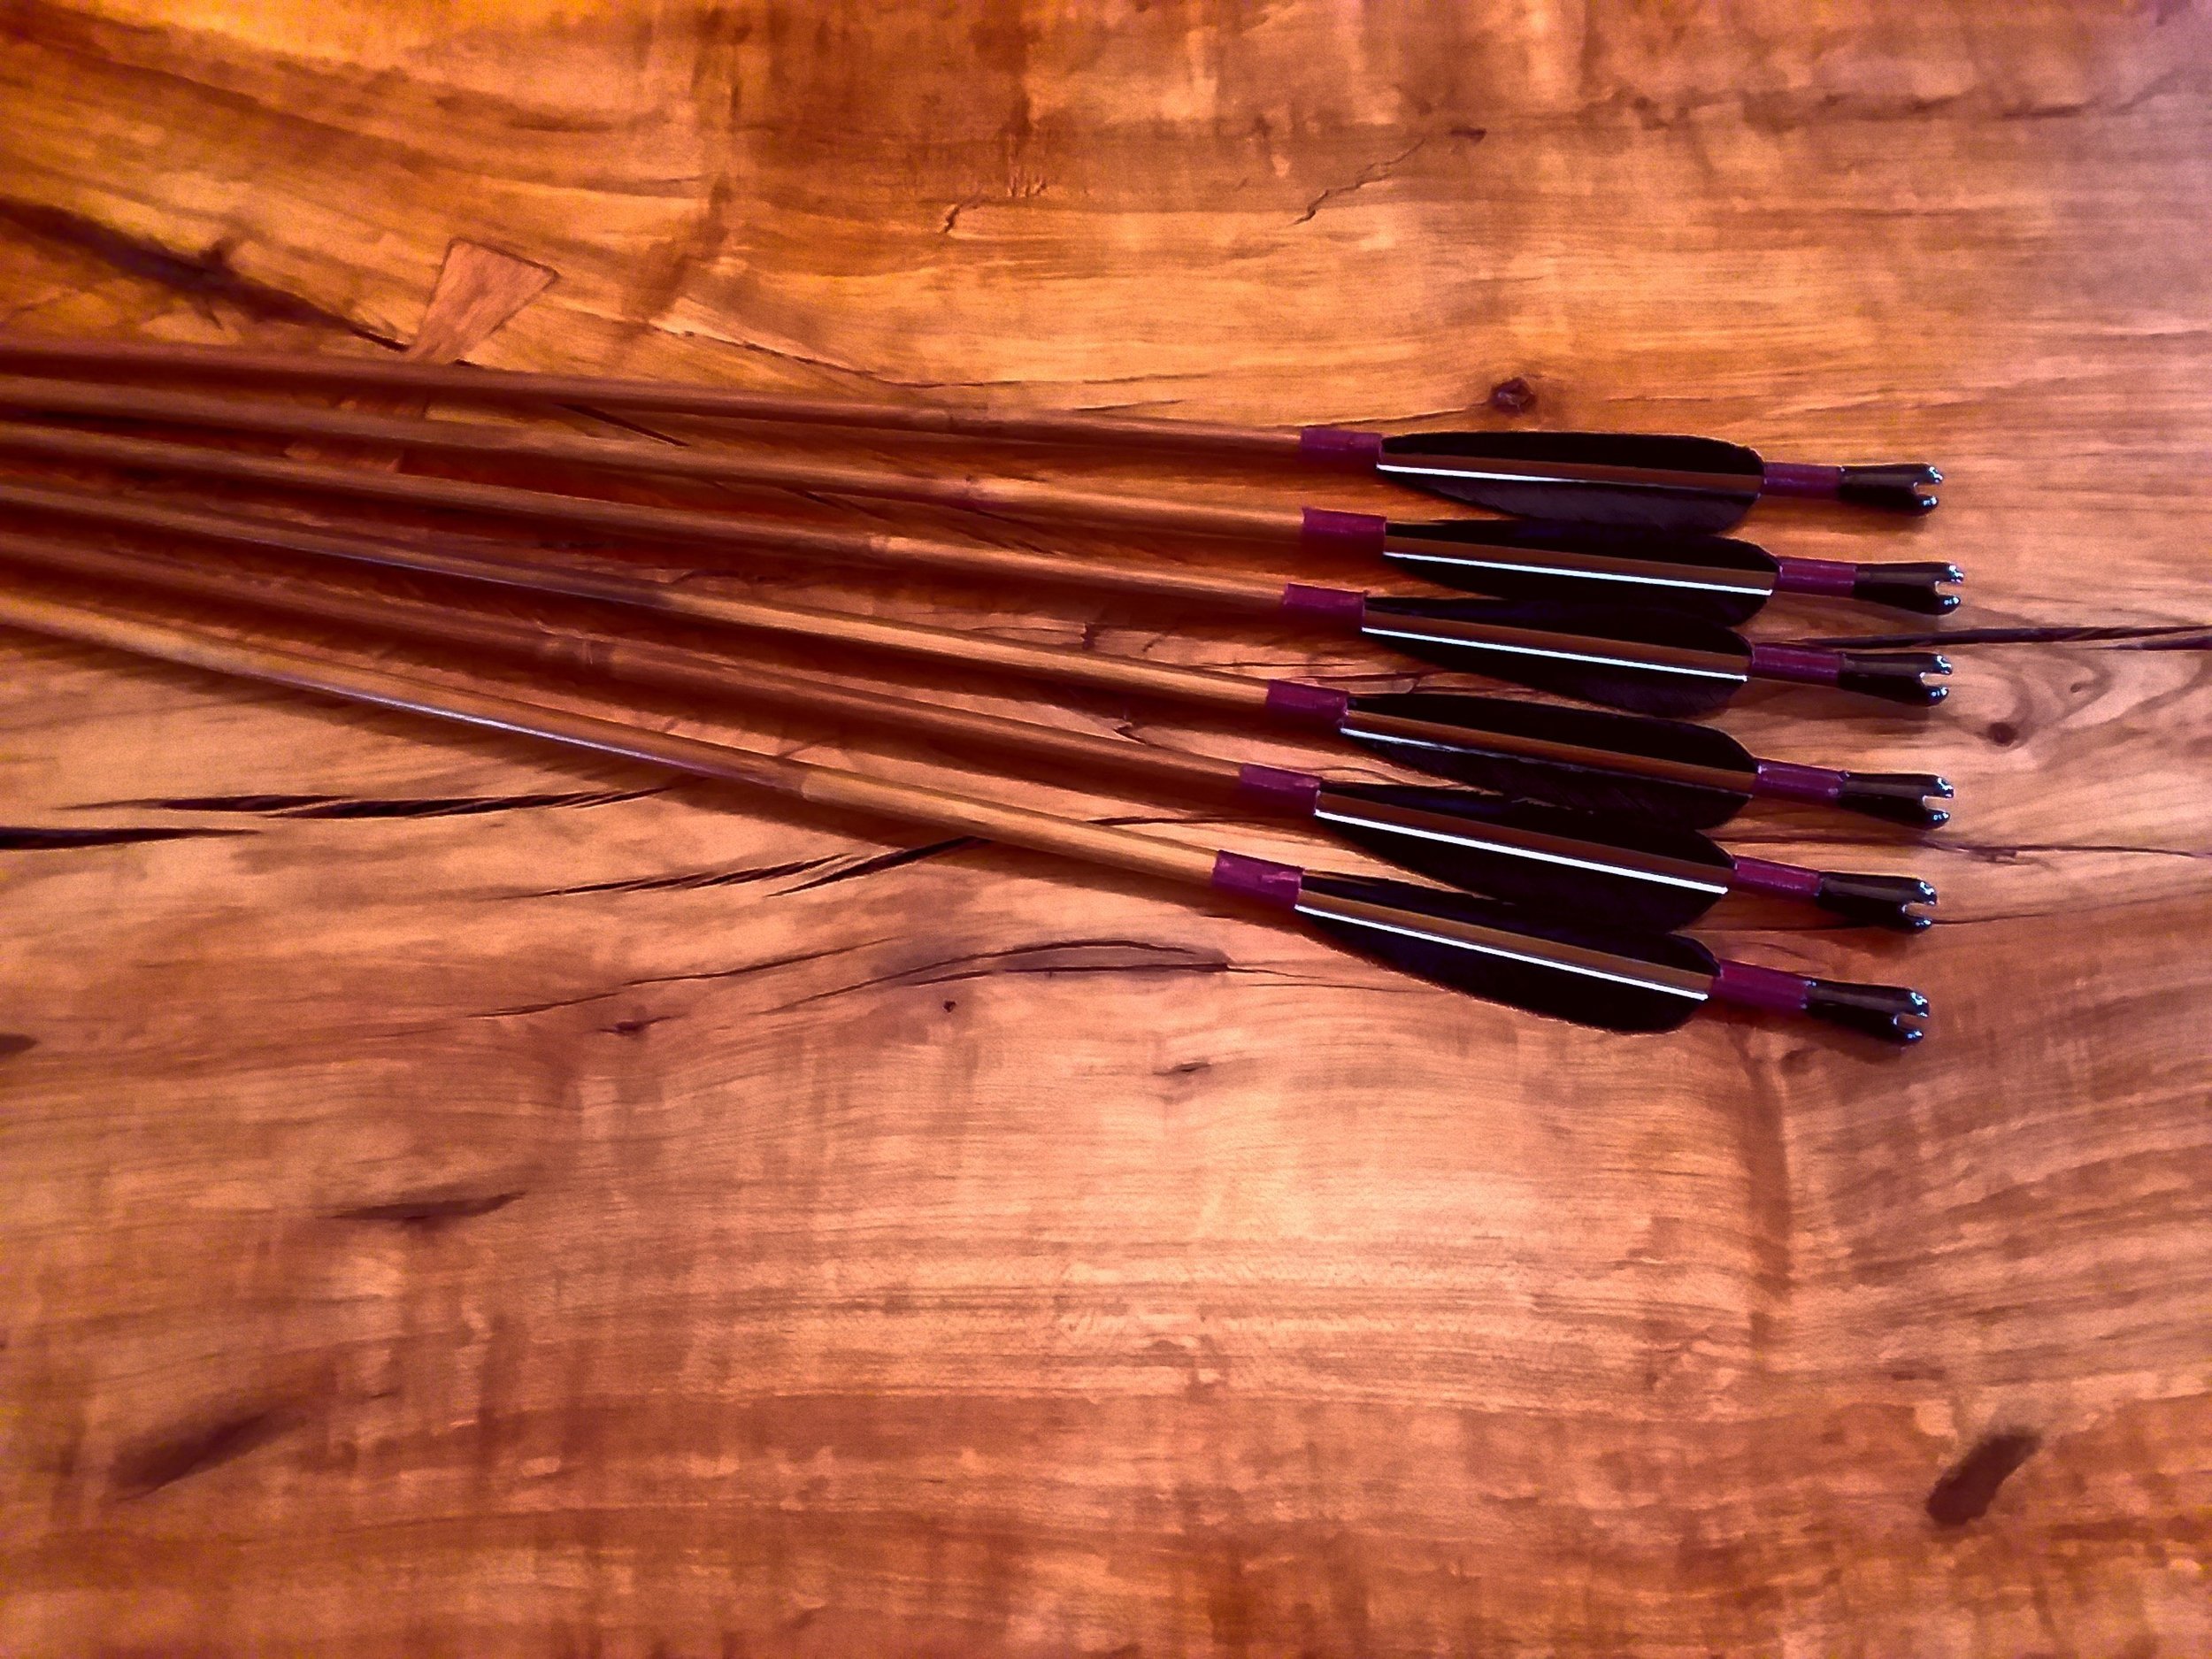
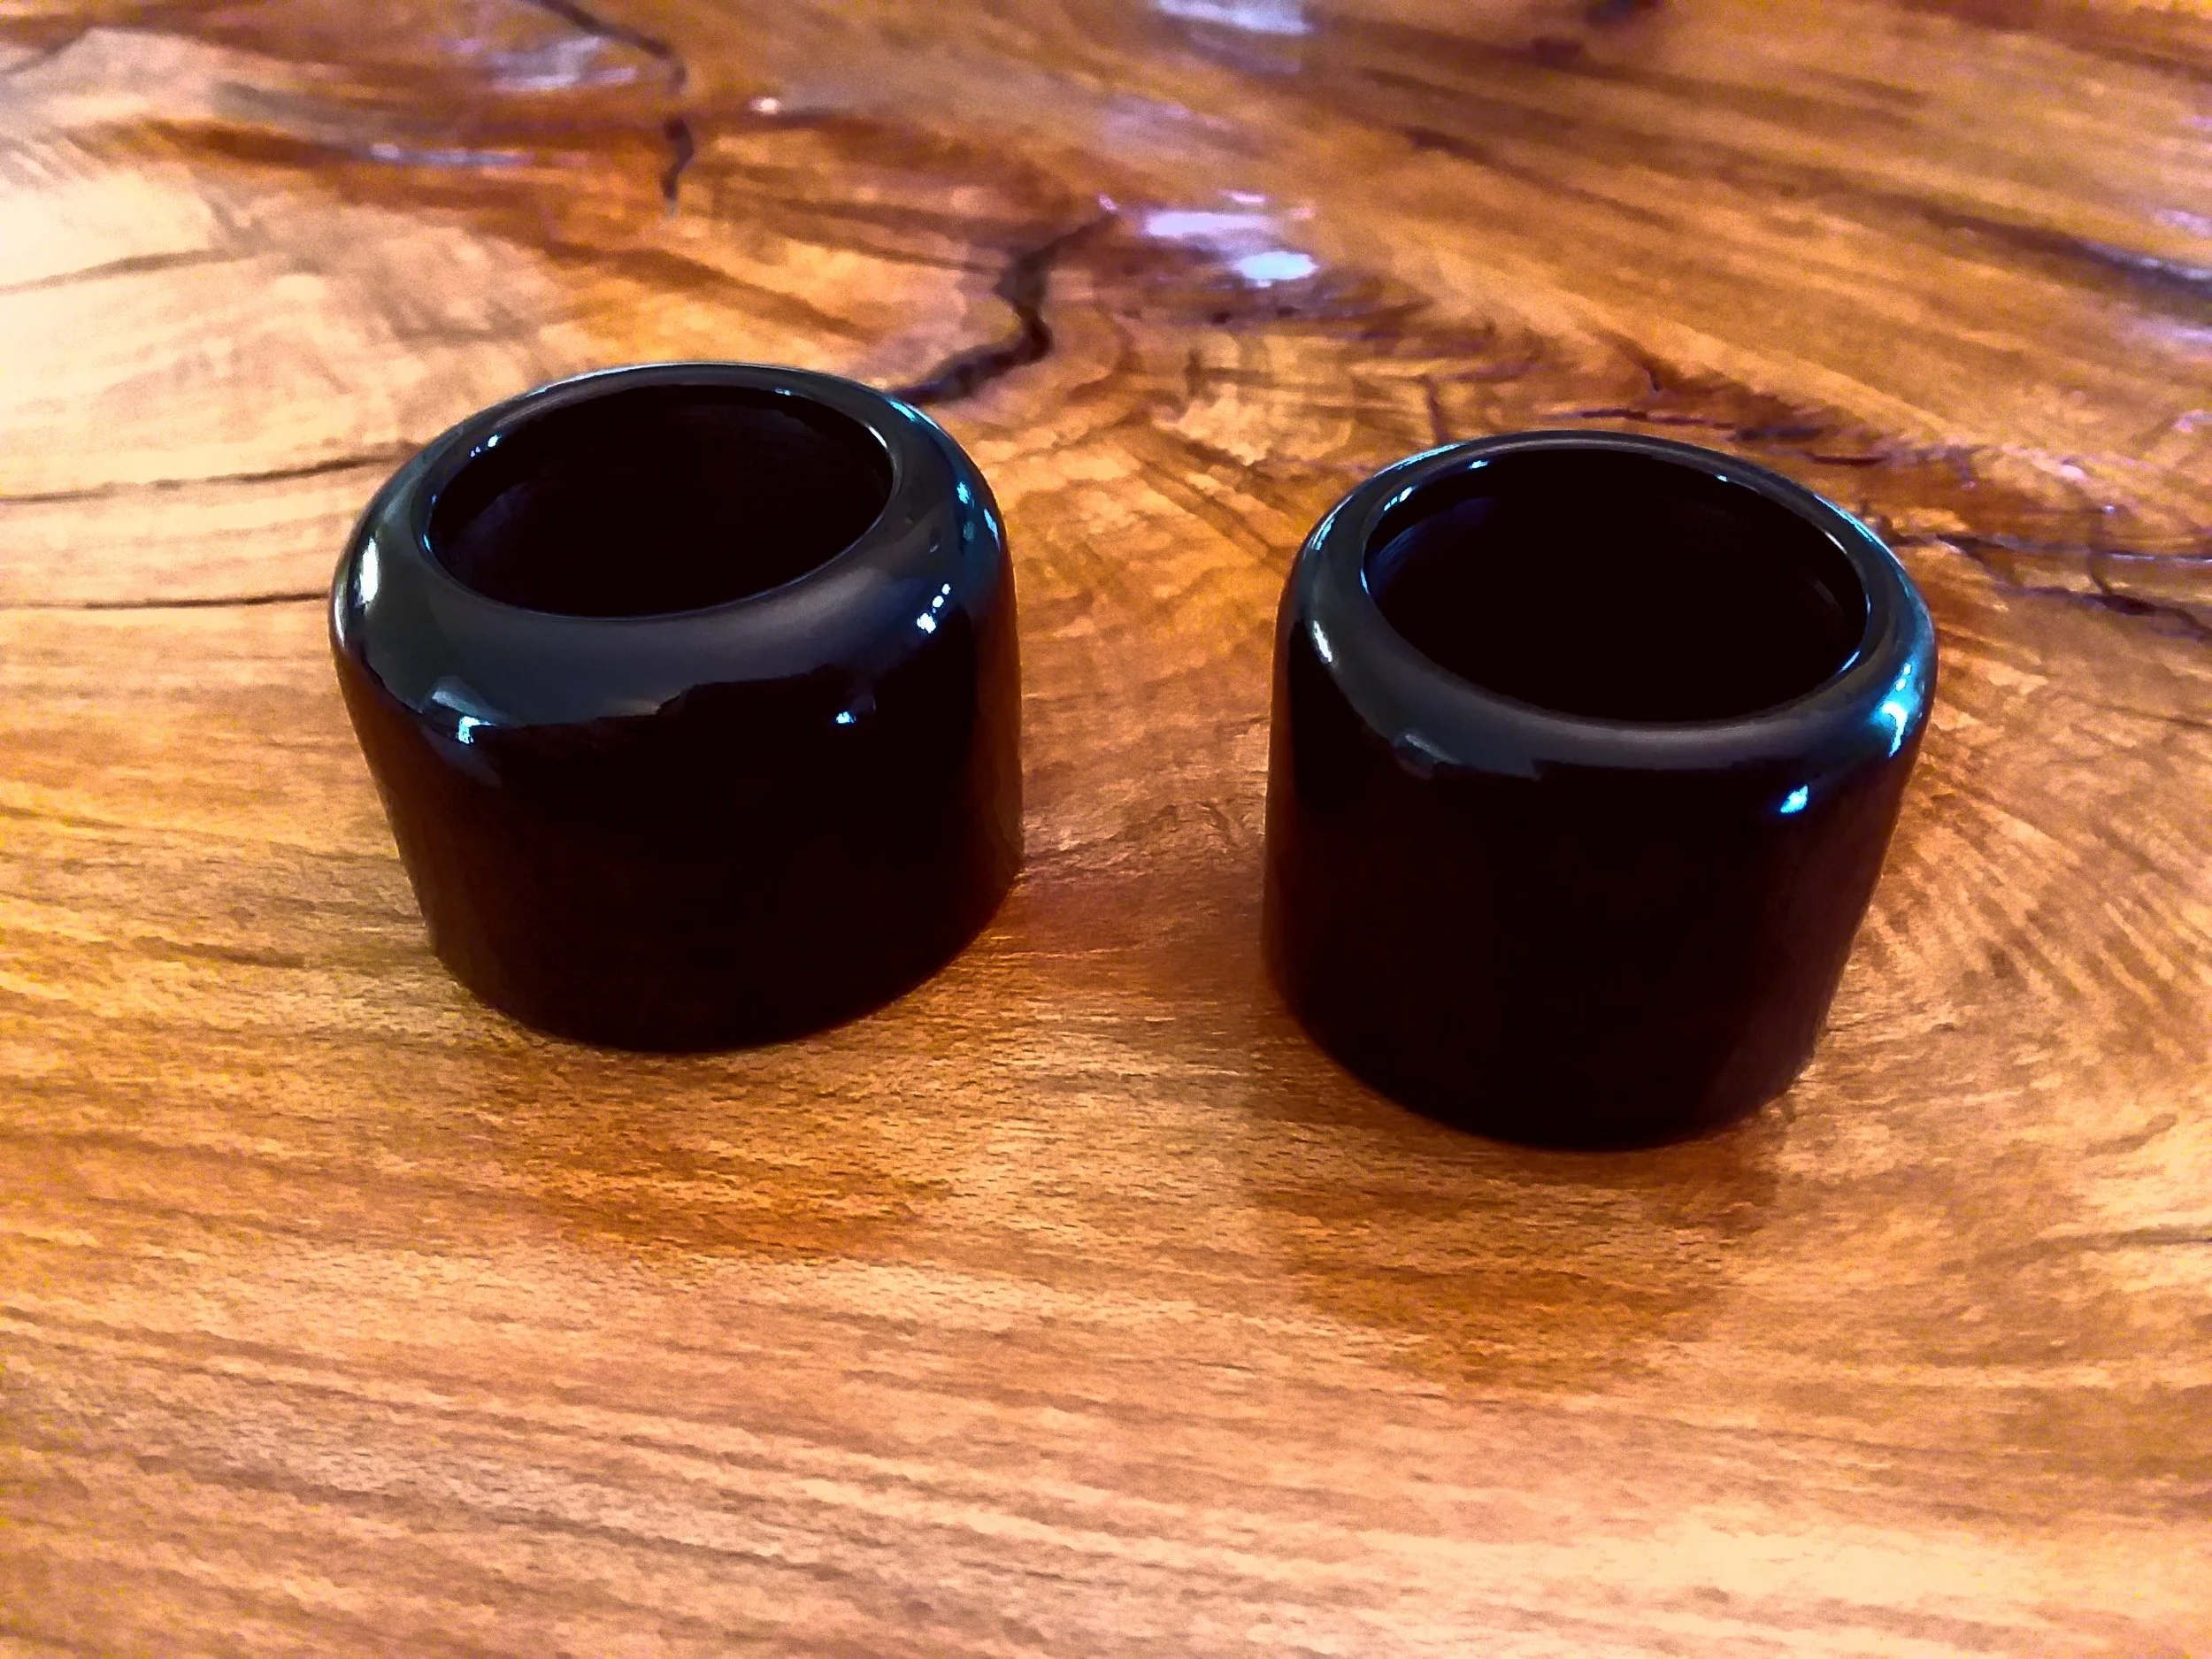
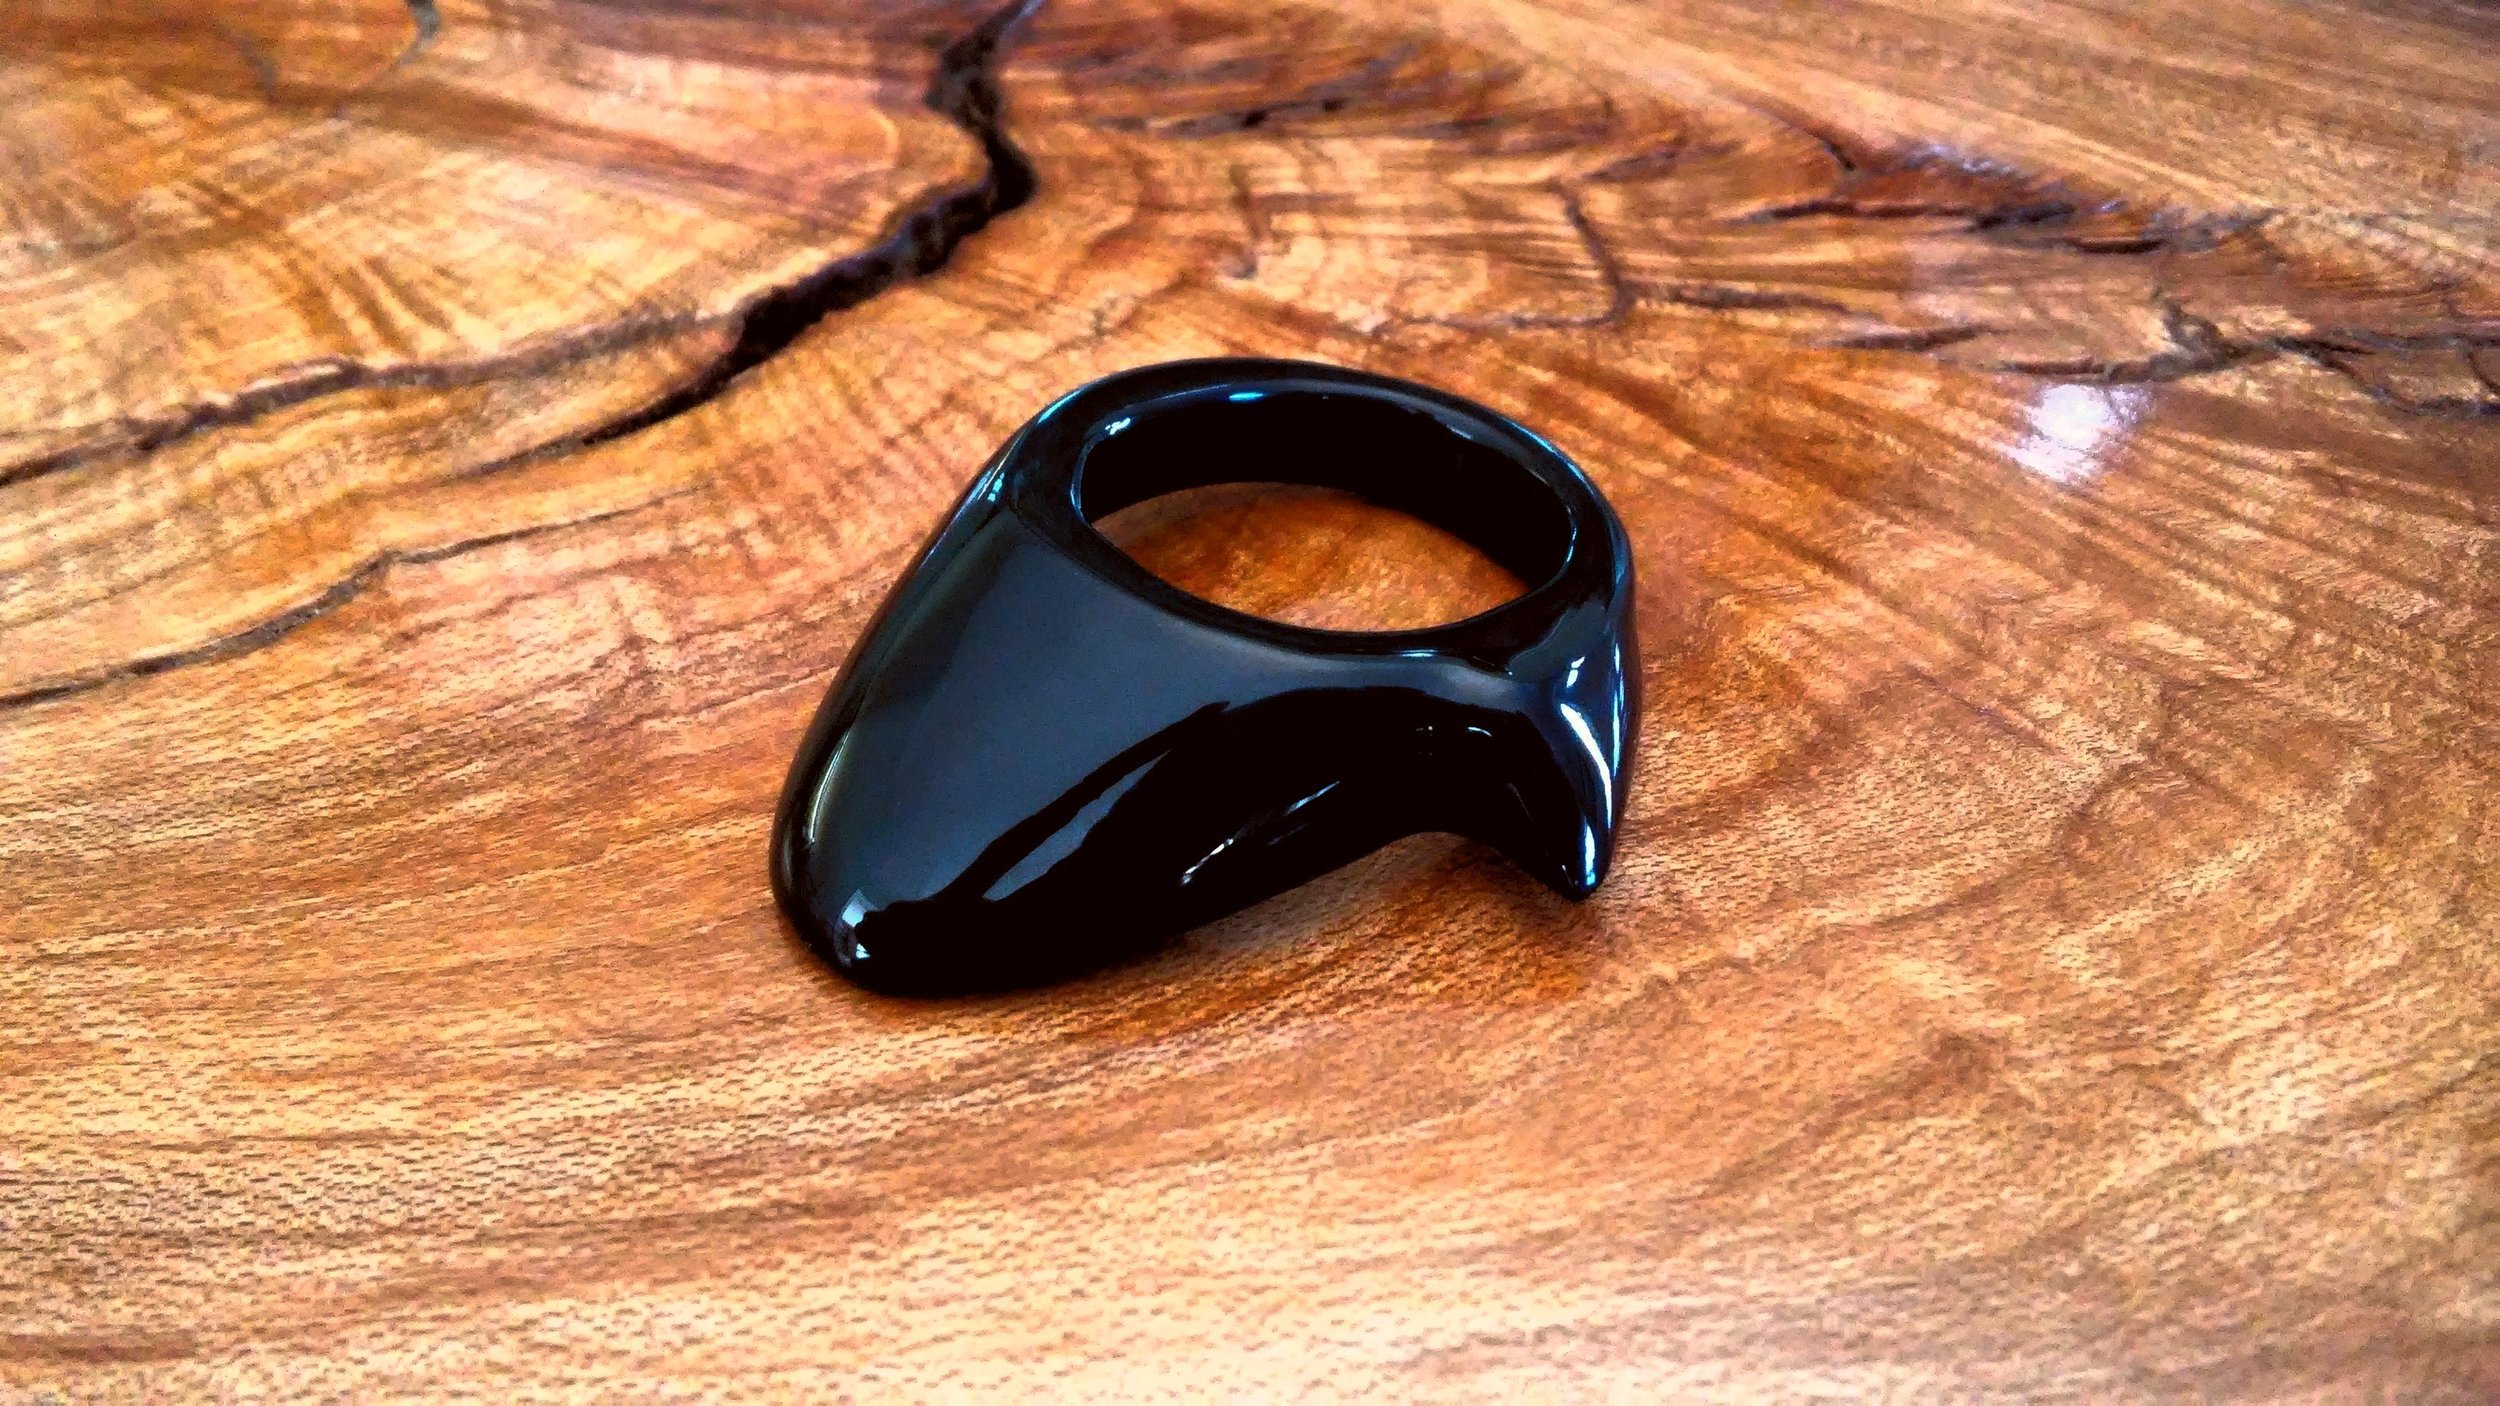
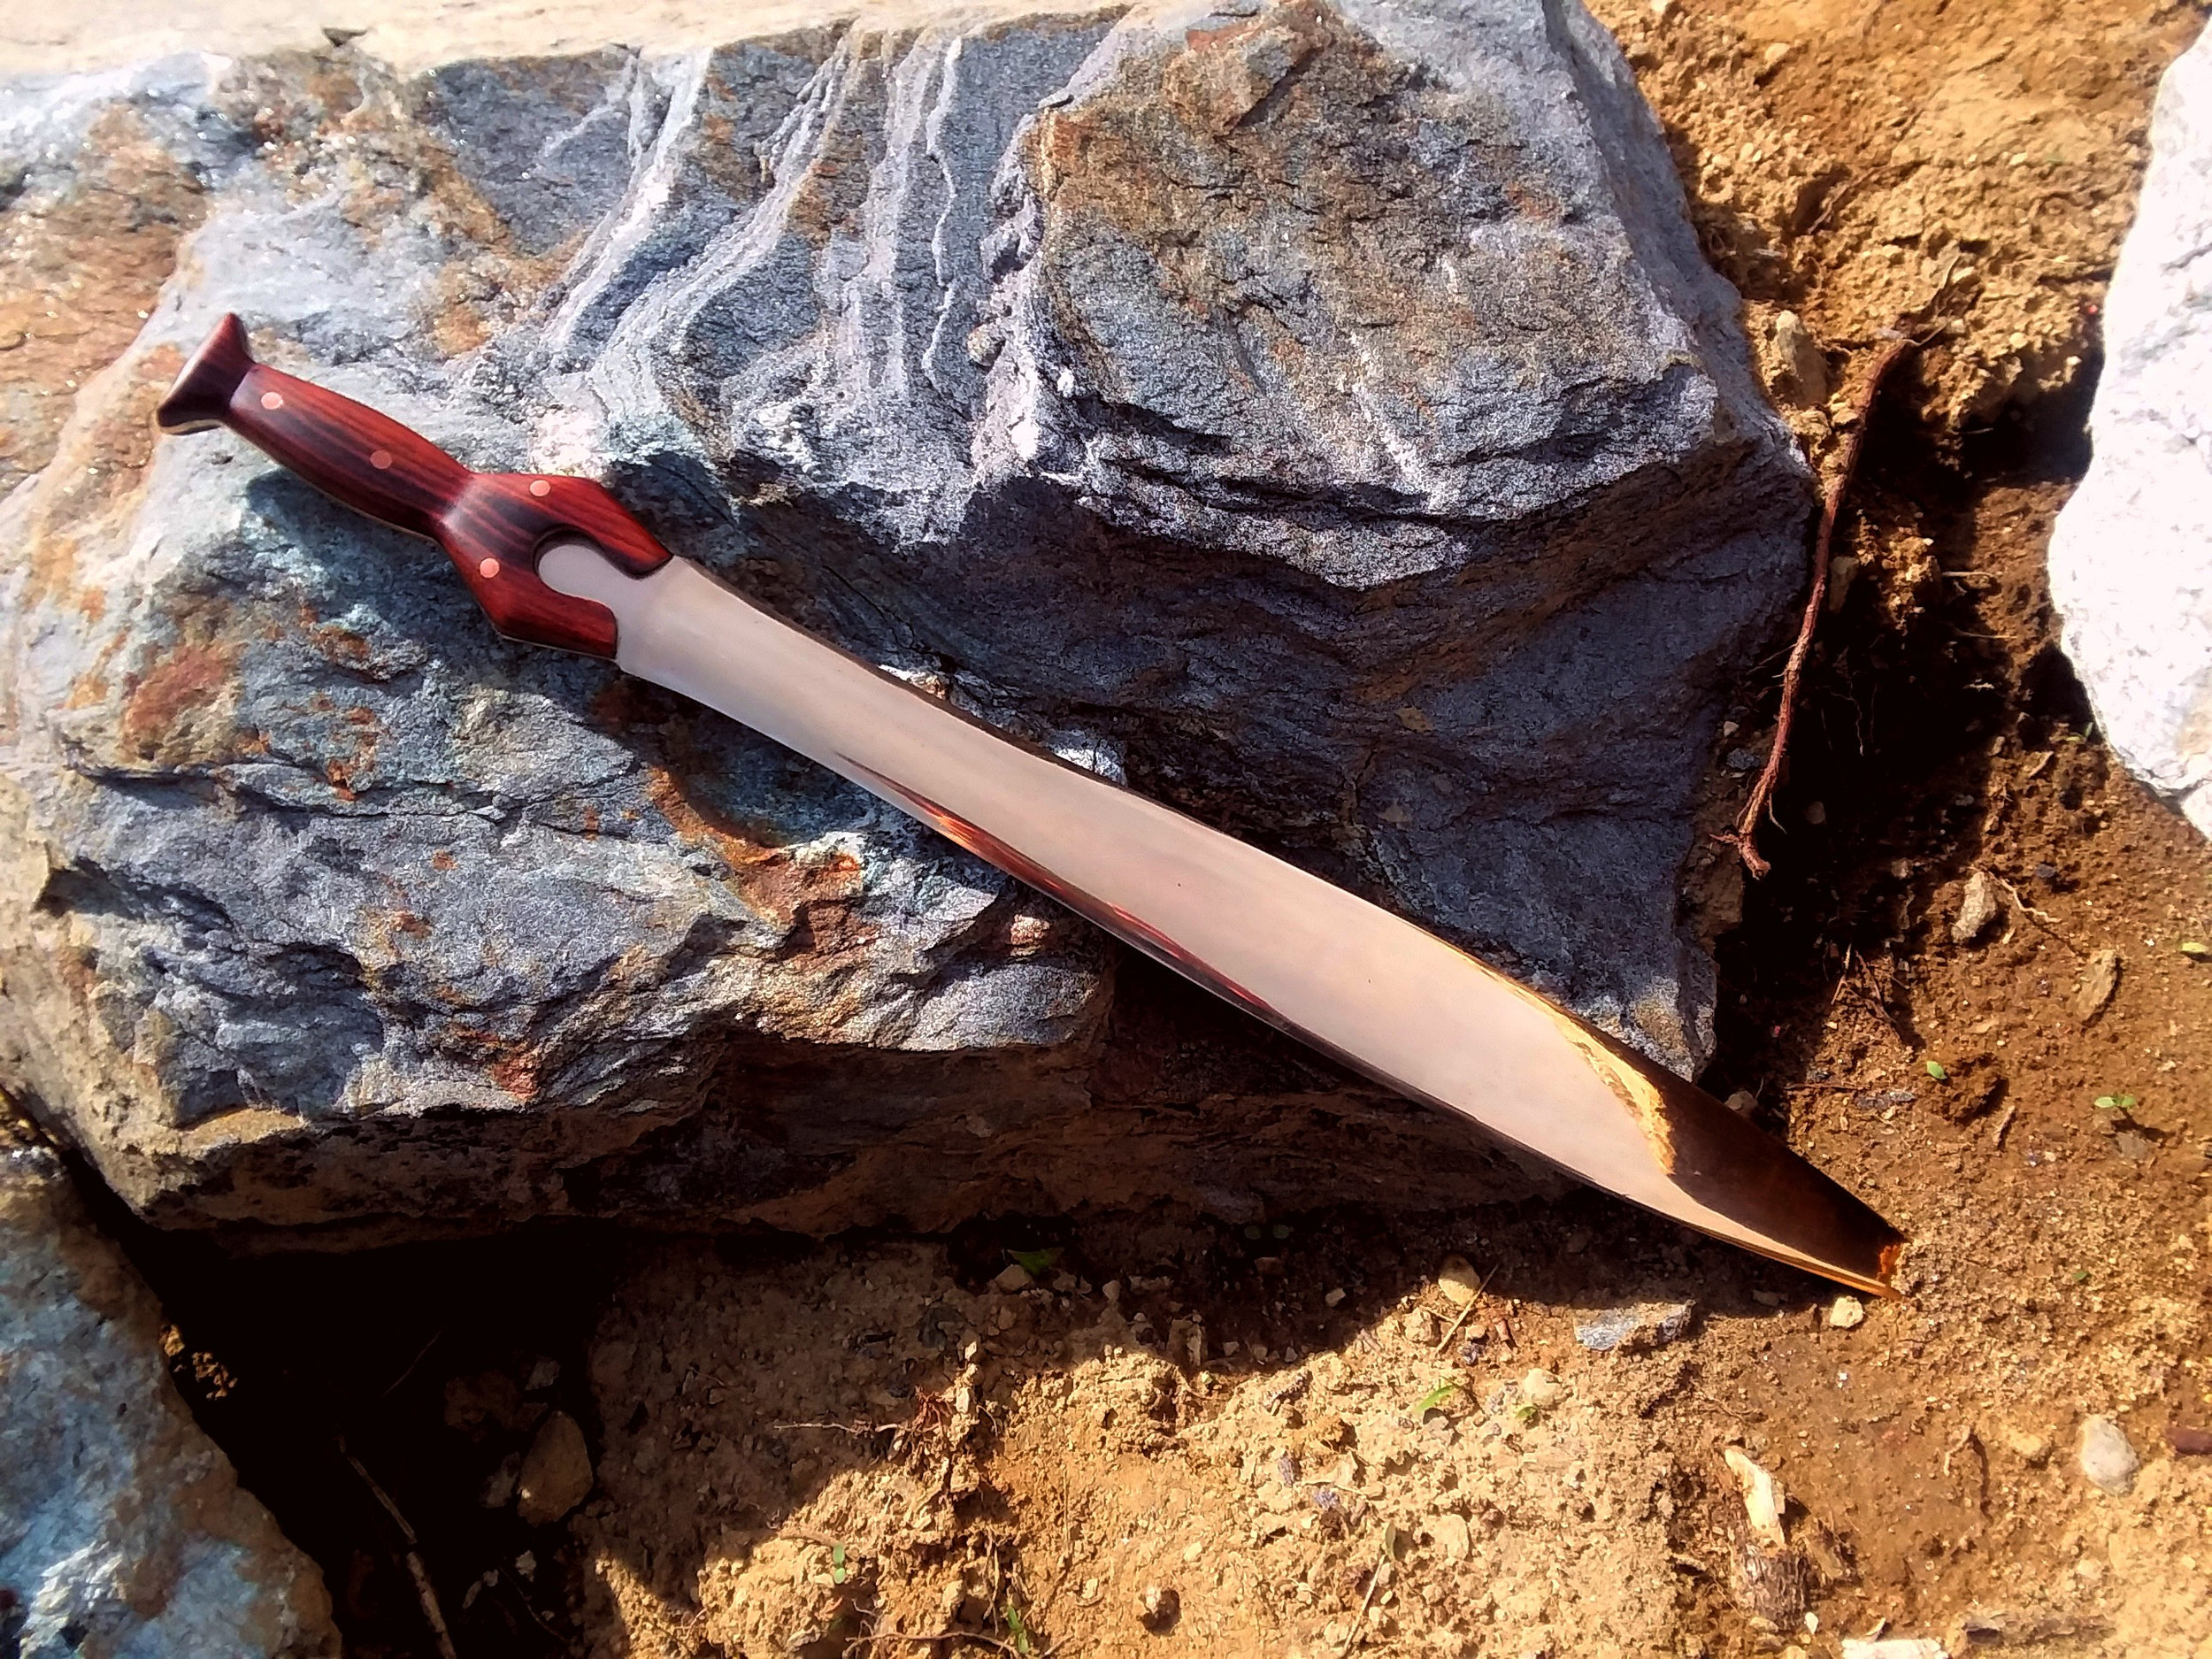
A lucky alignment of light filtering through the trees in the wind created this snap. I couldn't have set it up like this had I wanted to. Seen here with our Hybrid ring in solid sterling silver and our semi-ottoman arrows of a project by the same name.
We've all been there, worn through the arrow pass on our bow. Inevitable right? Well instead of replacing it with another thin strip of leather, quick to be worn through once again, how about something harder, better, longer wearing? Stingray skin is the obvious answer.
We've all seen stingray skin, but what is it really? Ray skin, used in these applications anyway, has little calcified nodules somewhat like teeth. As a result is is extremely hard wearing. The white pattern so often associated with ray skin is accomplished by selective dying in some cases, or sanding of dyed leather in others. It is worth noting that, if like me you prefer an aggressive texture, ray skin will make an absolutely stunning grip wrap as well.

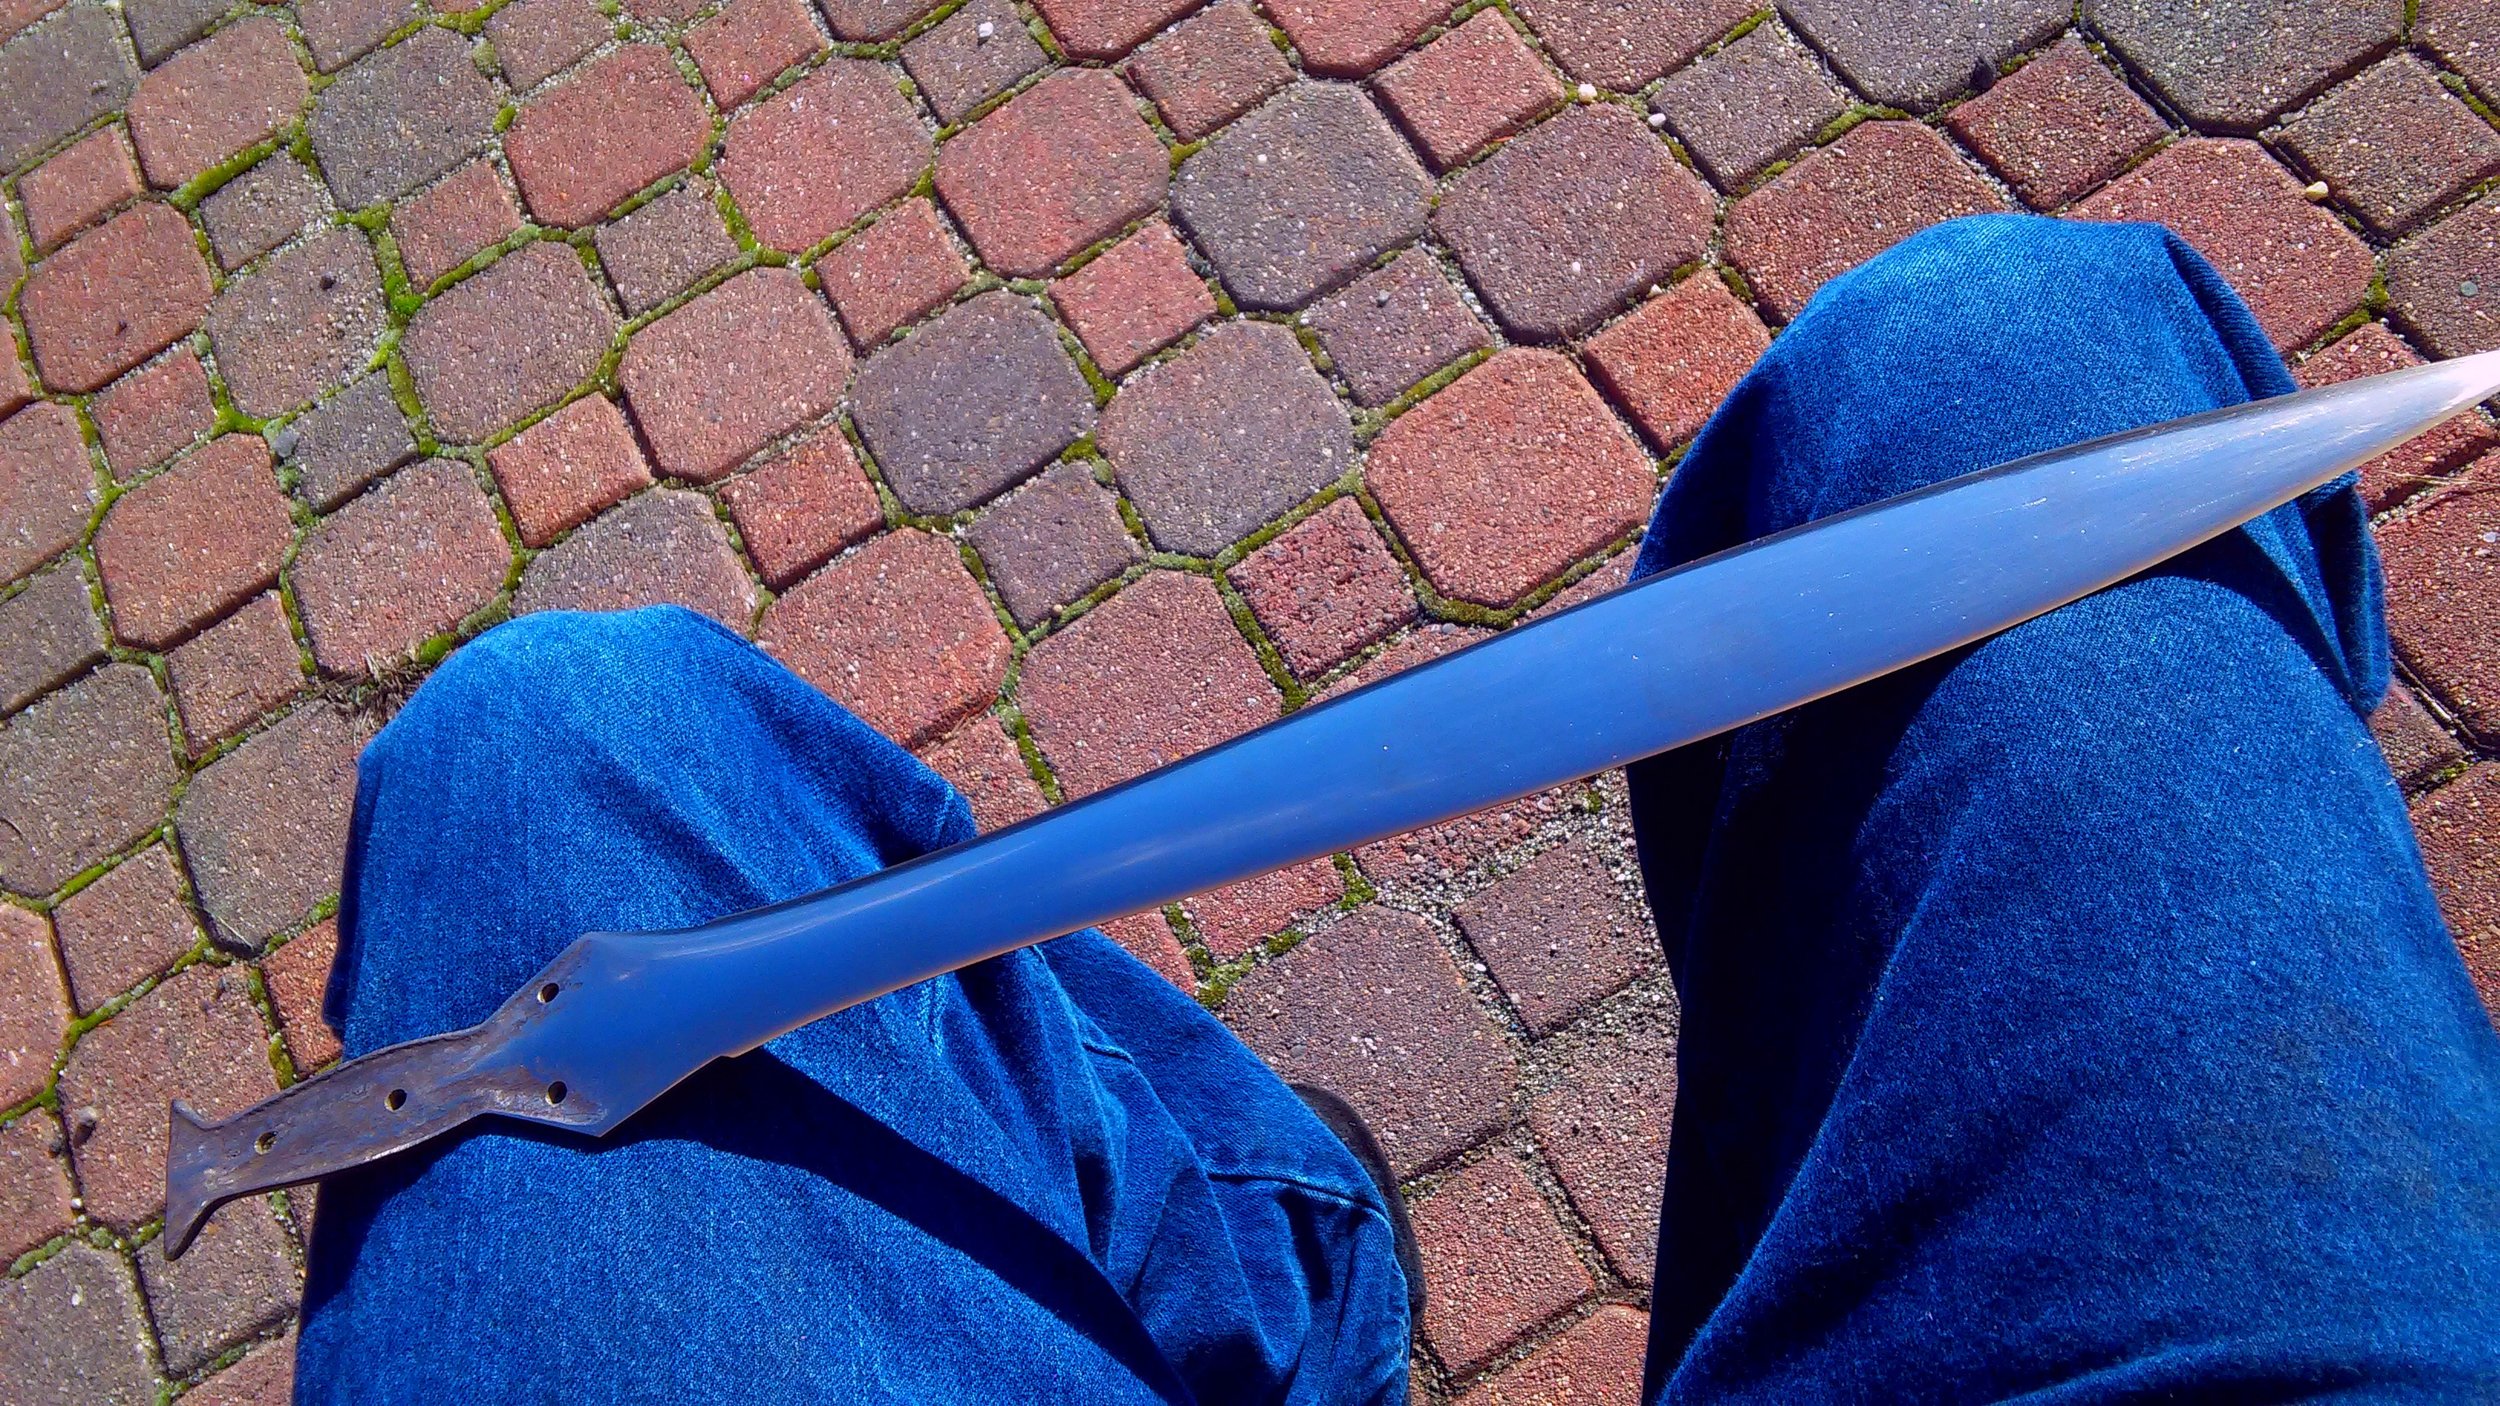
Some pieces of stingray skin I had laying around, as well as the offending bow.
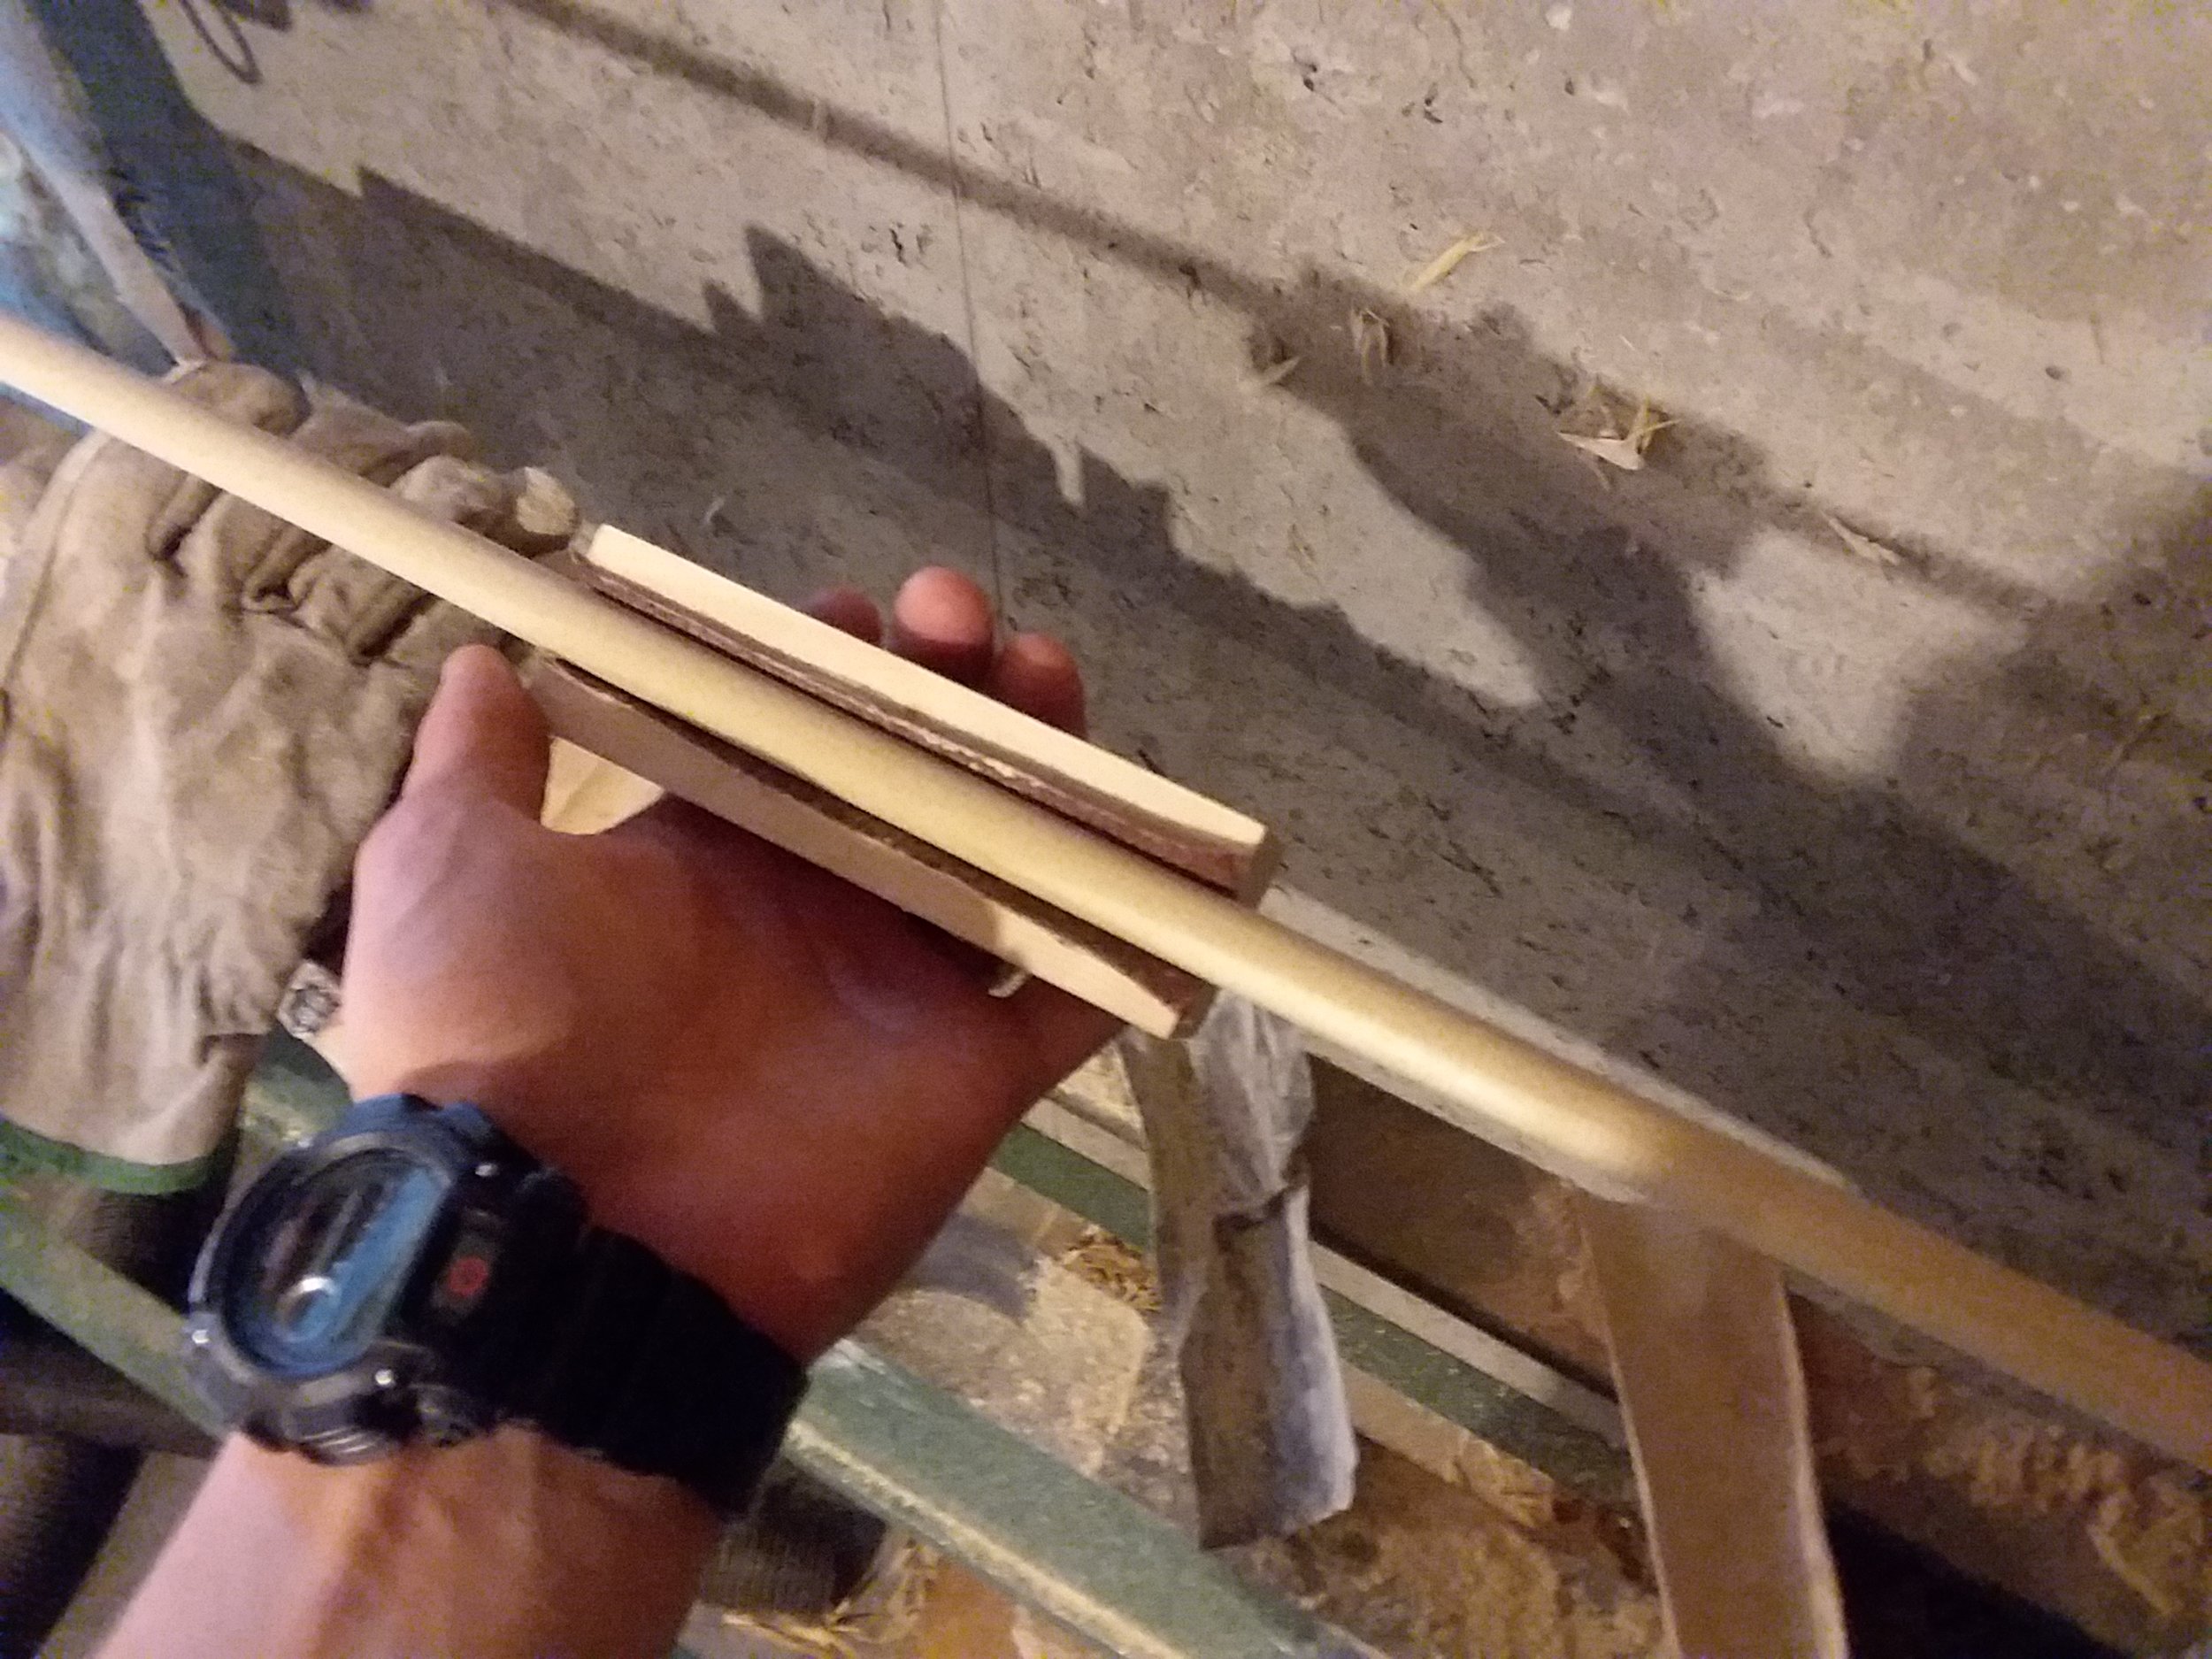
To work! First off, we can see above the arrow pass one one of my favorite Korean bows. Clearly it is worn, but you can also see where the leather has finally developed a hole through to the birch bark. On this bow, rather than being a replaceable pad, it is a complete wrap. Not convinced I wanted to redo the entire wrap, I thought a pad replacement would be a good solution.

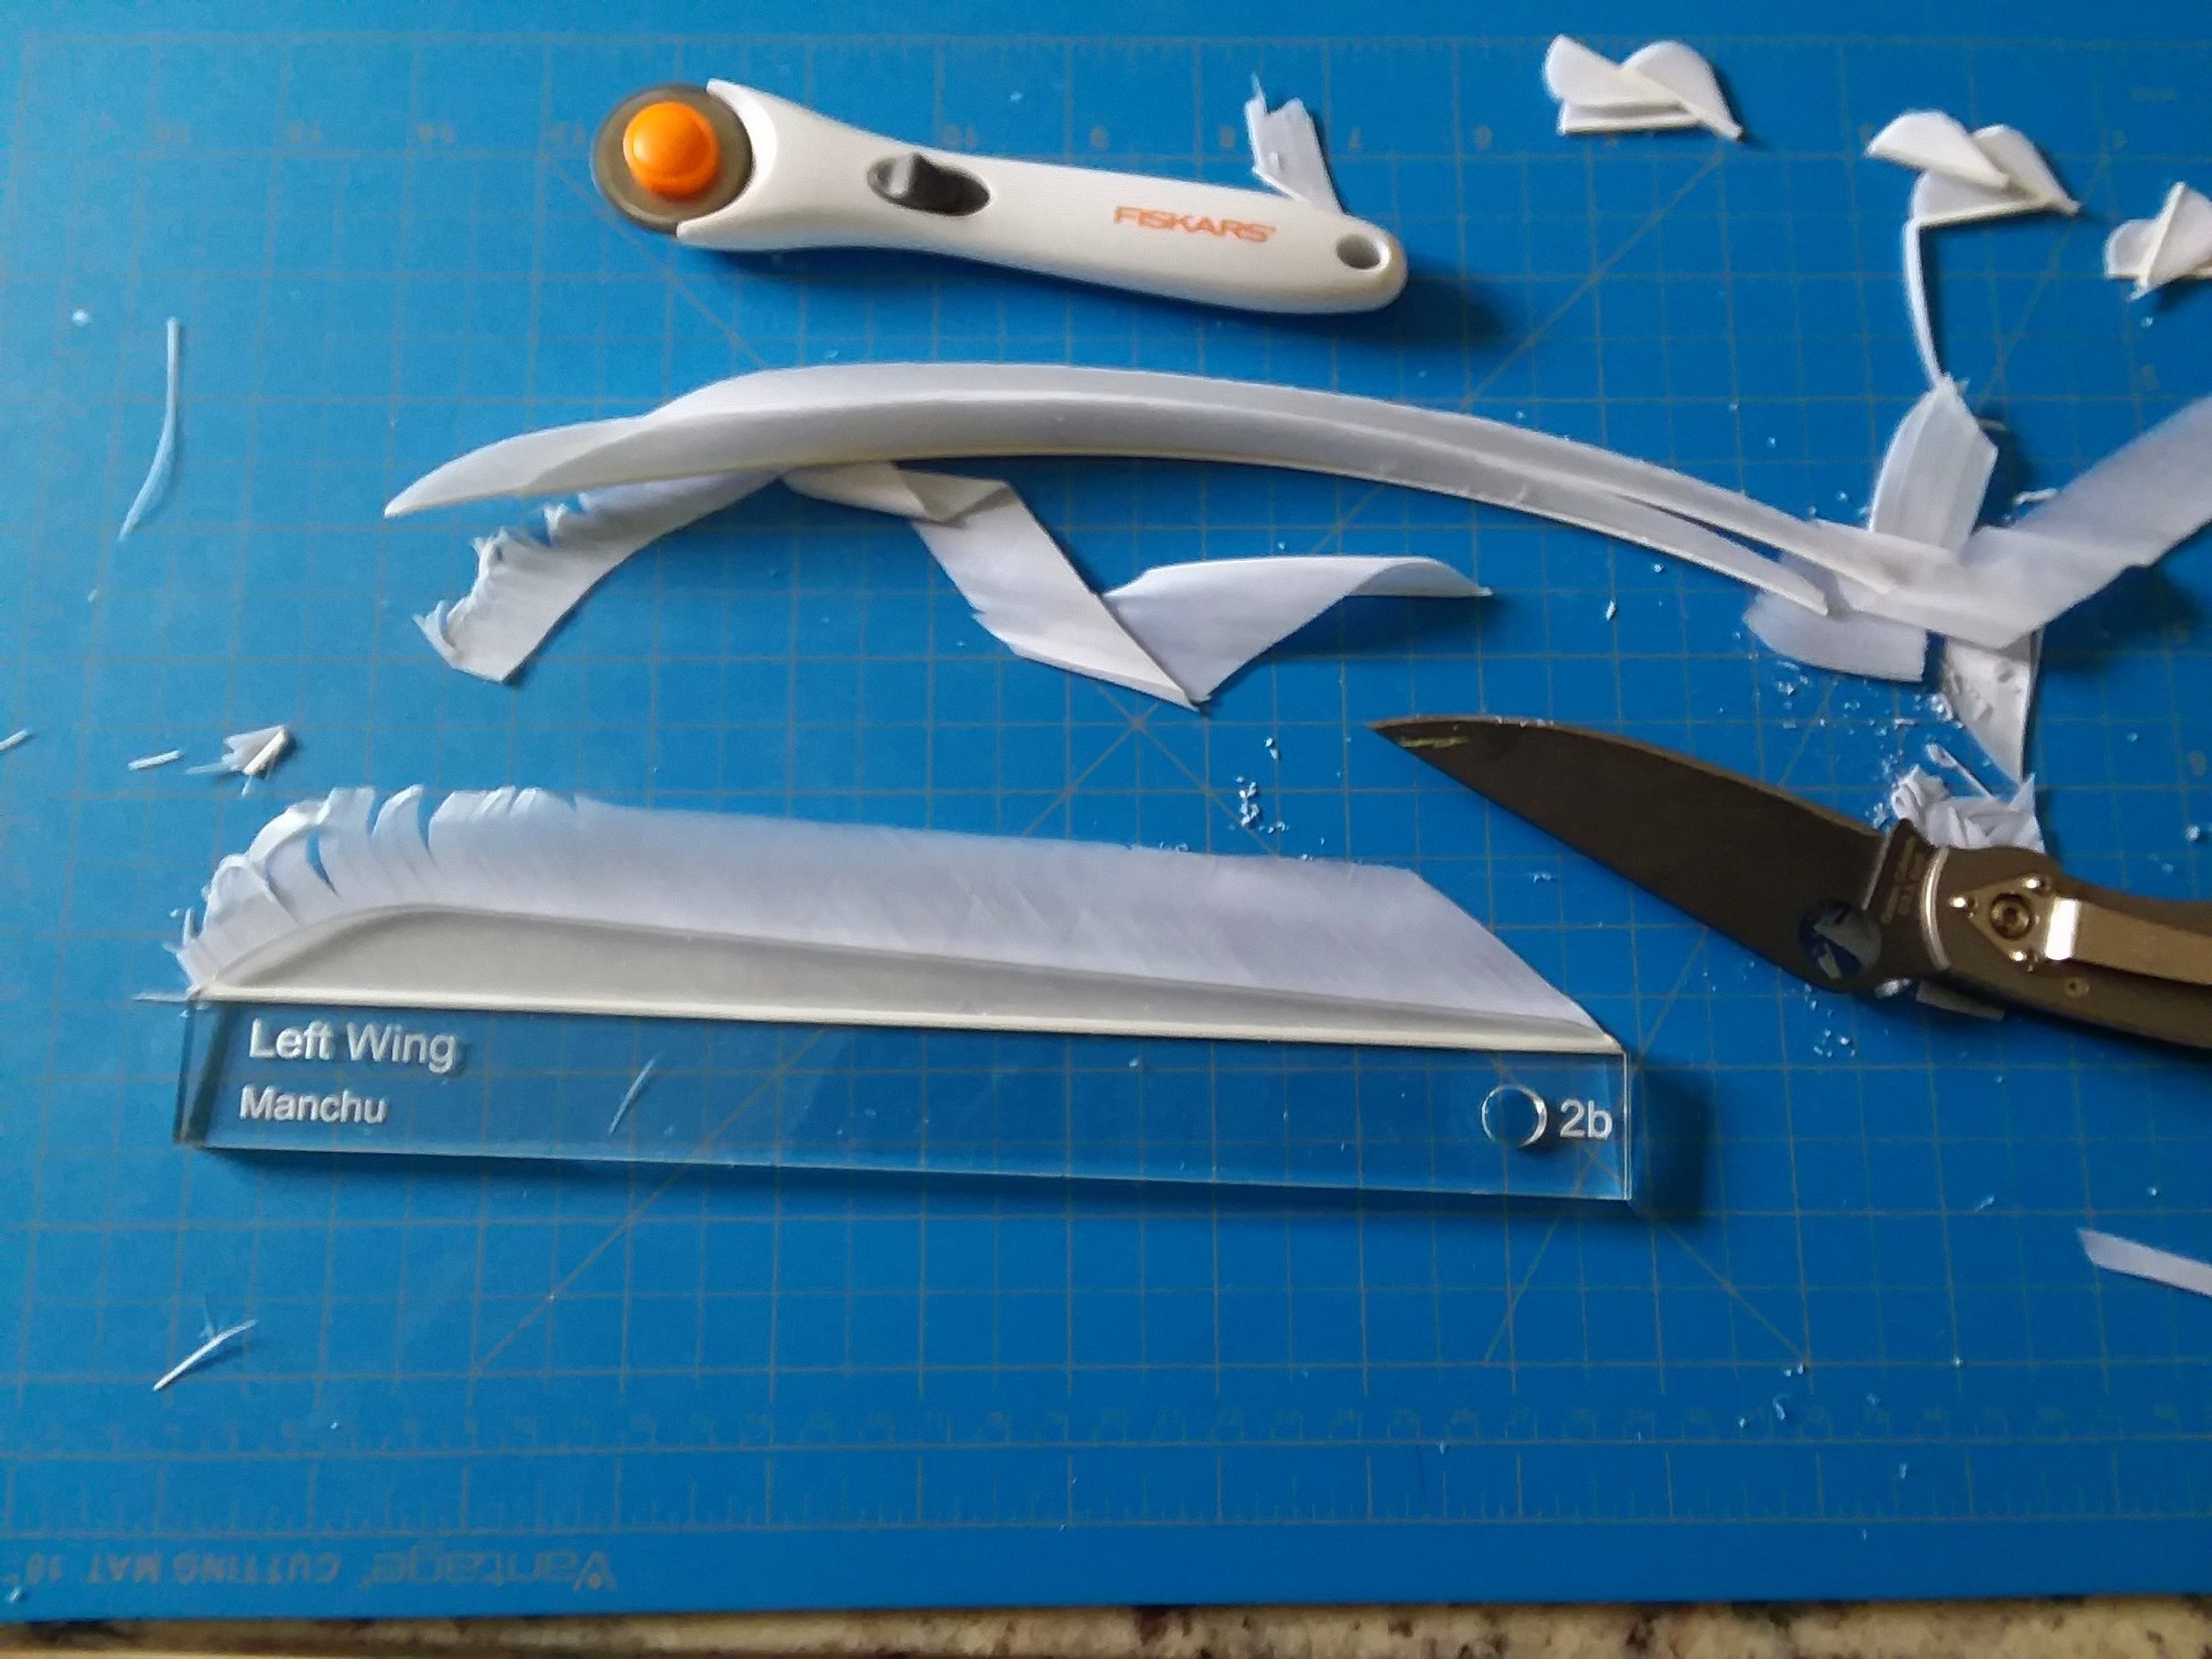
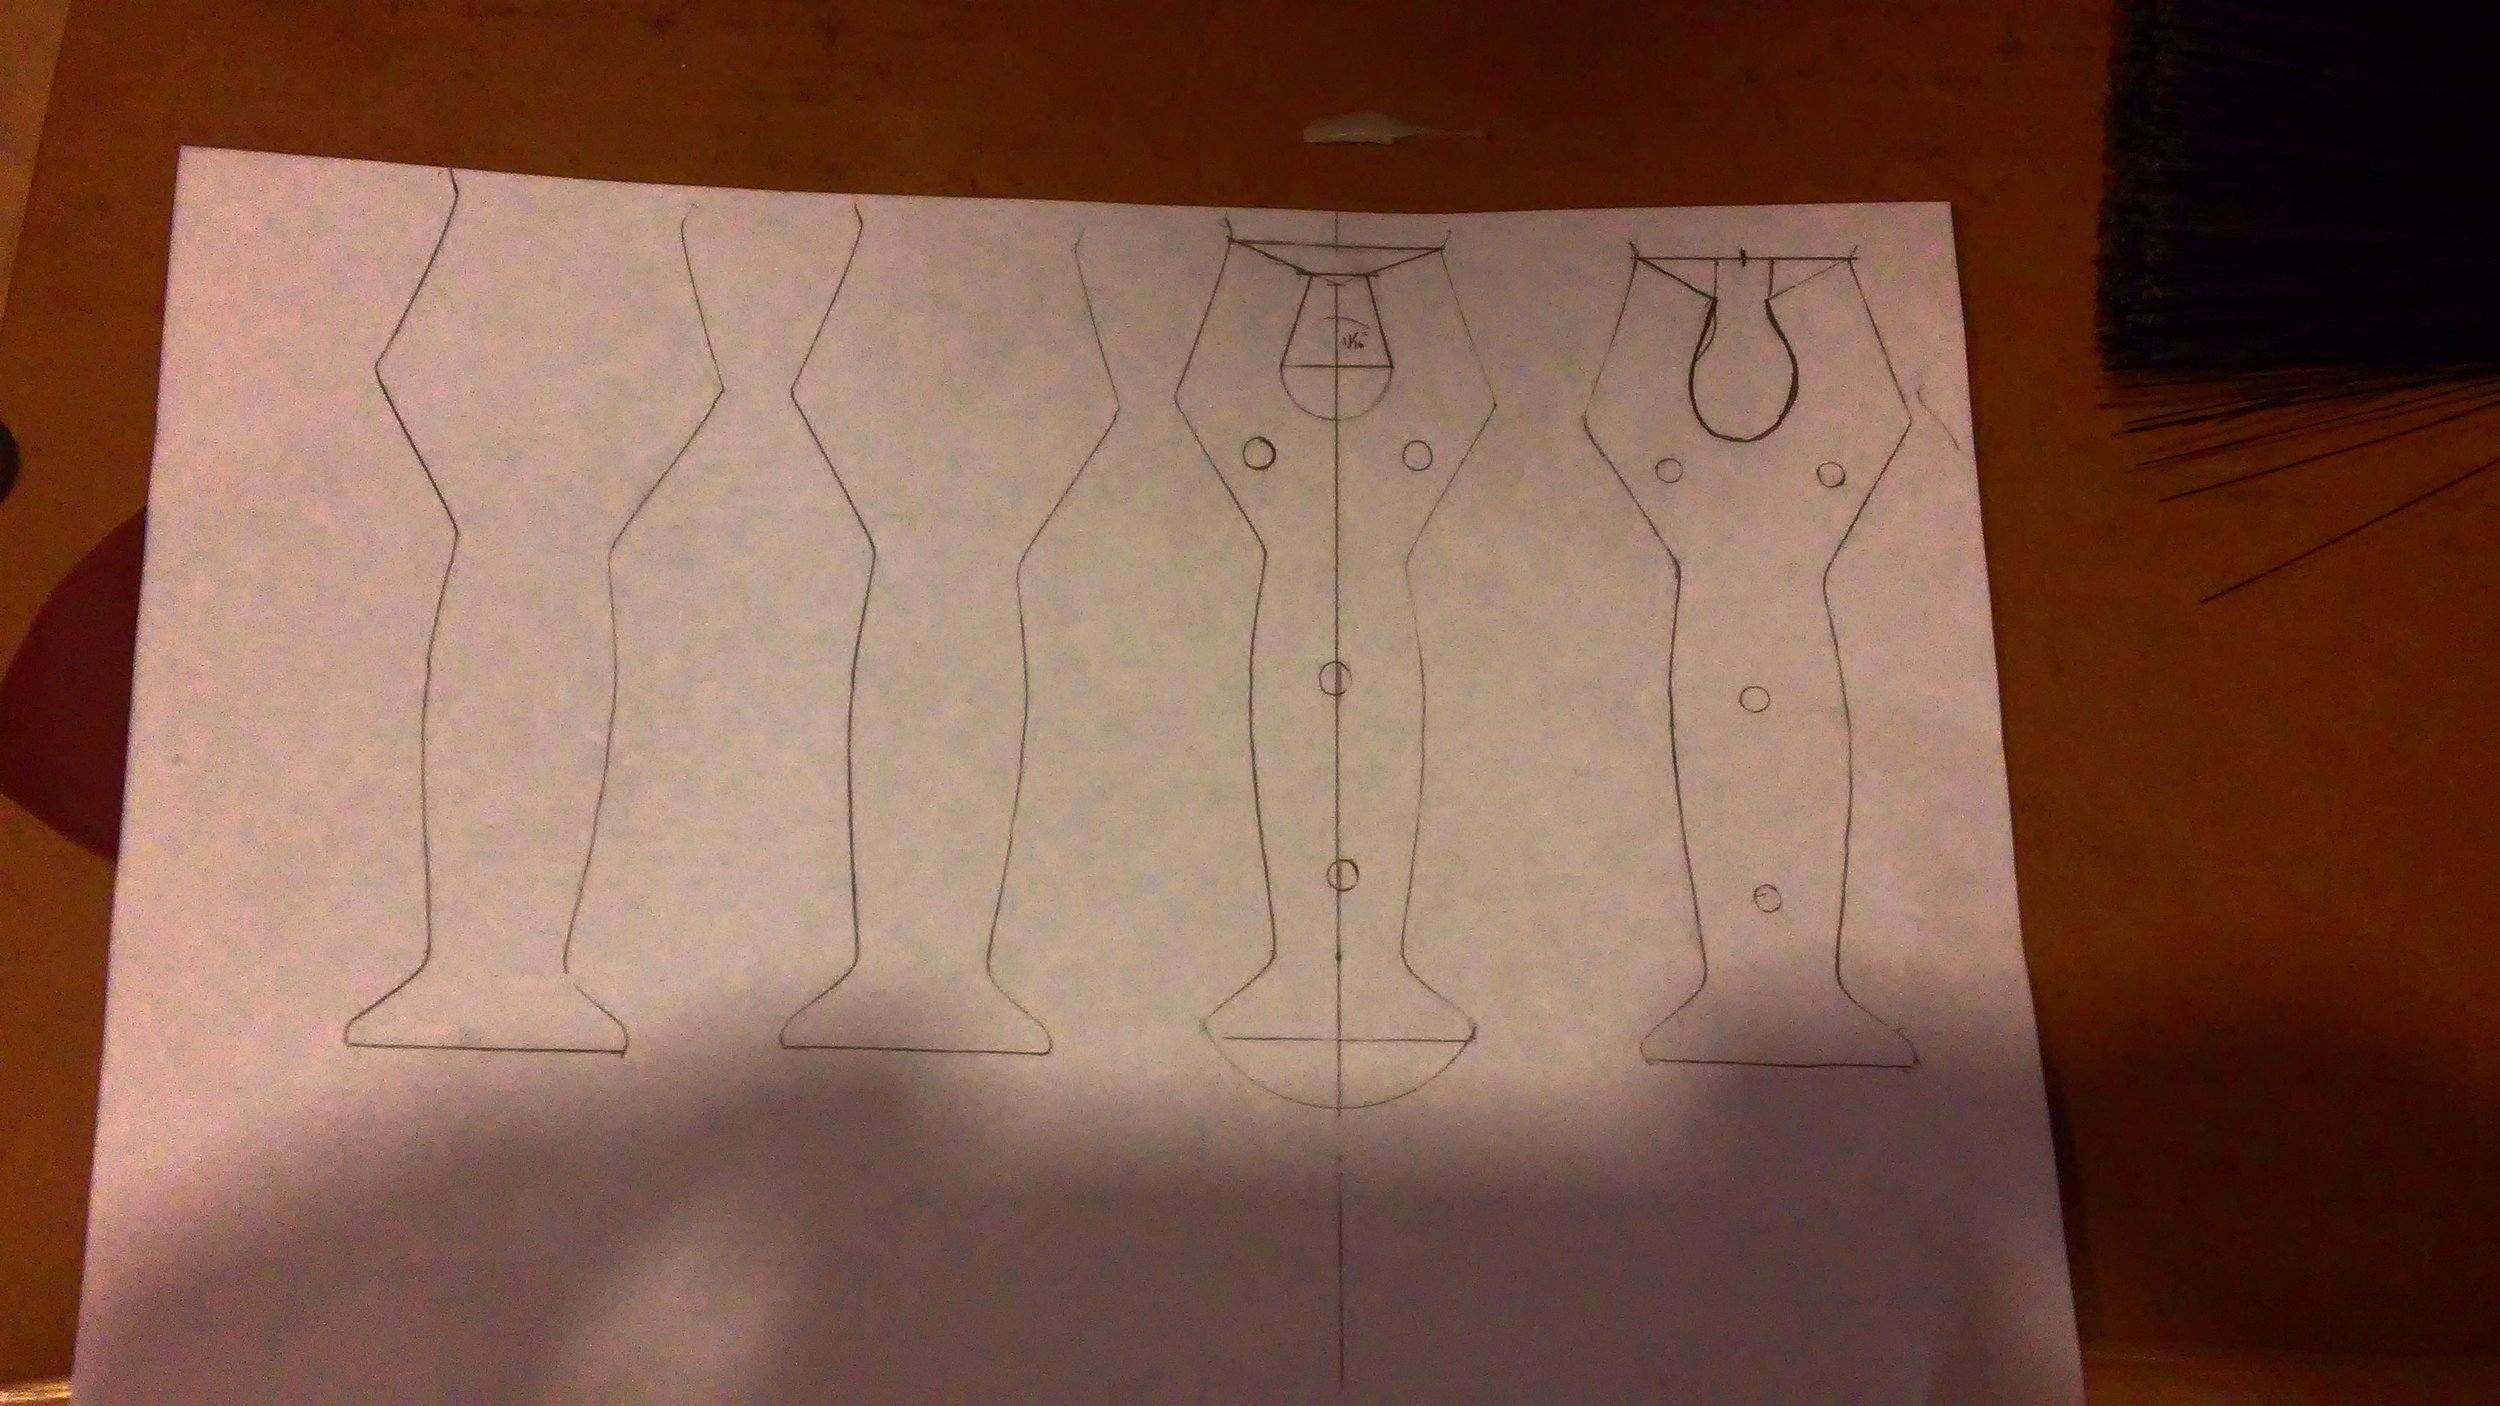
Paper here serves as the basis for the template.
The key to all good work is preparation and planning, the less skill necessary the better. To that end, rather than eyeball it or cut oversize and trim to fit, I figured a pattern would be in order. Paper is a good analogue here as it represents the relative lack of stretch of ray skin, while being cheap and easy to cut. I decided to go with a pad which blend with the existing wrap somewhat. Had this been a bow with a thread binding, I'd have probably opted for a more sculpted shape which stood out.

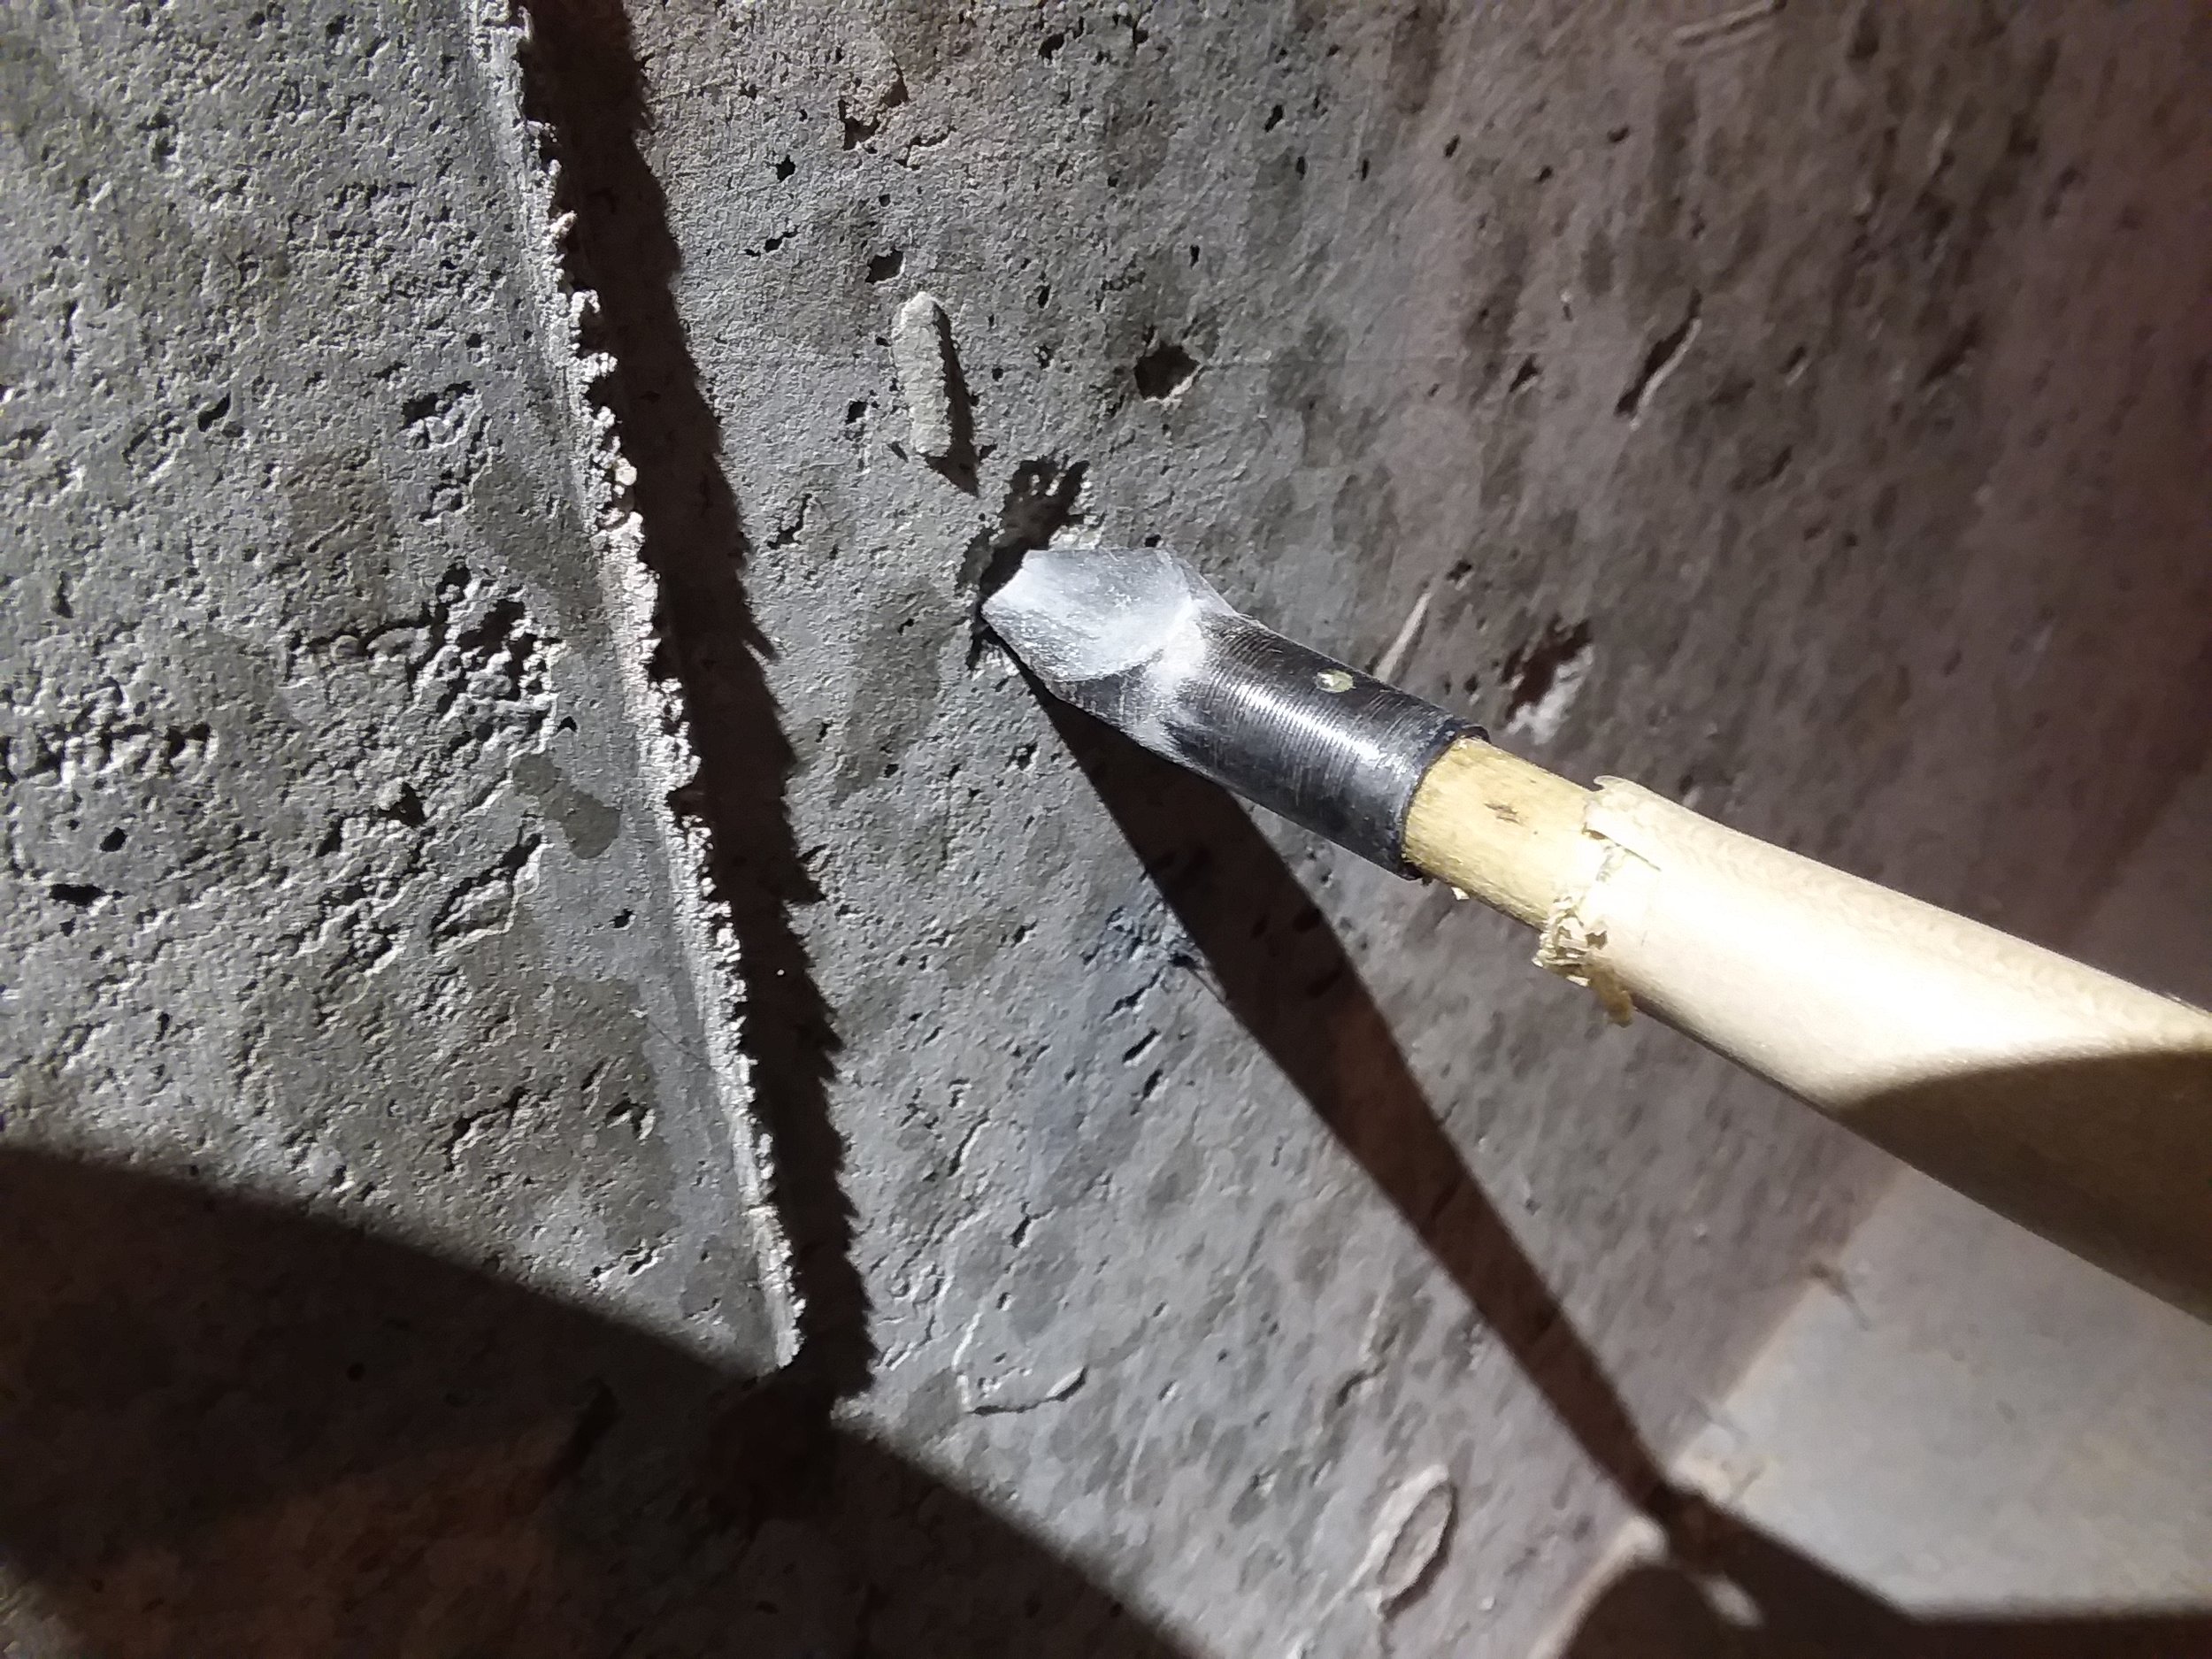
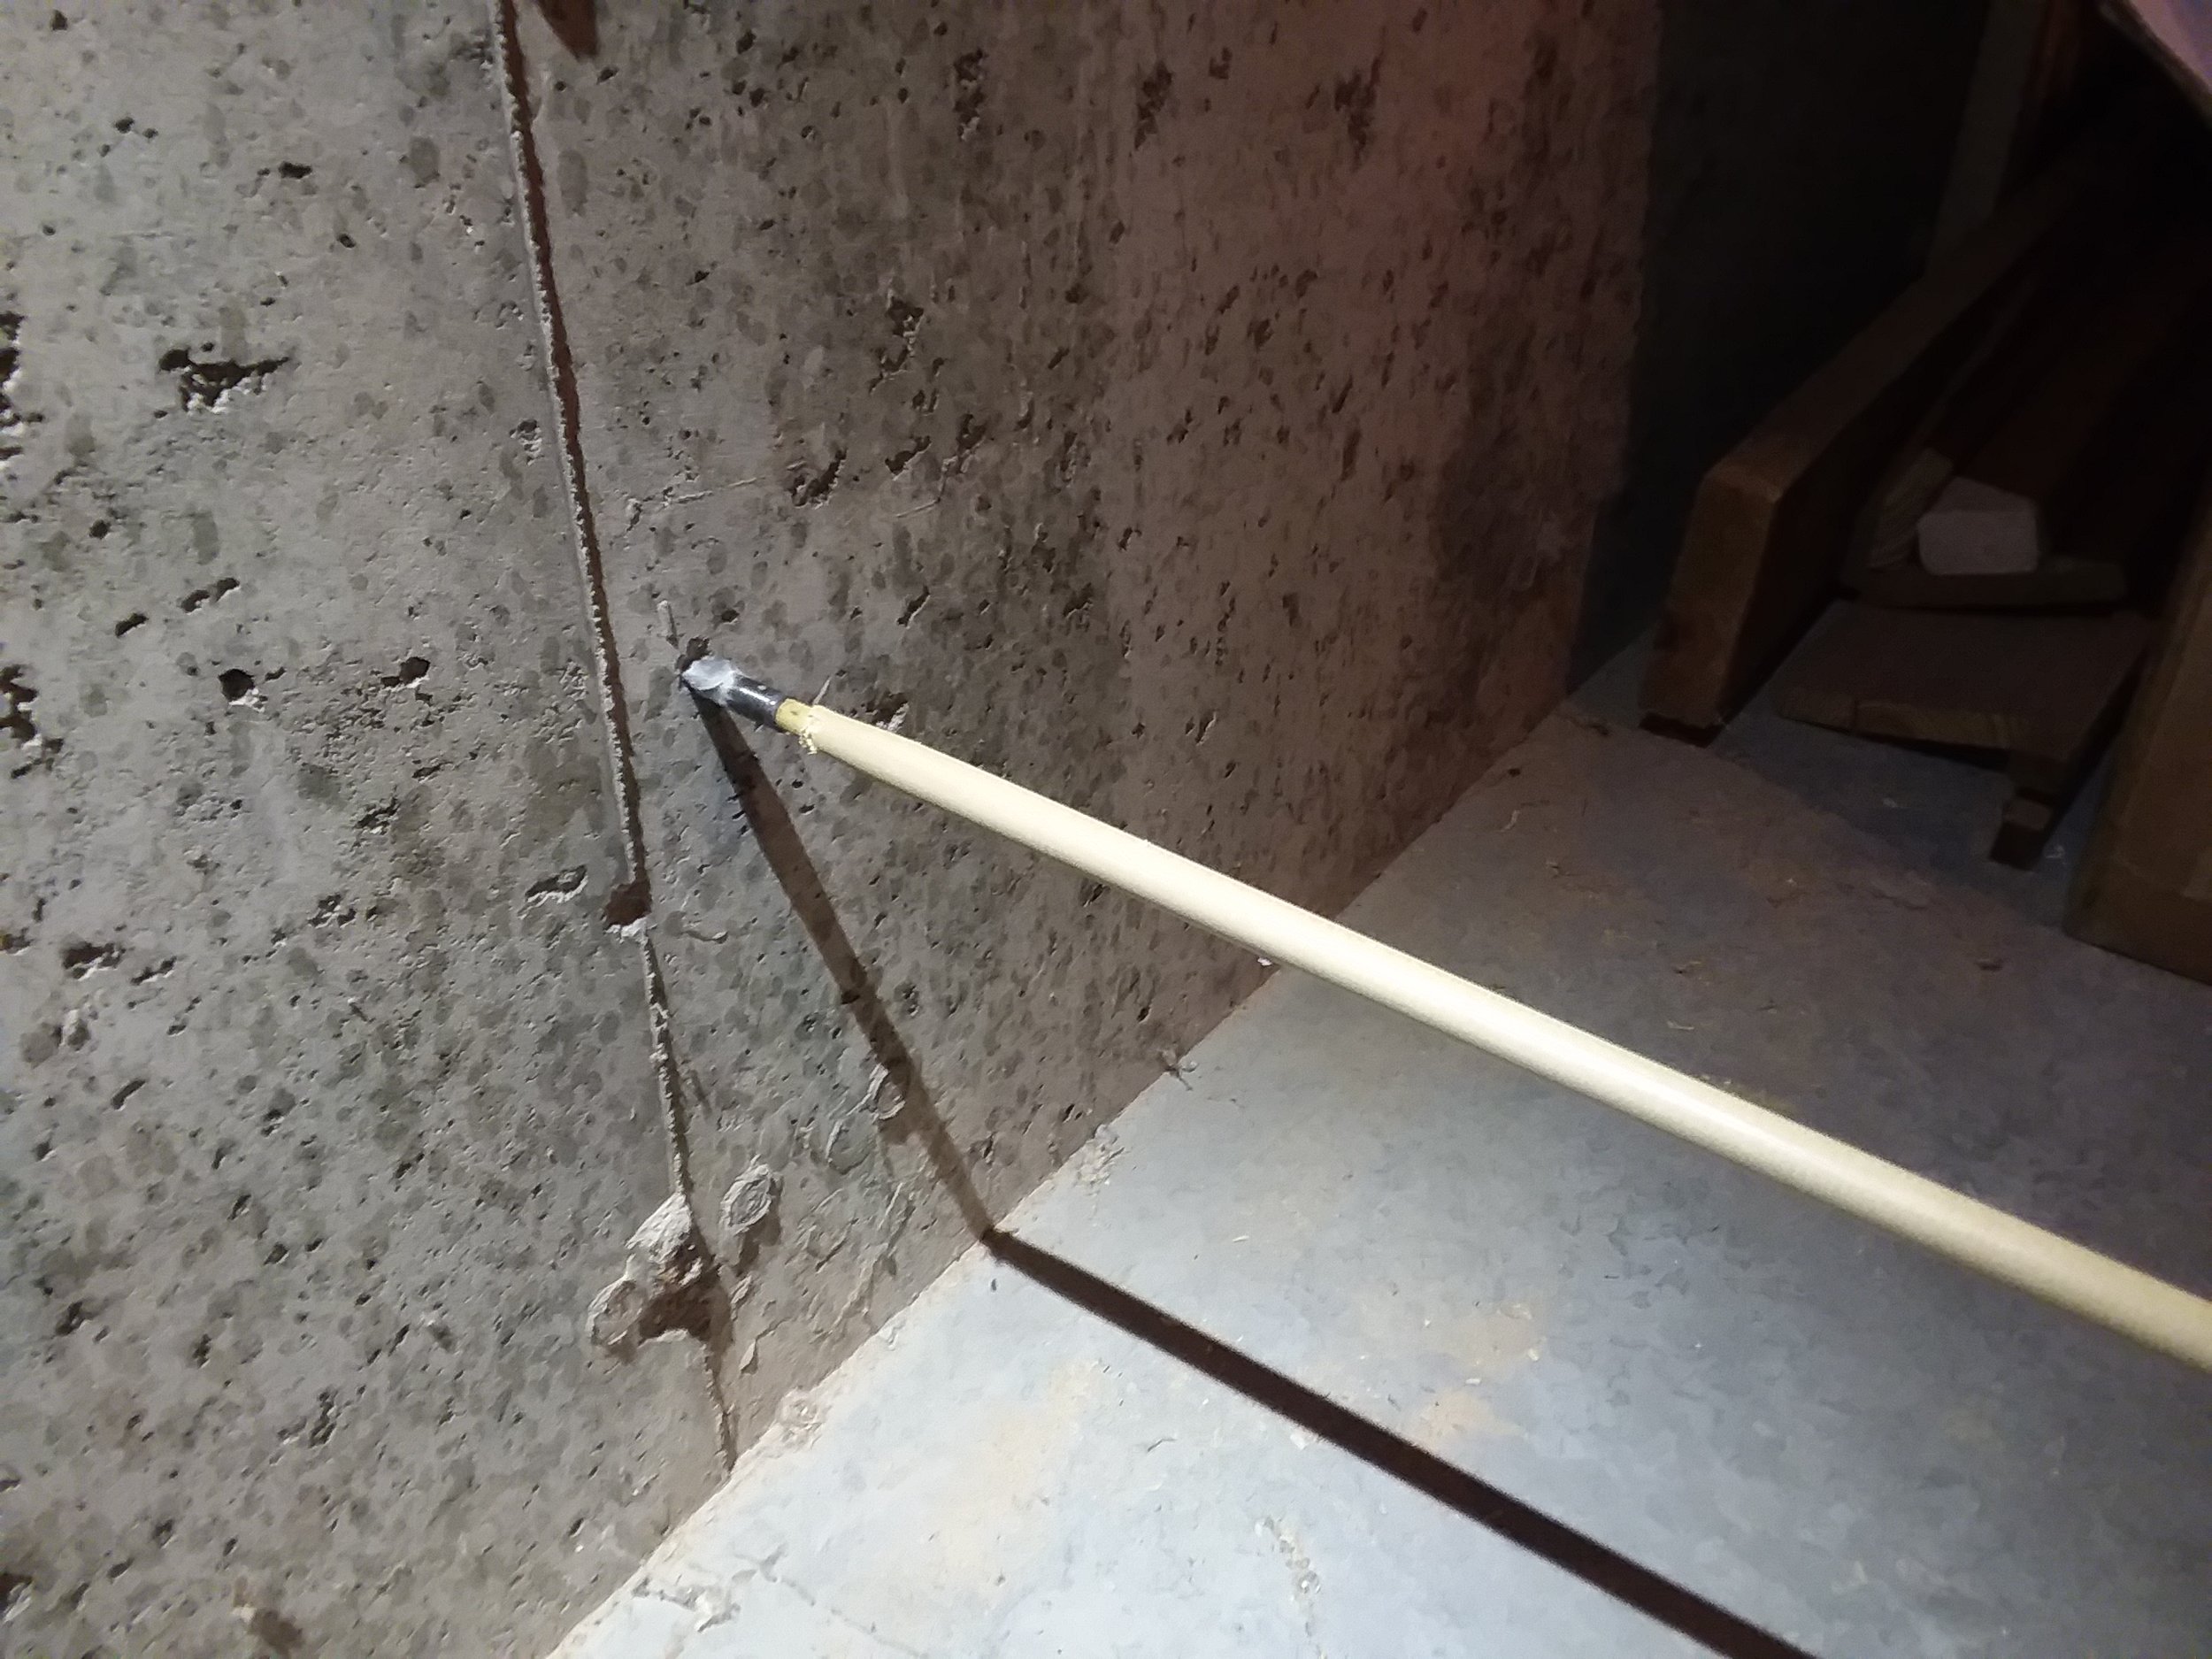
Line up and mark carefully from the visible side.....

...to the back side, from which you have to cut with ray skin. A hammer and chisel deliver the sharp blows necessary for clean accurate cuts.
The secret to cutting stingray skin is to go from the back, and use sharp impacts. You can't cut this stuff with a knife, at least not easily, and you'll do some evil to whatever blade you use. In this case I went with an inexpensive chisel which had to be reground anyway. Lay out the pattern on the front, so you have the area/look you want, and mark the corners so you can transfer the pattern to the back. Then cut away. It is worth noting I favored the larger pearls of the center, for purely aesthetic reasons. Because these will all experience wear, the white of the pearls will become visible wherever the arrow passes irrespective of what started sanded.

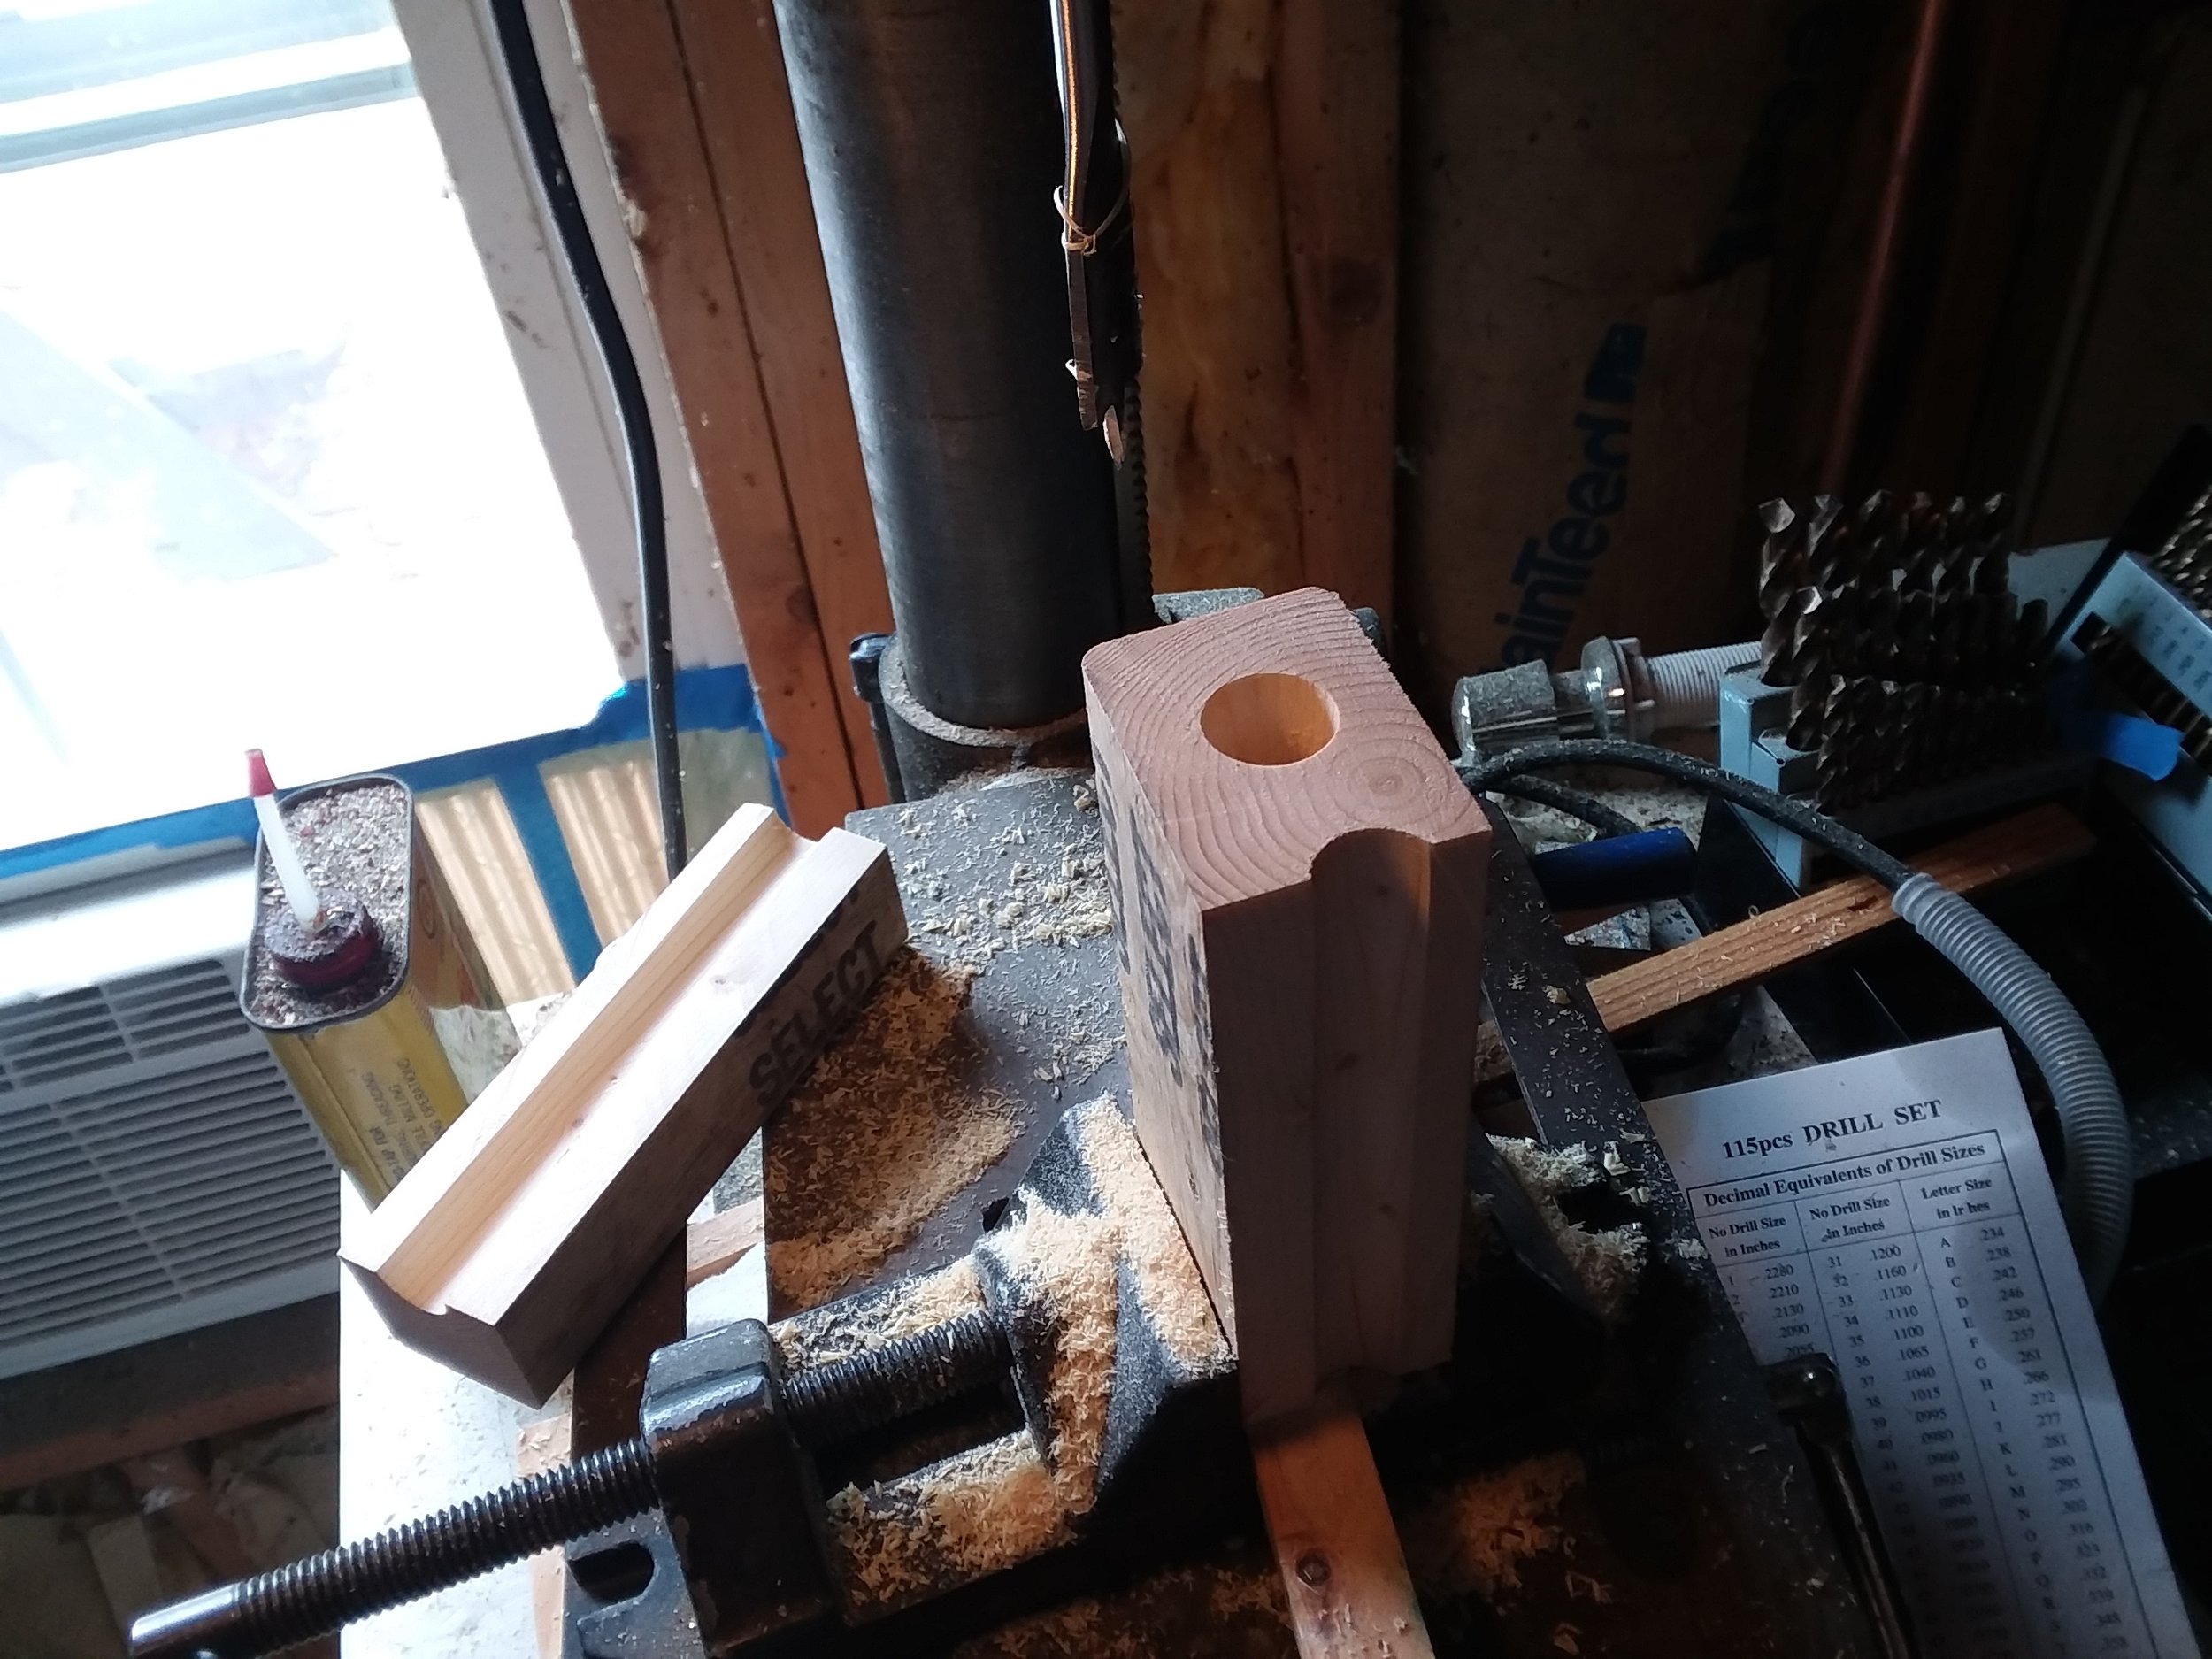
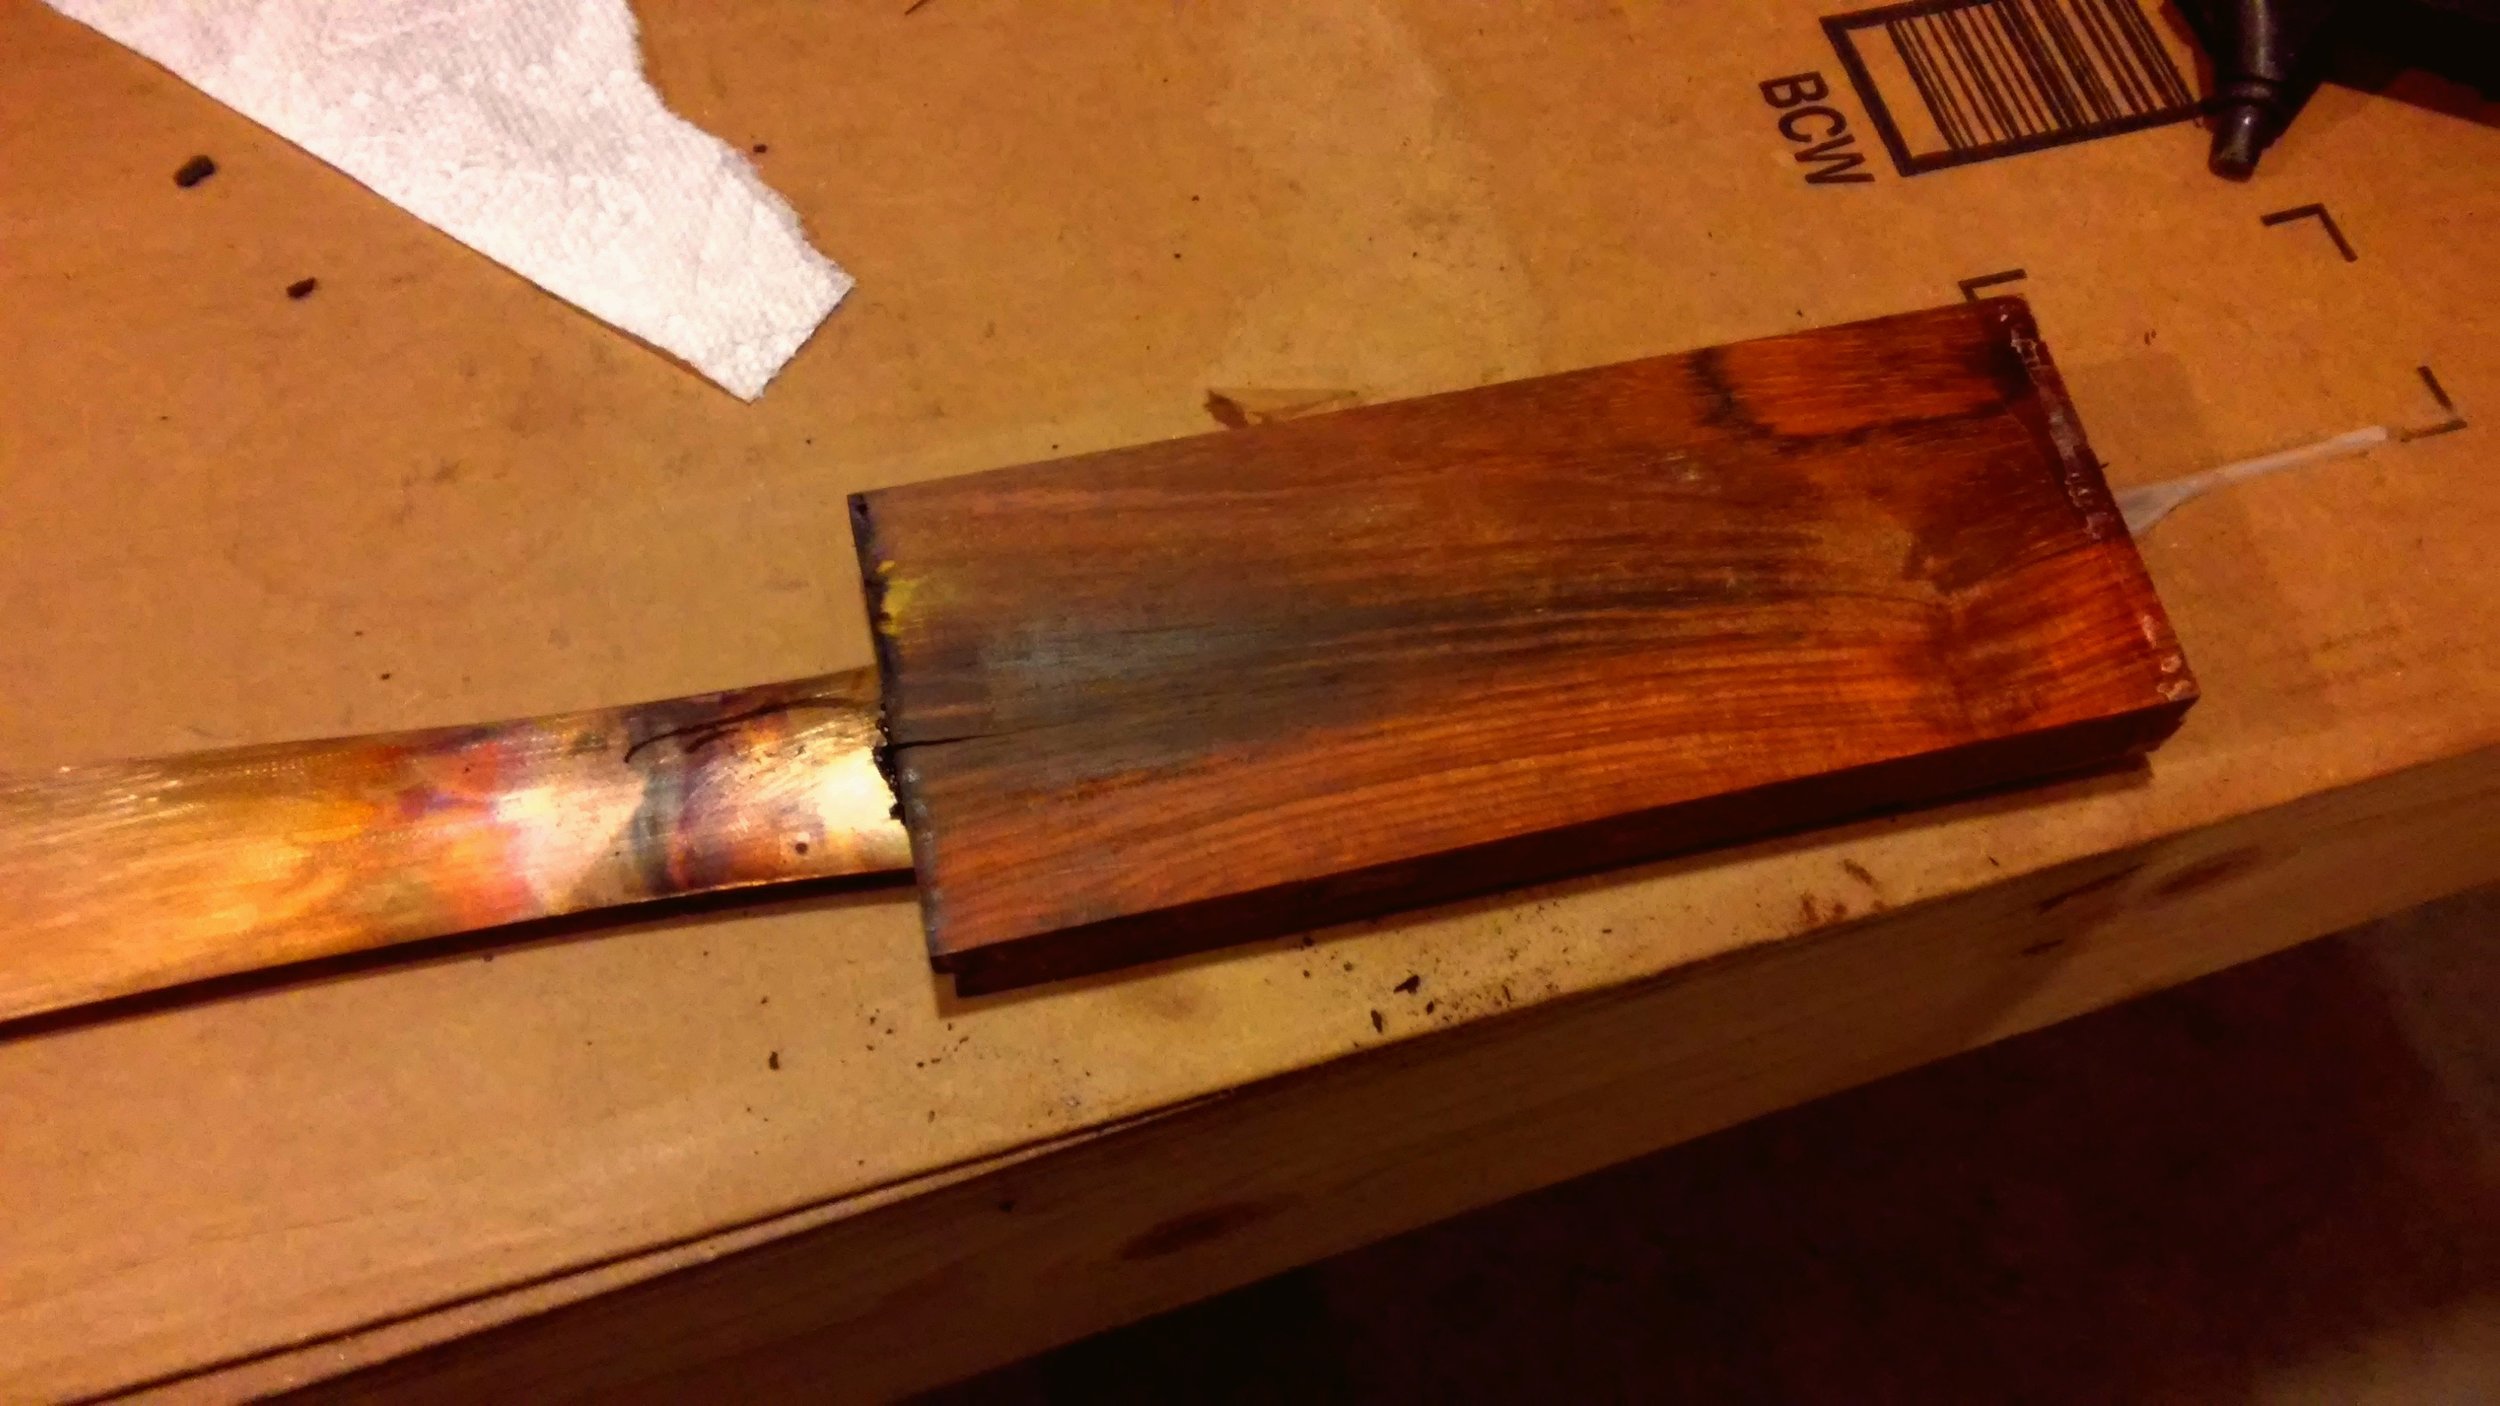
Surface prep is key to successful bonding, a little sanding of the leather to even it out and ready the surface was necessary.
The key to any good adhesive application is surface prep. So I carefully marked out where the ray skin would cover, and sanded to match. Adhesion can be accomplished with natural protein glues, cyanoacrylate, or contact cement. Because this application doesn't require significant flexibility post-bonding, I reached for my go-to high-toughness high-viscosity hobby grade CA adhesive.

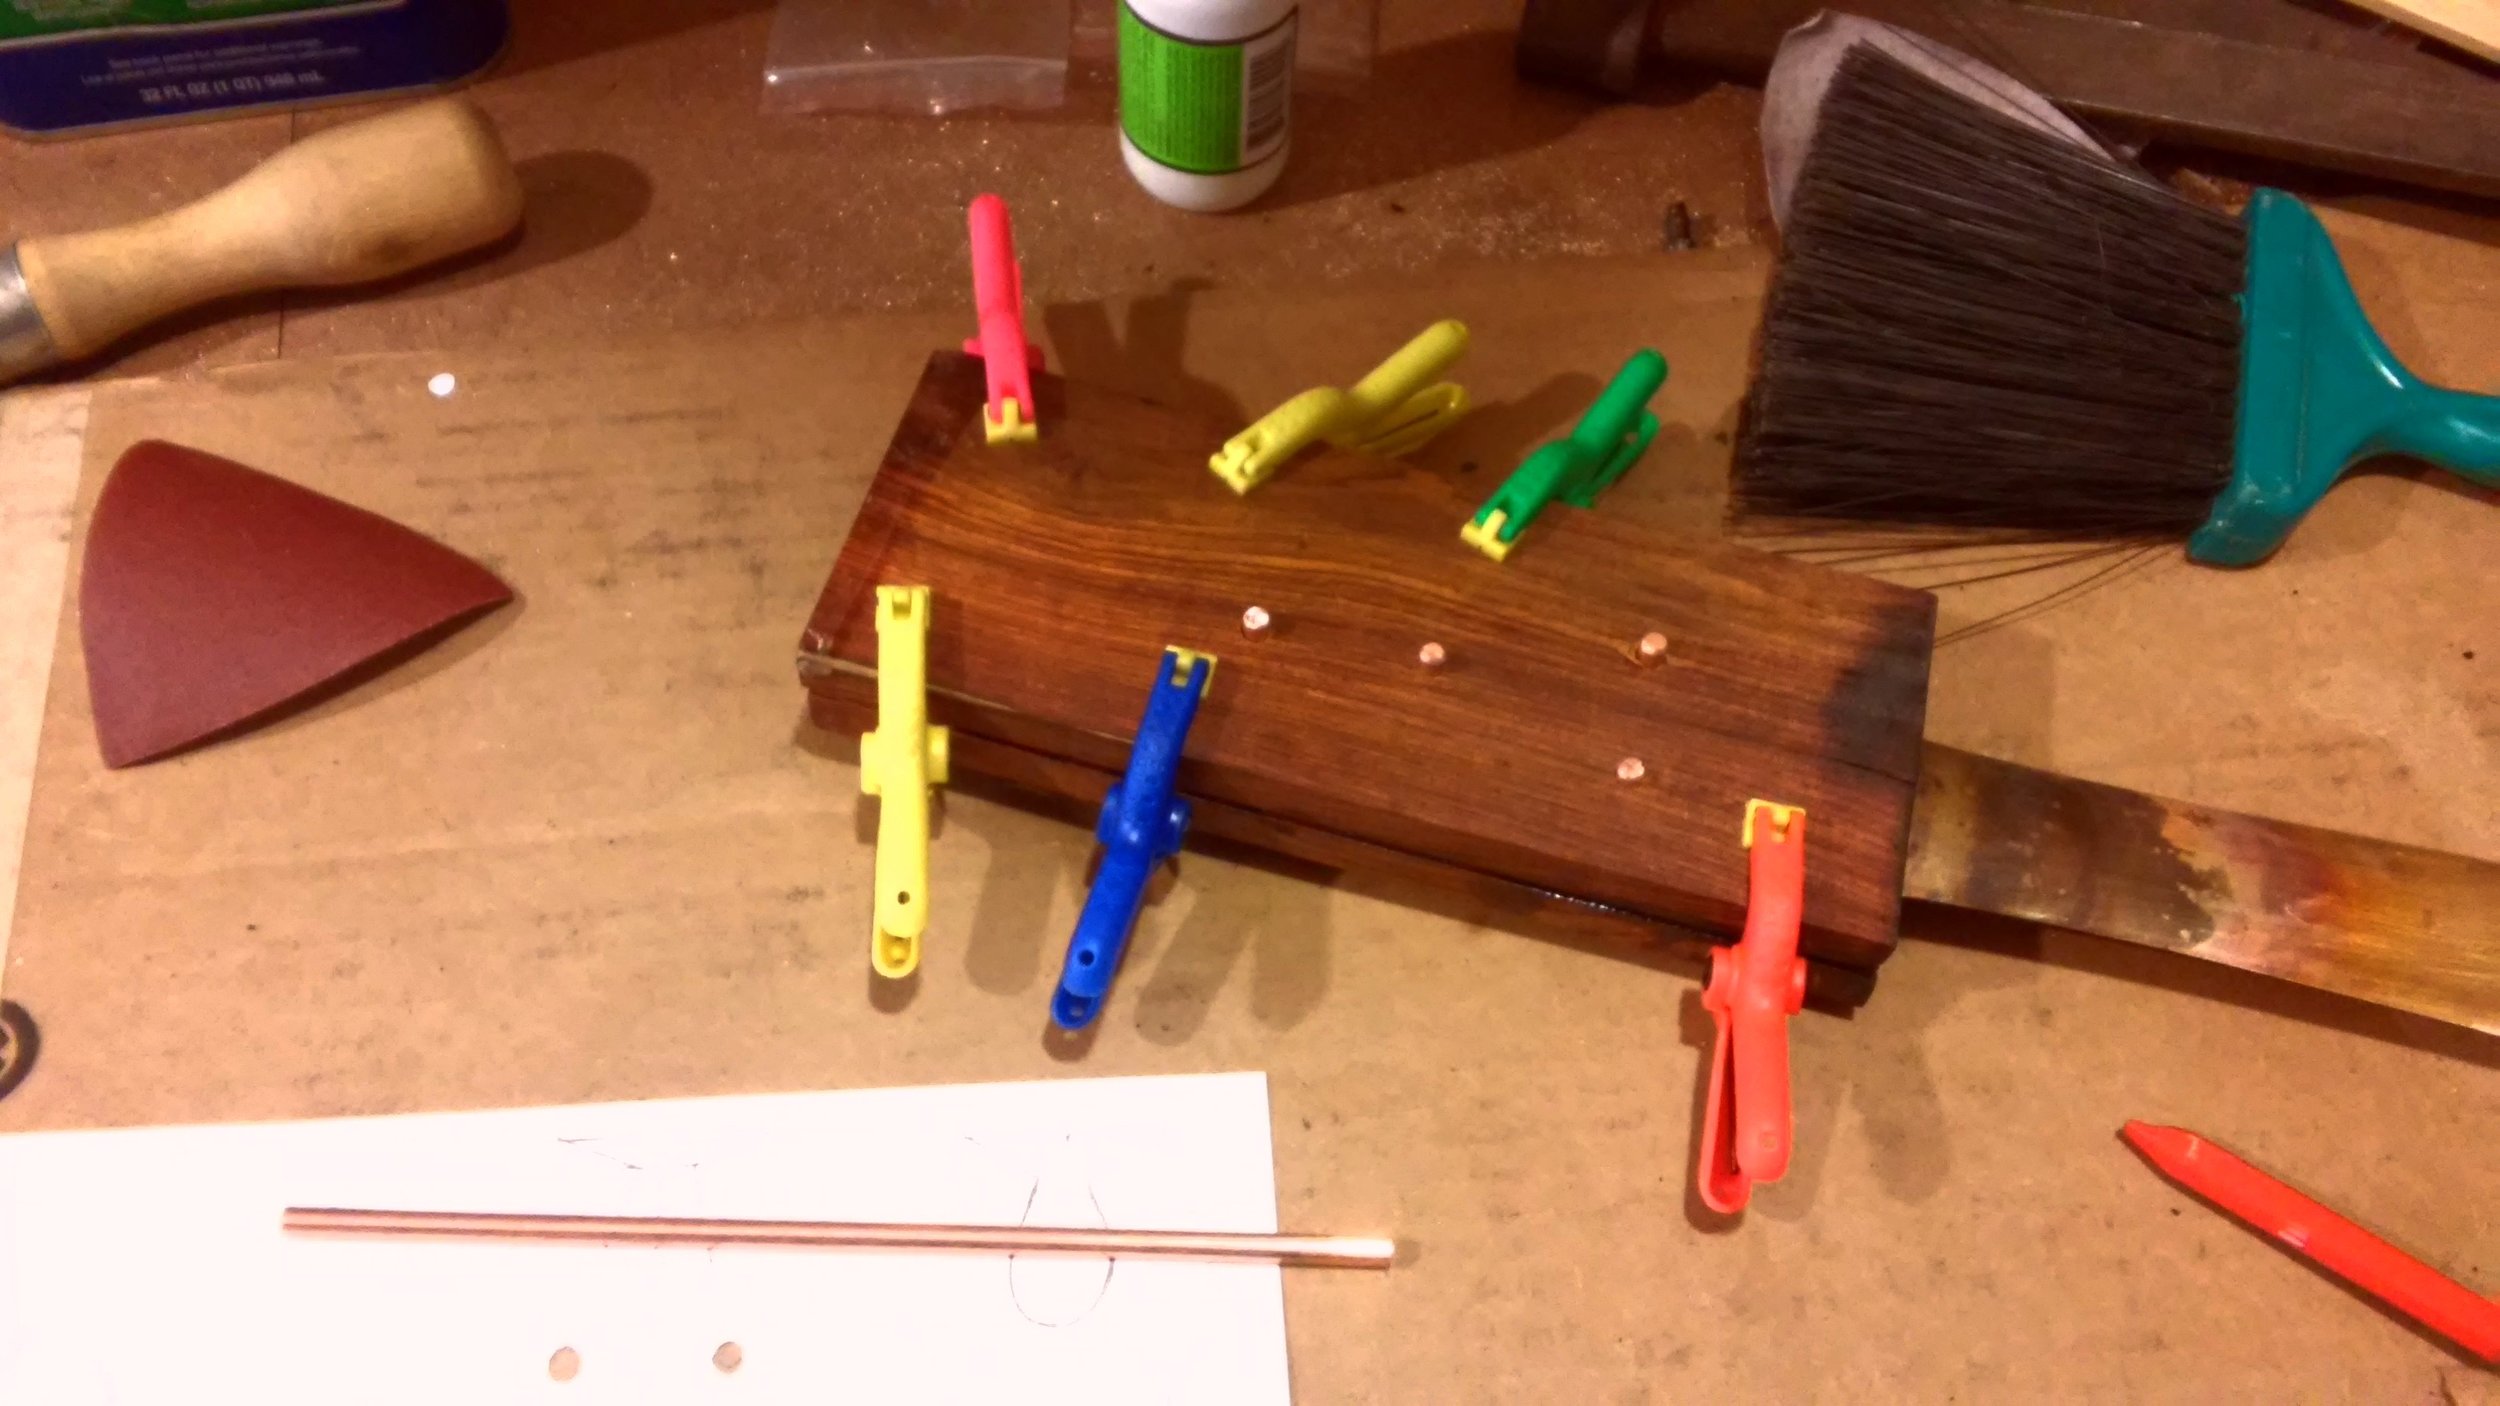
Effective clamping is also necessary, even with "instant tack" adhesives, the mating surfaces need to be held firmly until things have fully cured for maximum strength.
First contact is a fraught moment, from Star Trek to adhesives, so no picture of the Titanic moment. After applying the adhesive and carefully cleaning up any excess, I quickly wrapped the whole thing in painter's tape. If you've never used good painter's tape, you should go out and buy one of the name-brand spendy roles. For masking and other release applications like this, the real deal really is worth the price. You don't want to leave sticky behind, and you don't want the tape bonding to your project, so while nothing is perfect in my estimation the good stuff is worth it. My 2c anyway.

Another stark snap showing the beautiful ray skin pass, one of our rings in solid sterling silver, and custom house-made arrows. (also a project posted here)
24 hours later the adhesive has cured, and I removed the tape to find this. Beautiful. Of course beauty is nothing without function, so I took it for a quick 50 arrow test drive. Works beautifully, and barely visible wear, so I'm labeling this one as a success!